• Skip to primary navigation
  • Skip to content
  • Skip to primary sidebar
  • Skip to footer

The Day's Journal

Finding beauty in the everyday pieces of life

  • Weddings
  • Lifestyle
  • The Day’s Design
  • Nav Social Menu

    • Facebook
    • Instagram
    • Pinterest

pretty projects

Tackling the Thrift Store

0 · Apr 10, 2014 ·

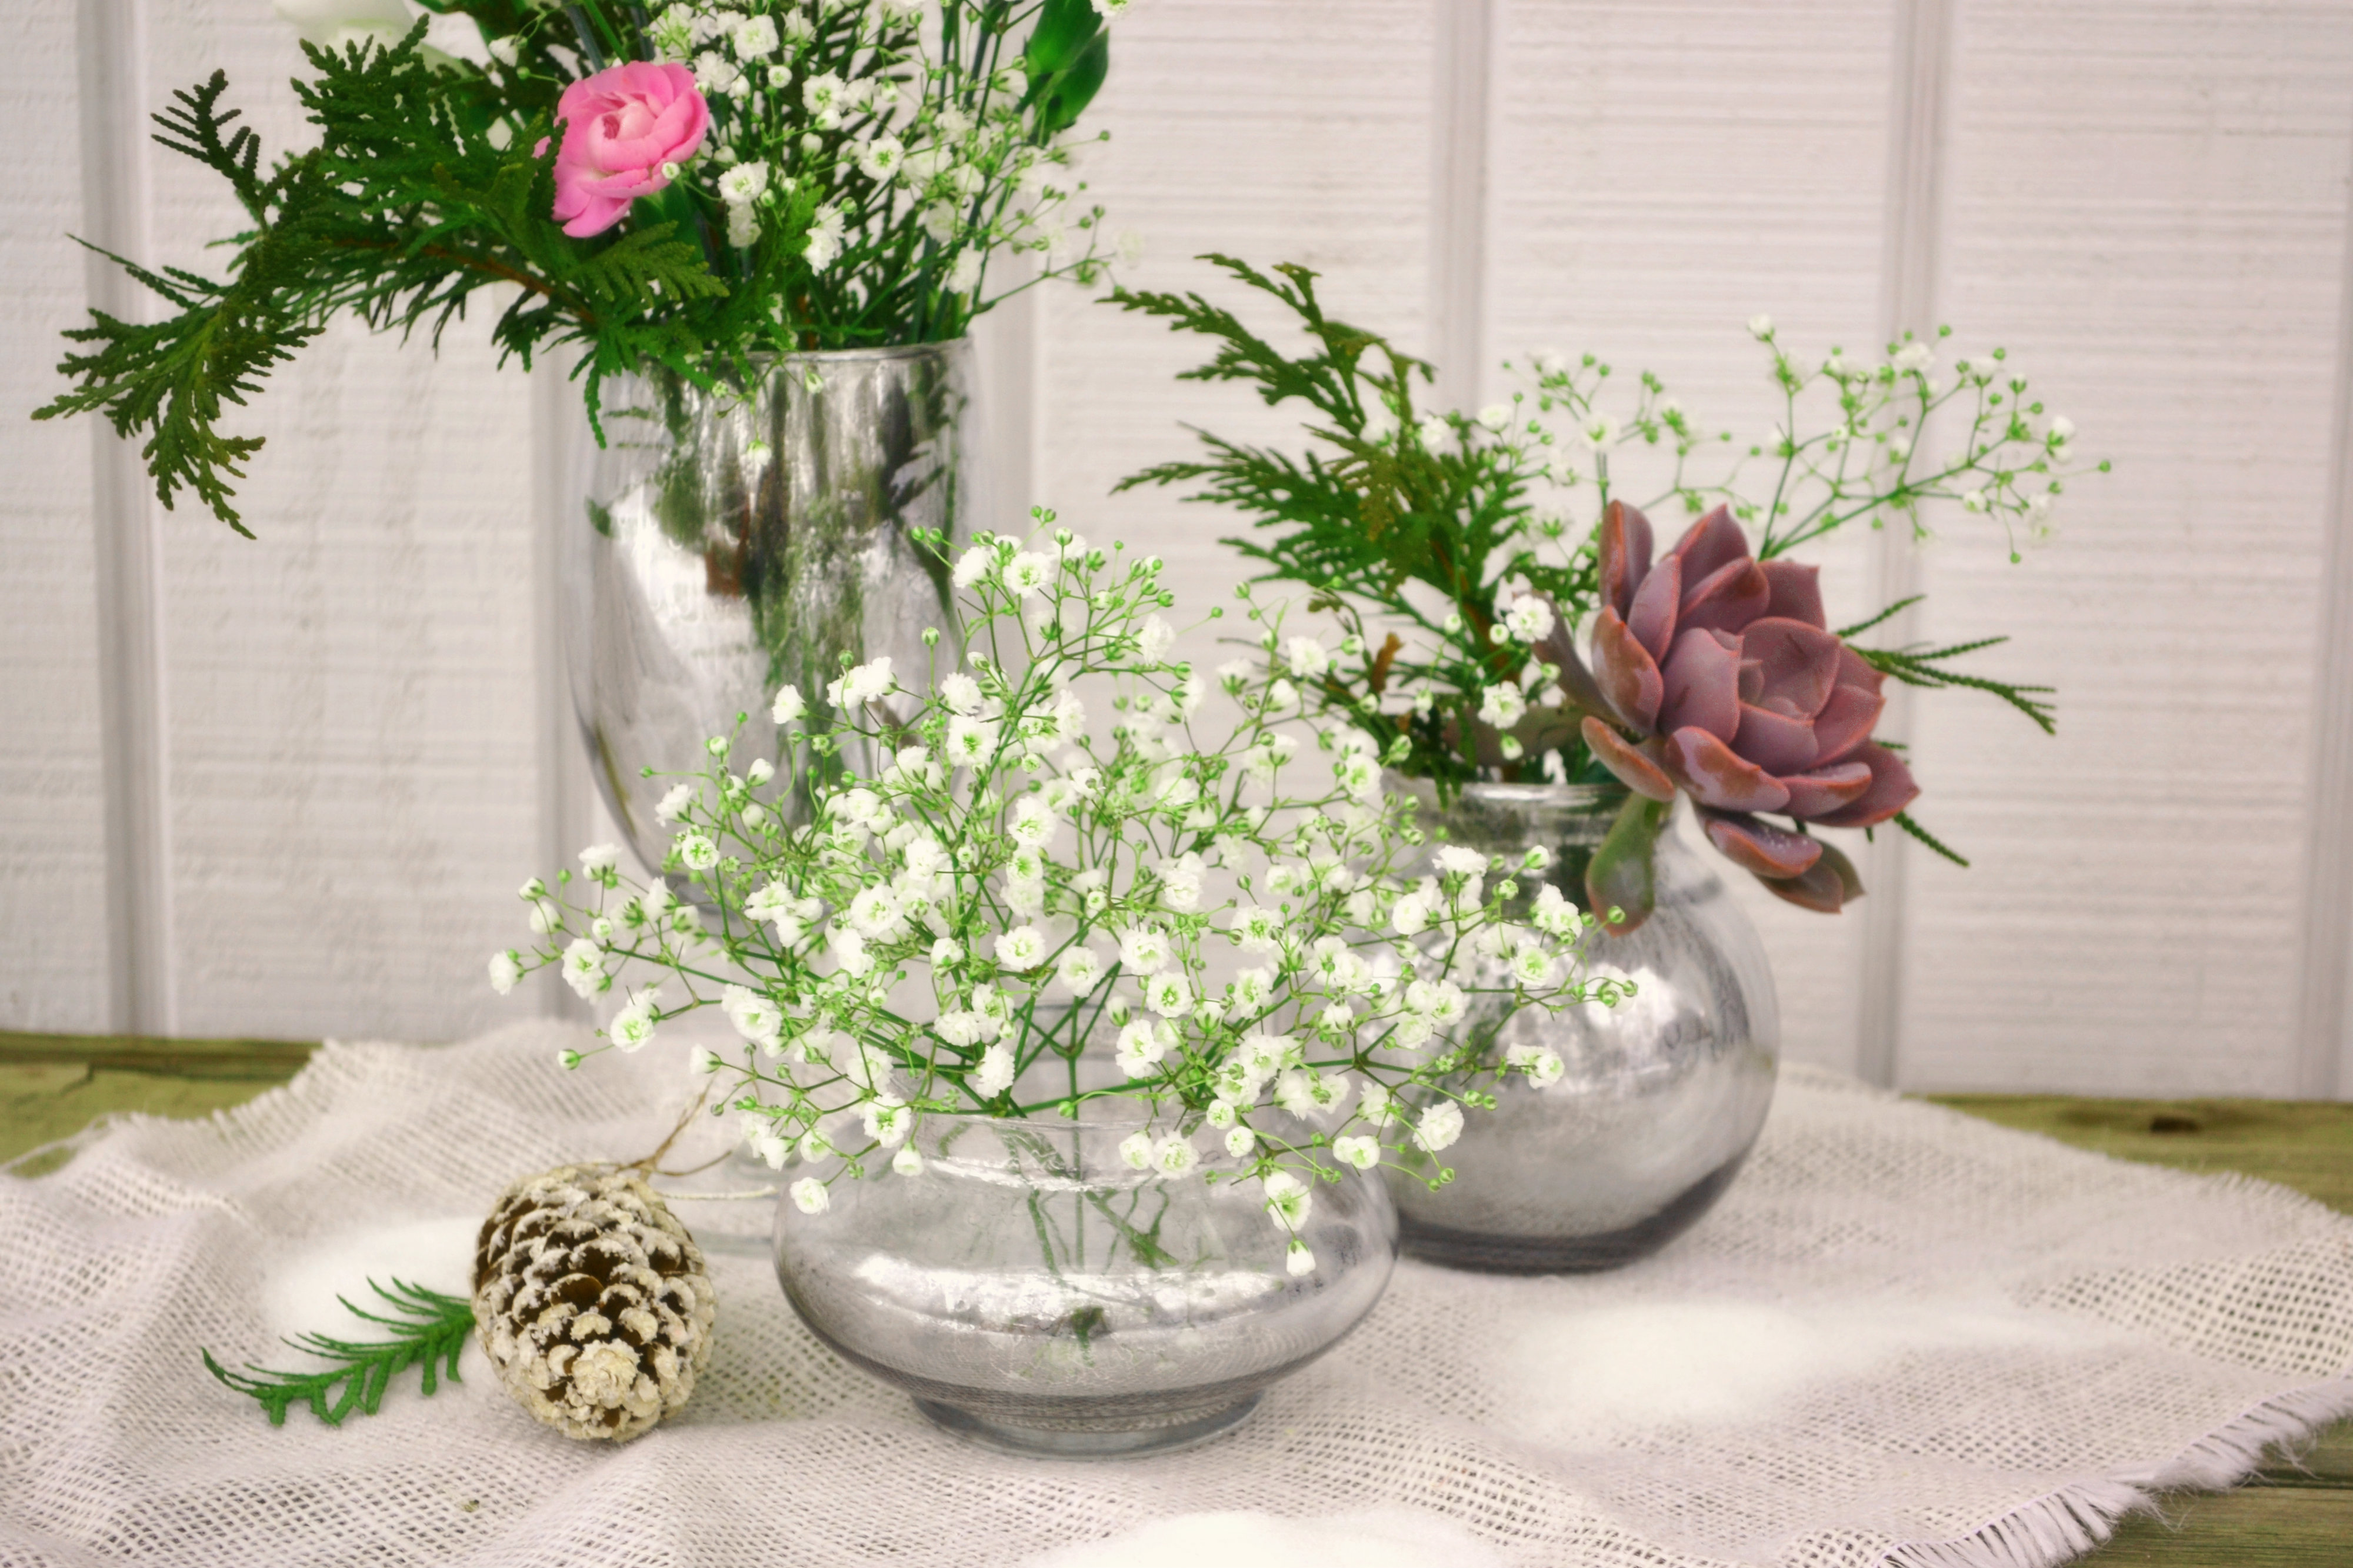
My last couple days have been filled with thrift store shopping… which I absolutely love!  The thrill of the hunt gets me every time.  And just because something is cheap, doesn’t mean I can’t find it cheaper.  I might just take a little too much pride in scoring a great deal.  These golden pots were a thrifty steal… can’t wait to fill them with blooms!

Gold Planters | The Day's Design

I went to a total of 8 stores to score the number of little pots I needed for my client’s next project.  I realize not everyone has that much time (that’s why you hire me!), so I want to share a little strategy with you about thrift store shopping, because not all stores are created equal.

So, how should you tackle the thrifty madness?

My first piece of advice – steer away from the “name brand” or chain thrift stores.  Goodwill may have the name, but it doesn’t deliver the goods.  Ditto to Salvation Army.  For the most part, I don’t waste my time, at least not if I’m looking for vintagy and décor type items.  Clothing might be another story.  But these stores I feel are over-shopped, so you have to be there the instant something is donated to snatch it up.  And even then, I’m not always willing to pay their prices.

Look for less known stores, which are typically less shopped and I usually score better deals.  In Grand Rapids there’s a Bethany Thrift Store or the Pine Rest Thrift Store – proceeds go to each of these organizations, and while they’re still located on the main hub of Grand Rapids, people know less about them which benefits me greatly.

Secondly, know the difference between a thrift store and antique store.  That sounds obvious, but with the turn “vintage” coming into play, this line has become clouded.  Places are popping up with titles such as estate sale warehouses.  Some are gold mines other, not so much.  Stores like this carry items ranging anywhere from collectable antiques to shampoo and Beanie Babies.  Places that claim to cater more to antique collectors are generally more expensive than those with more of a flea market sales pitch.

Stores like these also tend to have separate booths and not all booths are created equal either.  Booths are owned by different vendors, who all having different items and pricing strategy.  And occasionally a booth or two might be offering additional discounts, so pay attention to those hand-written signs.

No matter what the store, I recommend shopping on week days.  Usually there are a few less people milling about the store, which means I don’t have to make the split second buying decision.  There’s nothing worse than going back to grab your treasure, only to find someone else bought it out from underneath you.  But check their store hours, some have certain days of the week that they aren’t open or they may close earlier than your typical retailers.

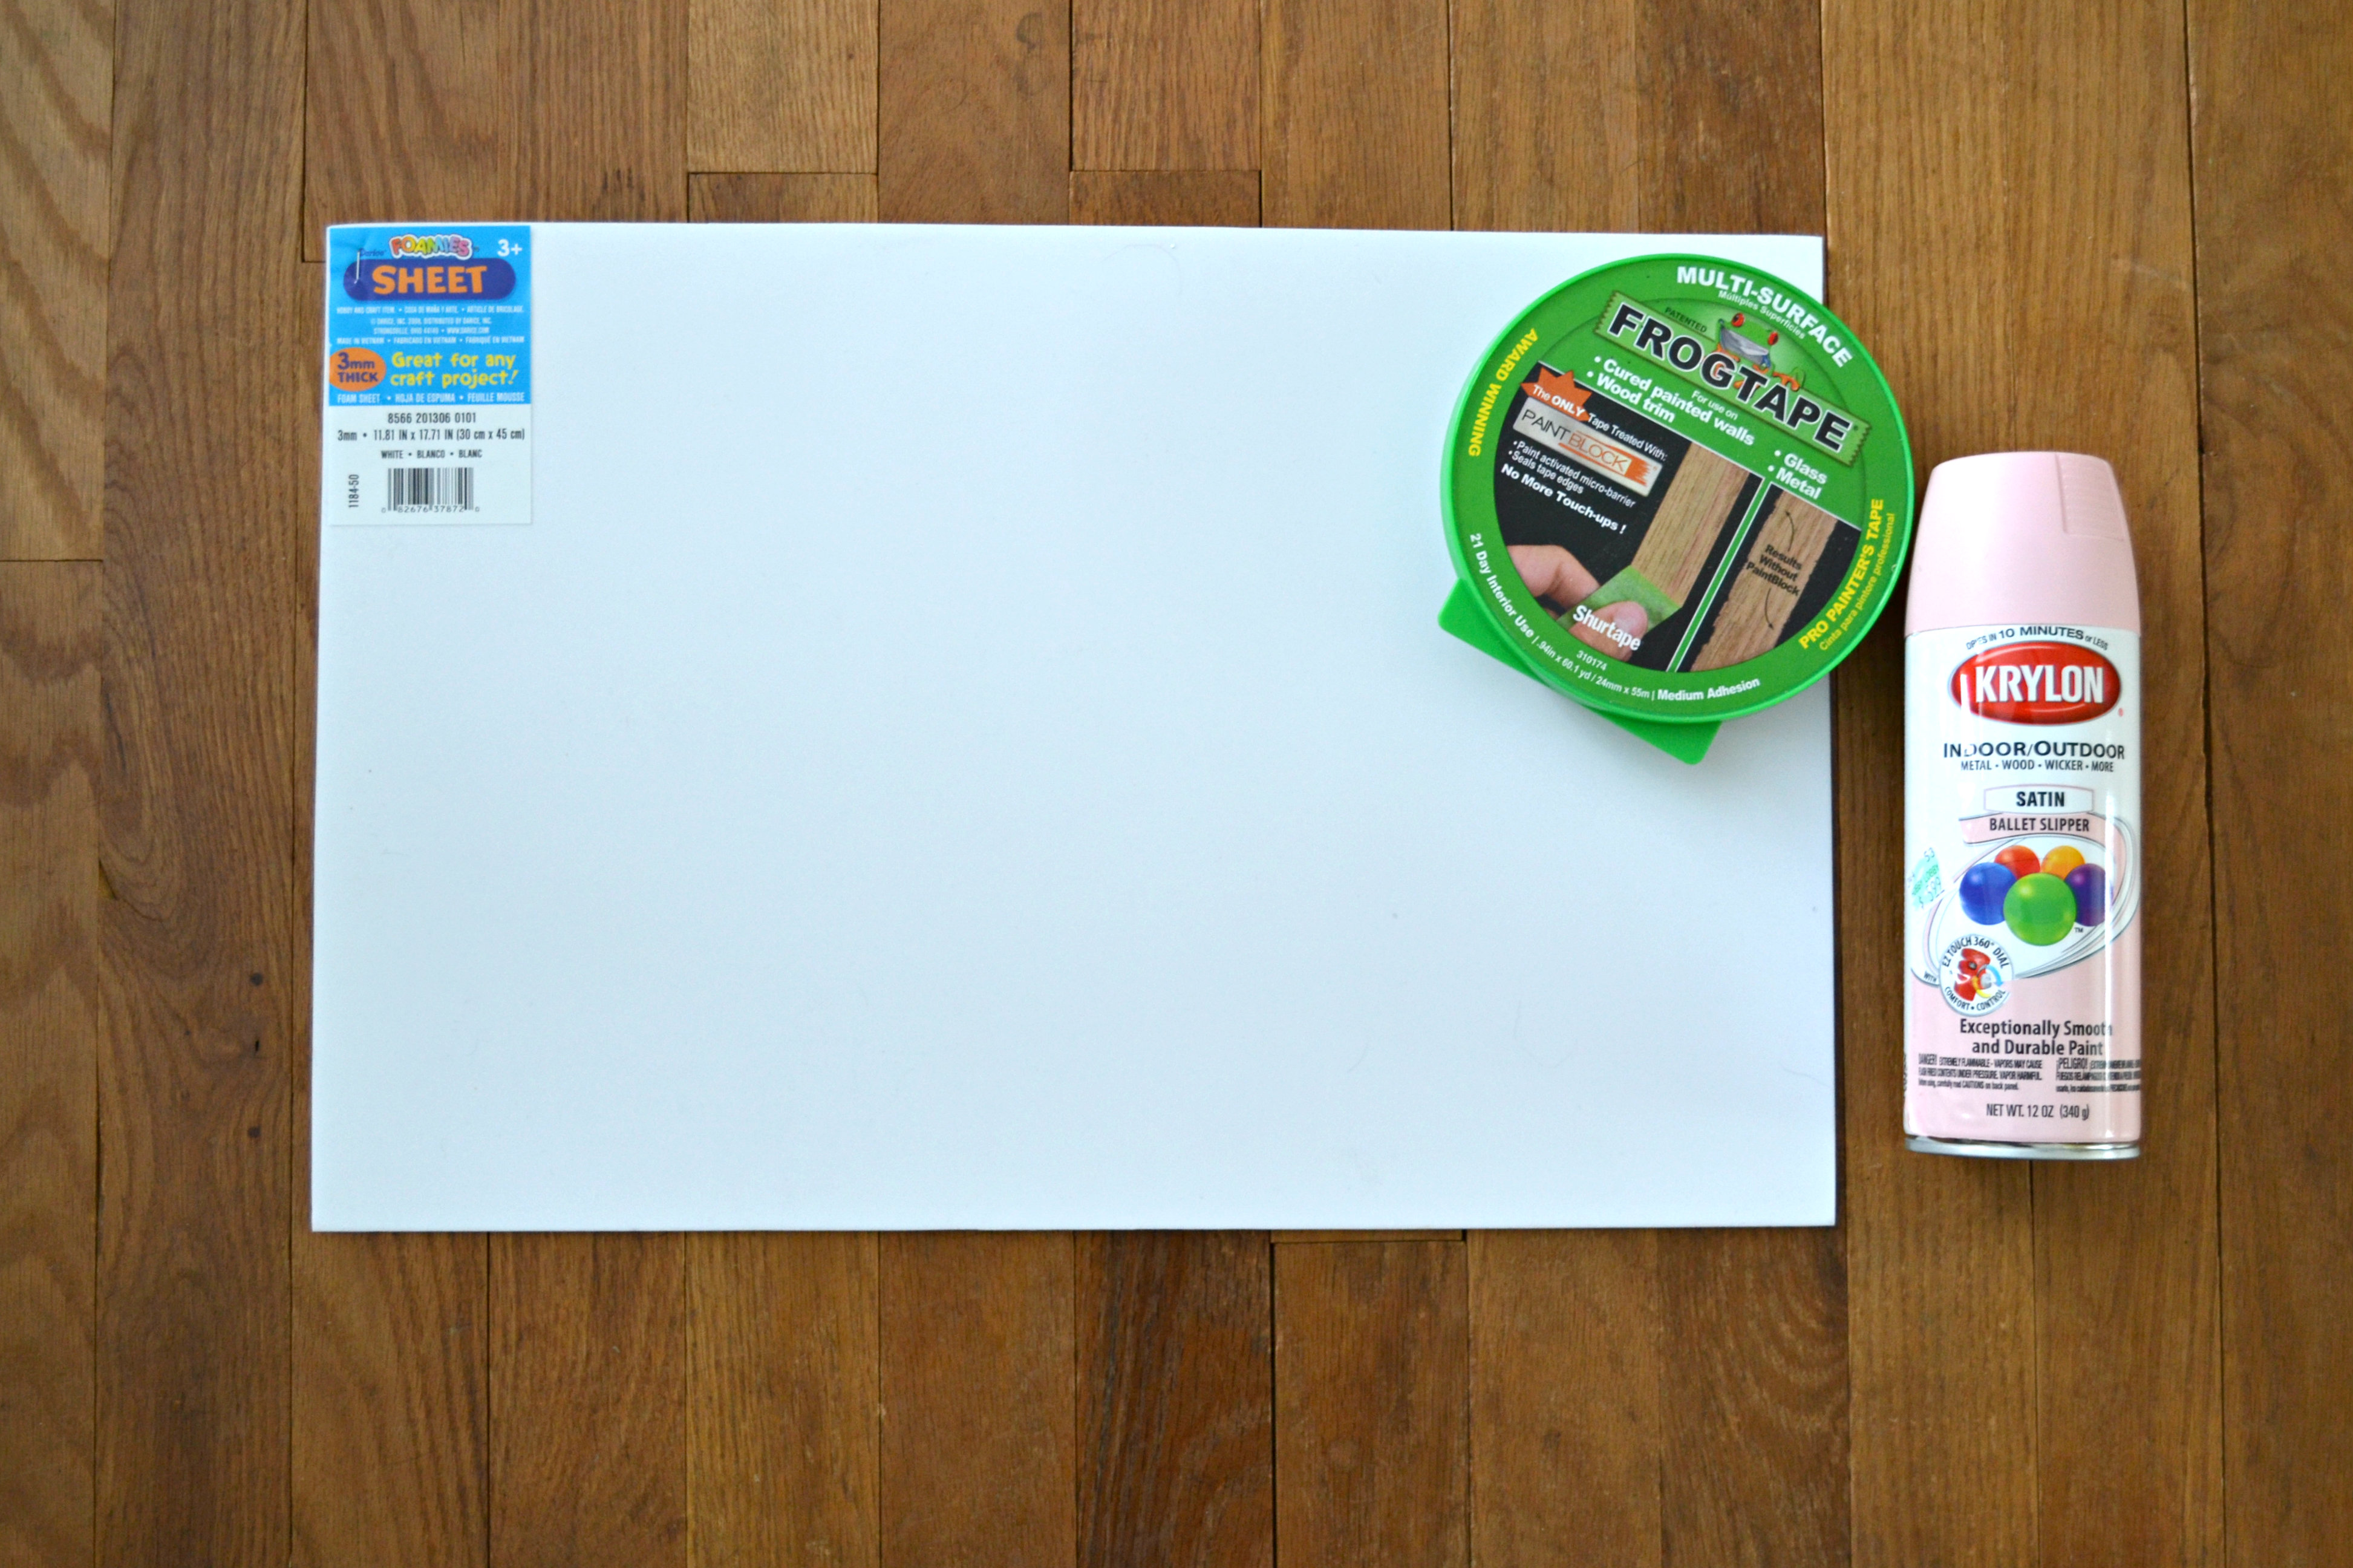
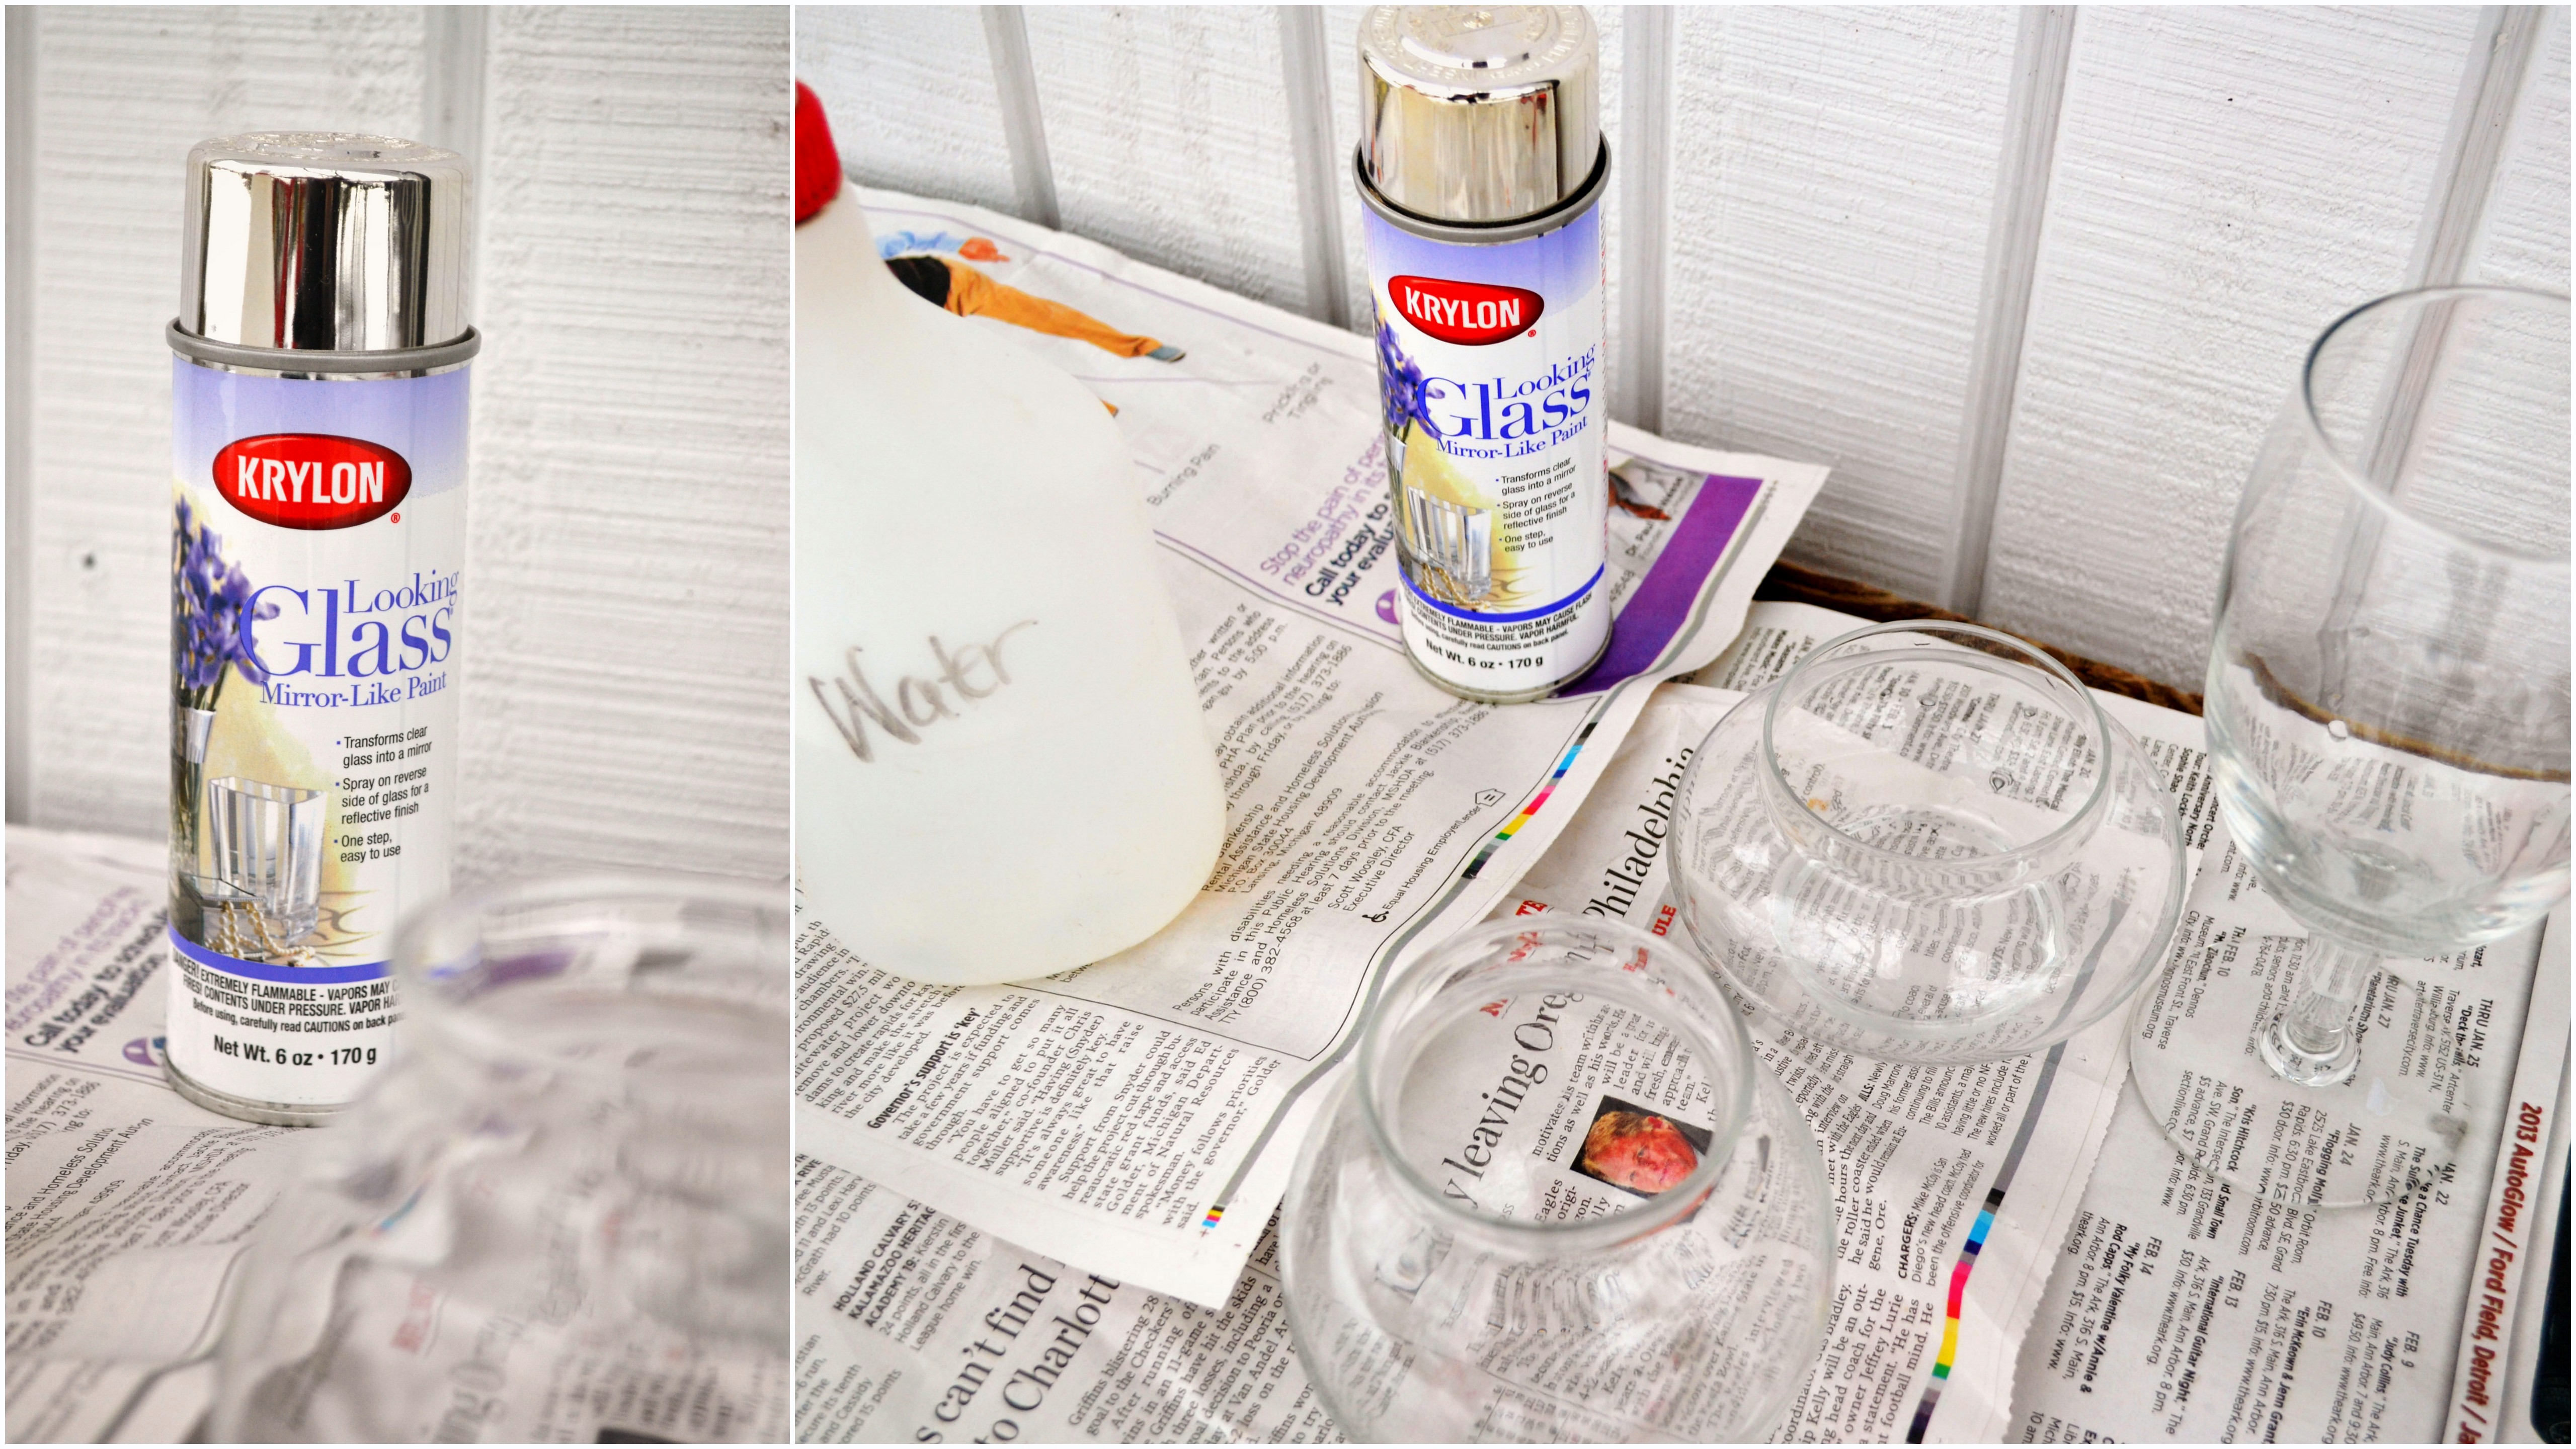
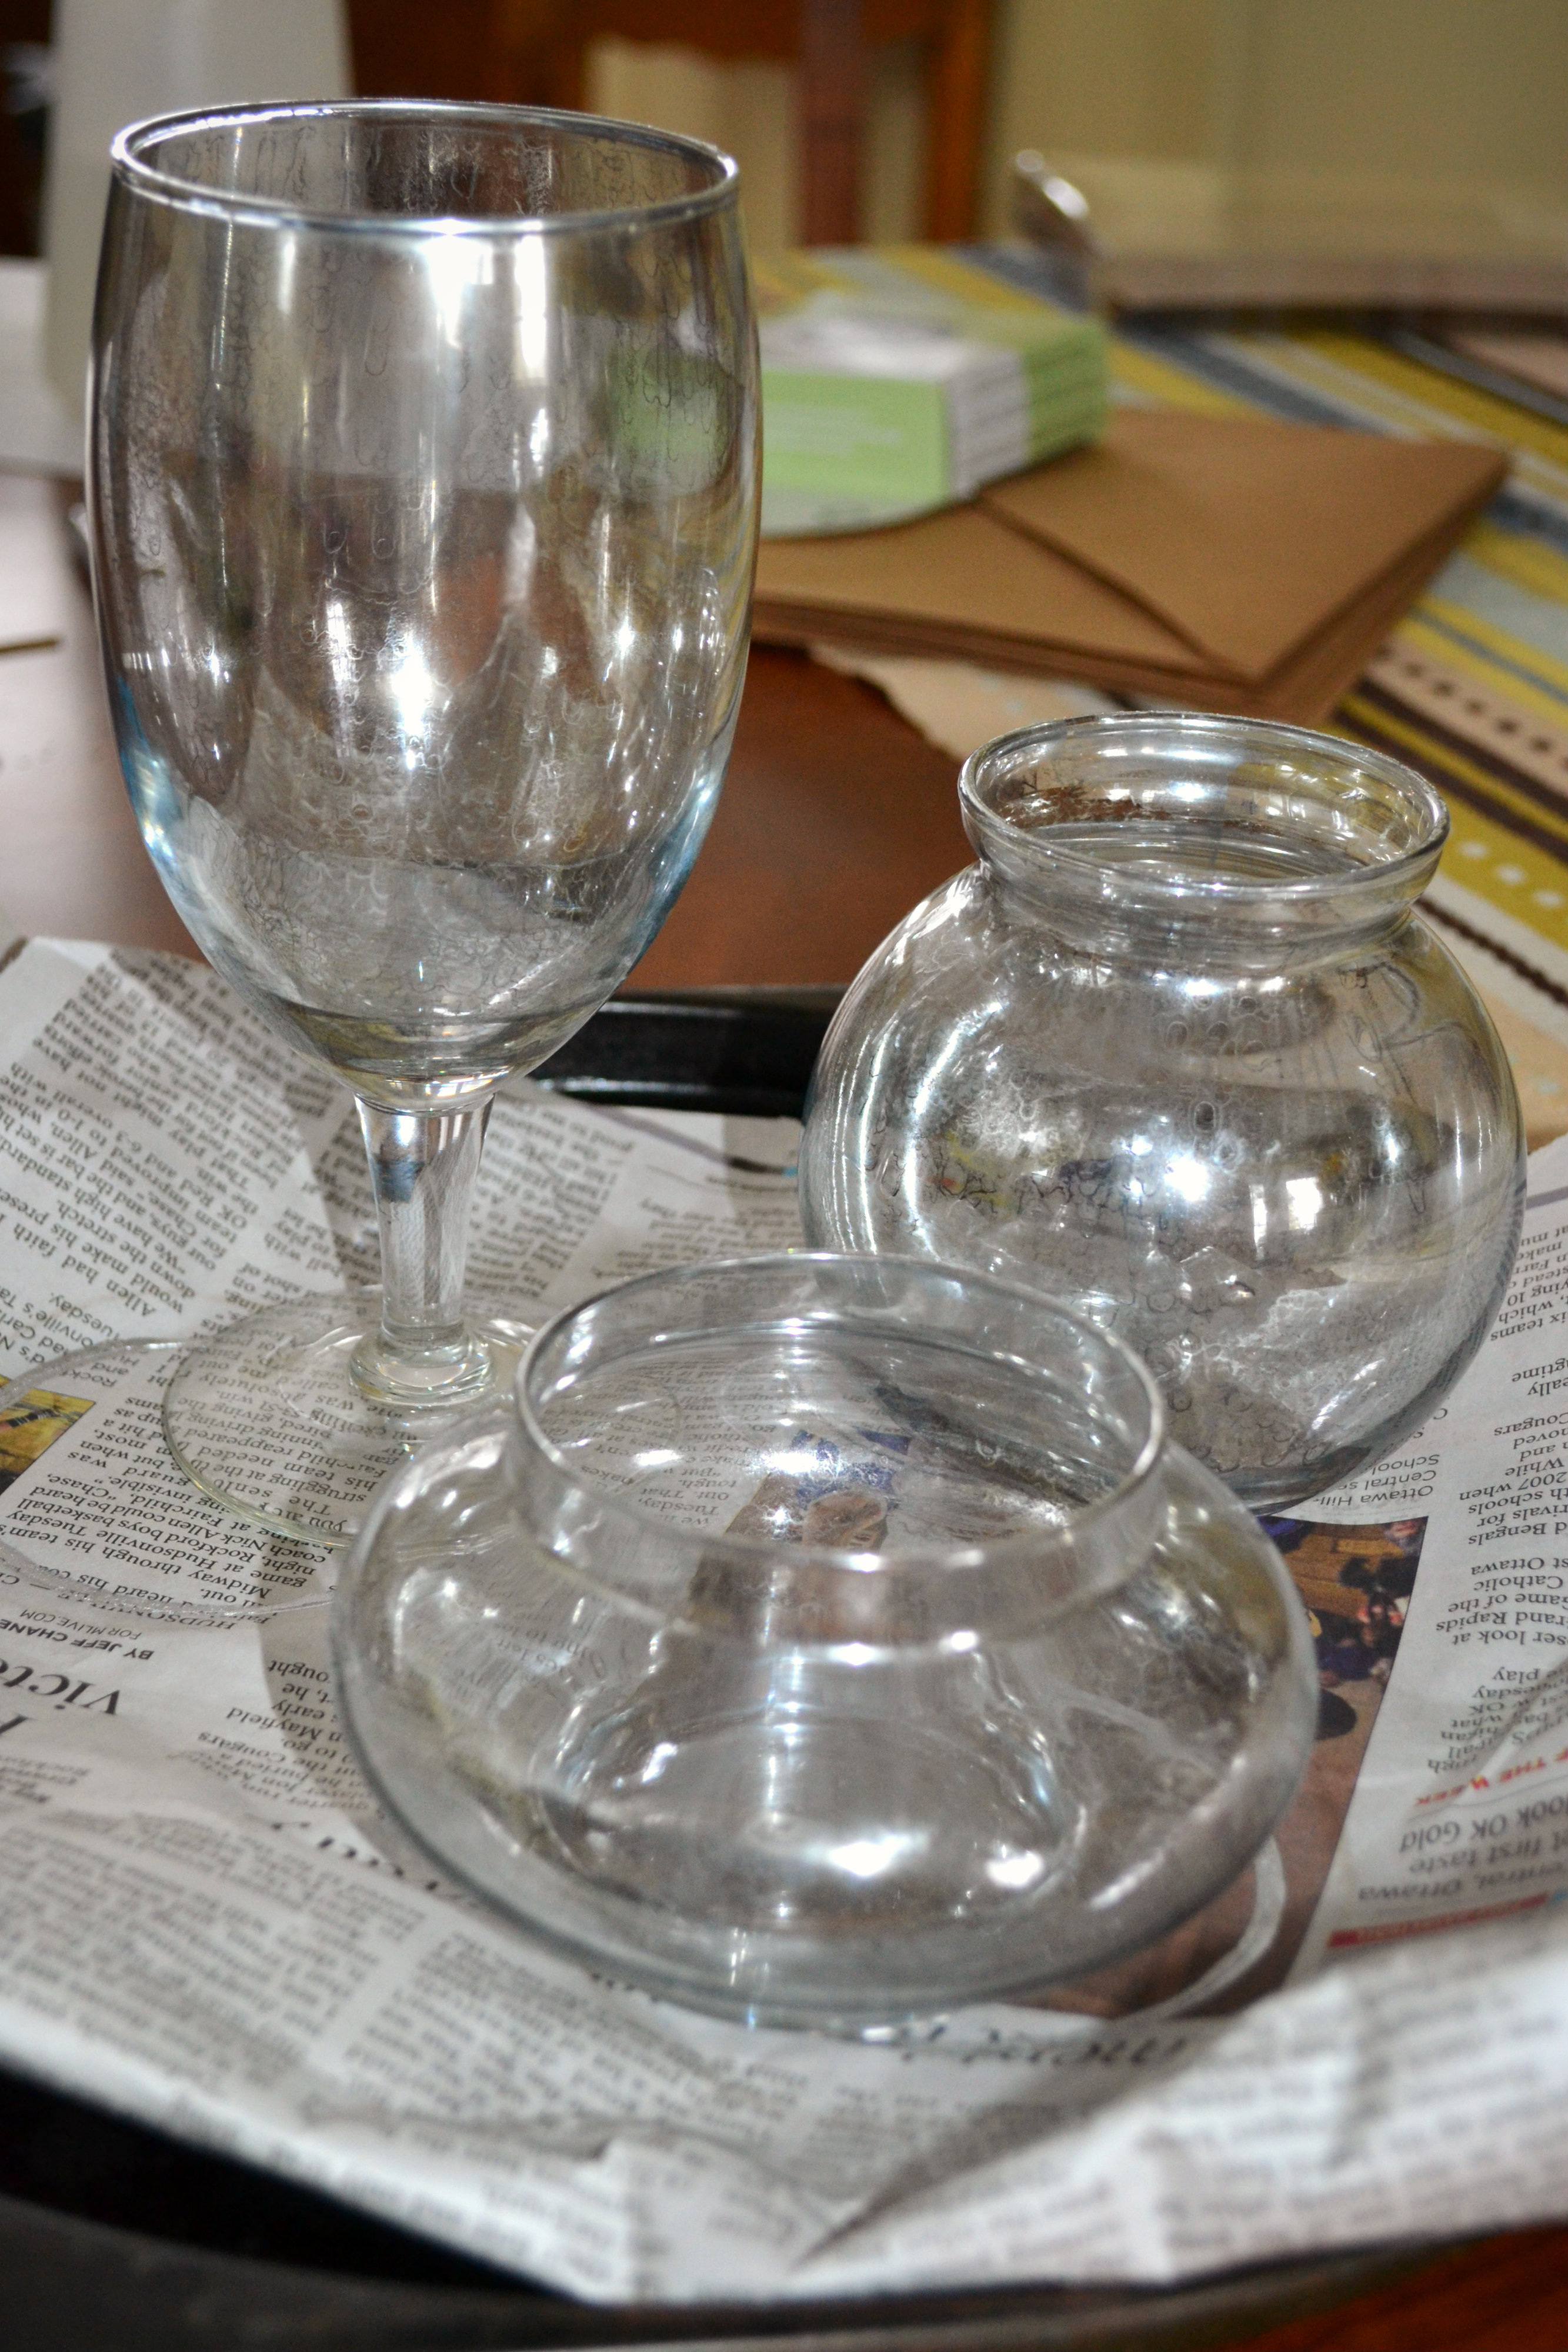
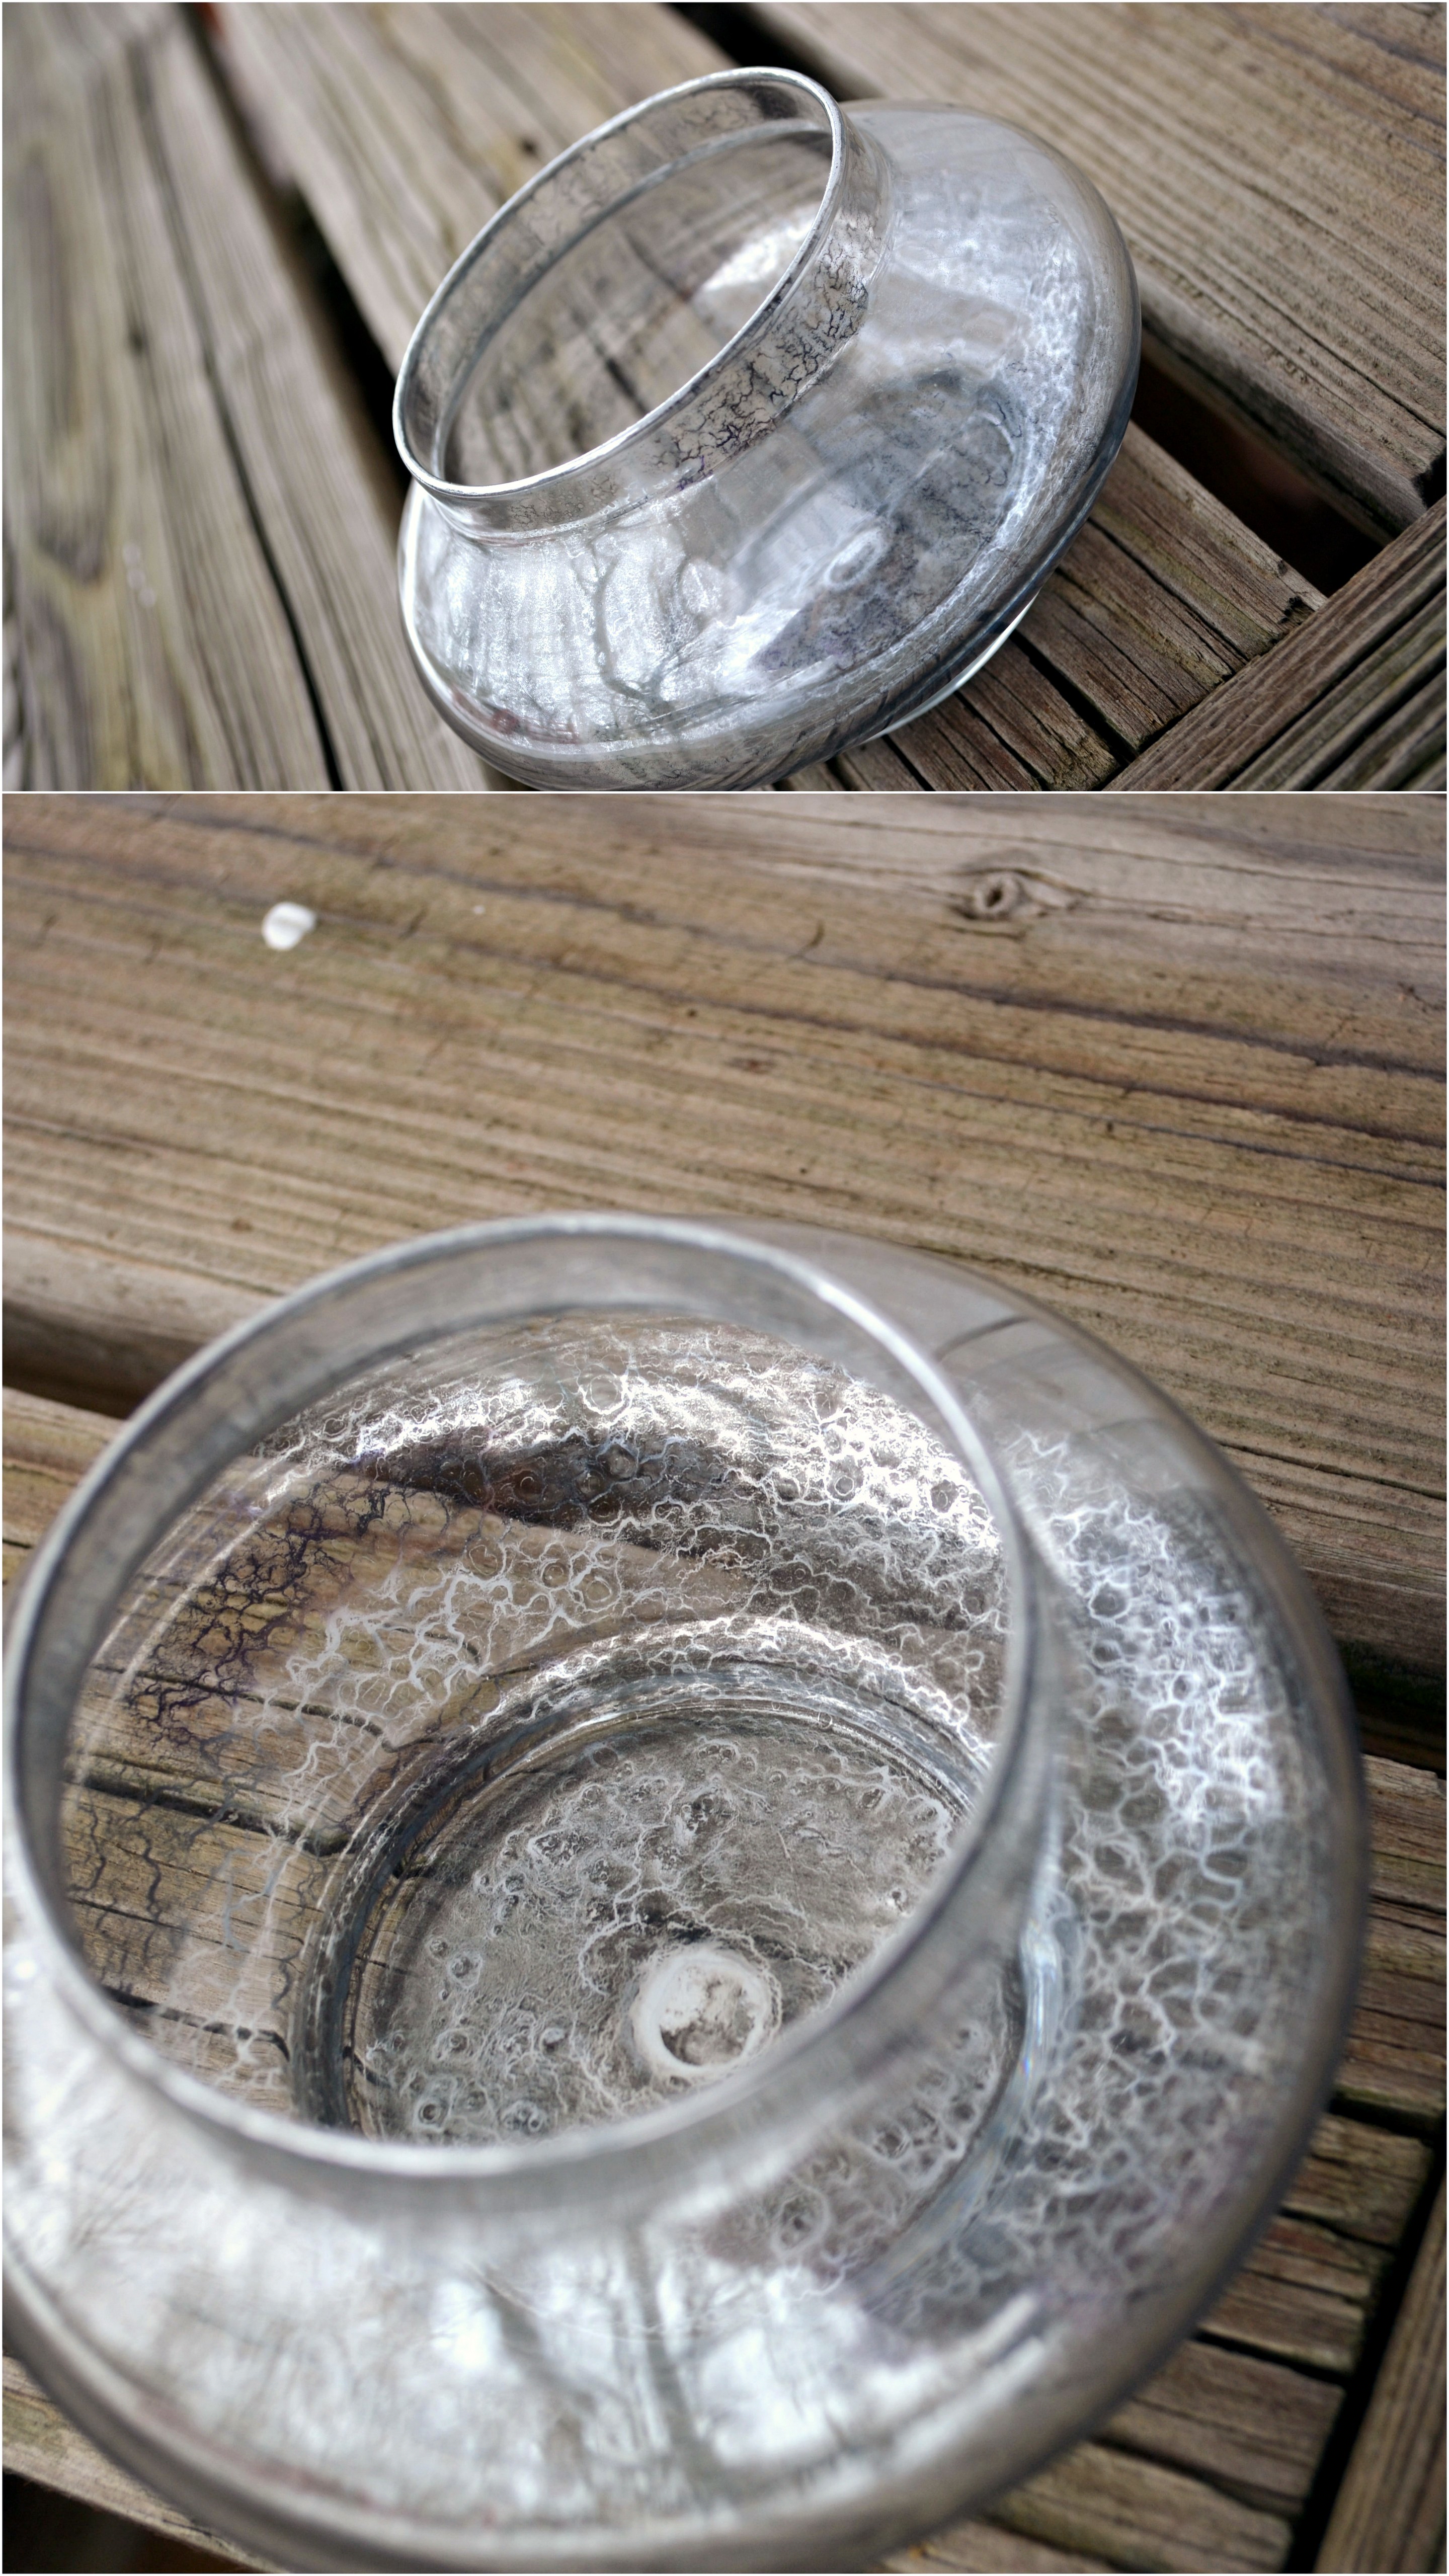
Bring along your imagination along for the ride!  Items that look like junk when thrown together with other junk might actually be cool in the right setting.  Try to envision pieces in your home or with your event décor.  And if the price is right, paint can go a long way.  Love the shape of a vase but not the color – spray paint is your best friend!  And that ugly chair over there can be reupholstered for much less than buying new.  Don’t be afraid to get creative.

Any other tips or tricks?  I’d love to hear your thrifting strategies!

Shopping with Shelby Gold planters, Grand Rapids thrift stores, pretty projects, shopping with Shelby, the day's design, Thrift Stores

DIY Gilded Floral Crown

0 · Apr 1, 2014 ·

Yesterday was the warmest day we’ve seen so far this year and it was as if the whole world simply came bursting back to life.  Neighbors were in the streets, yards were being raked and the snow mounds bordering my lawn shrunk to the point that I can now see the tops of cars passing by my house.  And guess what I found buried underneath some of that snow?  Life!  There, braving the ice and cold, are the little tips of my spring bulbs waiting for their time to bloom.

I’m eagerly awaiting that moment too.  But until then, I thought I’d share a little bit of flowery goodness with you today and how you can create it yourself.  I’m simply loving the floral crown trend right now and this one is especially glam with gilded gold leaves.

So here’s what you need:

Grapevine wire  |  Floral wire  |  Wire cutters  |  Floral tape  |  Flowers*  |  Greens*

*I used one stem of pink lisianthus (which had two flowers) and a cream garden rose.  For greens I used mini coin as my base and filled in with silver dollar eucalyptus – but the options are limitless, use what inspires you!

Floral Crown Supplies | The Day's Design | Ashley Slater Photography

Step 1:  Spray paint your greens.  You can completely coat them or let a little green show.  I like to leave a little nature shining through.

Gold Gilded Floral Crown | The Day's Design | Ashley Slater Photography

Step 2:   Form a circular base with the grapevine wire.  The form should be slightly larger than your head as once the greens are attached the fit will be more snug.

Floral Crown DIY | The Day's Design | Ashley Slater Photography

Step 3:  Once the paint has dried, clip the long stems so only an inch or so remain, along with the leafy, pretty part of the plant.

DIY Gilded Floral Crown | The Day's Design | Ashley Slater Photography

Step 4: Using floral tape, wrap the stem of the greens and attach it to the grapevine wire. Continue to attach stems to the grapevine wire, leaving the other end of the greens free until you have created a full circle of greens.

Gilded Floral Crown tutorial | The Day's Design | Ashley Slater Photography

DIY Gilded Floral Crown | The Day's Design | Ashley Slater Photography

Step 5: Begin filling in the larger leaves, taping them to the grapevine wire.  The larger leaves (eucalyptus) are optional, but I like the extra texture they add.

Gilded Floral Crown Tutorial | The Day's Design | Ashley Slater Photography

Step 6: With the small pieces of floral wire, attach the loose ends of the leaves to the crown so it creates a full and lovely circle.  How tightly you attach the greens is up to you, a looser greens with create a more wild and relaxed look.

At this point you might choose to add an additional layer of gold paint which would help to camouflage any floral tape and wire.

Gilded Floral Crown tutorial | The Day's Design | Ashley Slater Photography

Step 7:  Trim the stems and add flowers.  I chose to place them off to the side, but the options are limitless.  To add them – pierce the base of the bloom with the floral wire and then twist and attach to the crown.

Gilded Floral Crown DIY | The Day's Design | Ashley Slater Photography

Floral Crown DIY | The Day's Deisgn | Ashley Slater Photography

Step 8: Wear your gold crown pretty lady!

Garden Rose Floral Crown | The Day's Design | Ashley Slater Photography

DIY Floral Crown | The Day's Design | Ashley Slater PhotographyDIY Gold Floral Crown | The Day's Design | Ashley Slater Photography

All photos by the fabulous Ashley Slater Photography, thanks love!

about_signature

Projects & Tutorials Ashley Slater Photography, DIY, floral crown, floral crown tutorial, flowers, Garden rose, gilded flower crown, gold crown, gold leaves, pink lisianthus, pretty projects, spray paint, the day's design

DIY Striped Placemats

0 · Jan 24, 2014 ·

It occurred to me this morning that I have not left my house all week.  The last time I stepped out my front door was on Sunday, heading to church.  This cold winter weather has me all cooped up and I start going a little stir crazy.  If you’re like me, it’s this time of year that you start looking for pretty projects to work on and ways to add some easy glam to your home.

Back in November I created quite a few DIY items for Gretta’s first birthday party (you can see the whole thing here), these fun striped place mats were just one little piece of the celebration.

DIY Striped Placemats

The gorgeous photos above are from Hetler Photography… the DIY portion of this post will be snaps shots capture by yours truly and they’re not pretty, but they get the point across!  So here we go:

You will need:

  • 12 x 18 inch foam sheets
  • Painter’s tape
  • Spray paint

DIY placemats

Step 1:

Add lines of painter’s tape in a vertical direction over the foam.  Remember, any area covered with painter’s tape will remain white.  For thicker stripes, add use thicker tape or multiple pieces until desired thickness is achieved.

DIY Striped Placemat

Continue adding tape until you have created your desired number of stripes.  Here’s a little tip to make sure spacing stays consistent and lines of tape are straight: find a piece of furniture or object with straight lines and use it as your guide.  I like to take advantage of my hardwood floors and use the lines as a guide keeping the stripes the same width as the slats on my floor and also making sure the tape stays alined with the floors on either side of the foam.

Step 2:

Spray paint.  Any color works, make it match your house or party decor!  No rules there 🙂

DIY Striped Placemats

Step 3:

Remove painter’s tape once paint is dry.  The paint dries pretty quickly on the foam, it took about a 1/2 hour for me, but could vary depending on the day and drying conditions.  The lines might not be perfectly crisp, but that gives them a little character.

And ta-da, instant glam to your table!

Oh My Stars 1st Birthday Party | The Day's Design | Hetler Photography

A couple of other notes about this project:

  • I used 3 mm thick foam, the thinner pieces seemed to flimsy to be place mats in my opinion.  I purchased mine at Hobby Lobby but JoAnn Fabrics carries it as well.  They were $1.00 each.
  • The spray paint color is used is Krylon’s Raspberry
  • And I also wish my pictures were are pretty as Kellie’s!  Let’s pretend, shall we?

Stay warm friends!

about_signature


Projects & Tutorials DIY, DIY placemats, Gretta's birthday, hetler photography, home decor, place mats, placemats, pretty projects, raspberry, spray paint, stripes

DIY Mercury Glass

0 · Mar 8, 2013 ·

DSC_0503e

Vintage finds inspire me.  One of my favorites is mercury glass.  It can be mixed in with so many decor styles and is super glamorous.  I read quite often about people finding great pieces at flea markets and other antique sources.  However, I have never been lucky enough to find a thrifty piece at one of these locations.  I have found some pretty great non-vintage pieces at TJ Maxx, but if you’re trying to create a display with multiple pieces, this can get pricy fast.

I’ve seen several posts on how to make diy mercury glass.  So I tried it, here’s a way to create the look of mercury glass at home.

What you’ll need:

  • Clear glass vases
  • A spray bottle filled with water
  • Mirror finish spray paint

DSC_0406e

set up

Step 1:  Wash your vases.  Do not worry about letting them dry completely.

Step 2:  Spritz a little water into your vases.

Step 3: Spray your mirror-like paint inside the vases.  Use short quick sprays, creating a thin layer of paint over the water surface.  It will be runny looking and seem pretty messy.

Note:  Make sure you use mirror-like finish spray paint, regular silver spray paint will not give you the same reflective quality.

Edited1

Step 4:  Place the vases upside down to dry.  Paint and water will run out of them, make sure you don’t care about the surface you place them on, as it will get messy.  Let them dry for about an hour.

Step 5:  Add another coat of paint to the vases if they seem too transparent.  To do so, repeat Step 3, and place them upside down again to dry.

DSC_0439e

Another note:  I do all of my spray painting outside because I am not a neat painter!  However, I do not recommend leaving them outside to dry in this cold winter weather.

Edited2

The water spots create that splotchy appearance we all love in mercury glass.  Once your vases have completely dried, fill them with your favorite blooms.

DSC_0495e2

DSC_0495 (2)e2

Now I’m not going to sit here and pretend that this looks exactly like mercury glass… because it doesn’t. But mix these DIY vases in with same authentic mercury glass to make your decor budget stretch a little further.  I like mercury glass with wintery greens and snowy accents and since we haven’t seen the last of the snow yet here in West Michigan, I used cedar and some other floral leftover that I had laying around.  Hopefully I’ll be adding some spring projects soon!  Adding ribbons, jute or other embellishments to these vases can add a little extra flare. Personalize them and make them truly yours.  And have a Happy Friday!

about_signature

Projects & Tutorials diy mercury glass, diy projects, mercury glass, pinecones, pretty projects, silver vases, snow, succulents, winter flowers

Primary Sidebar

Featured Posts

Yellow poppy centerepice for spring wedding flowers

Mauve & Yellow Flowers for the Month of March

5 Flowers for the Month of March

5 Flowers for the Month of February

The Day’s Design’s Valentine’s Flowers

round table with blush and blue decor

Blush & Blue Winter Tabletop

More

As Seen On

EveryLastDetail

BurnettsBoard

Footer

Instagram

Instagram has returned invalid data.

Follow along with our adventures

  • Projects & Tutorials

Copyright © 2026 · Cravings Pro