• Skip to primary navigation
  • Skip to content
  • Skip to primary sidebar
  • Skip to footer

The Day's Journal

Finding beauty in the everyday pieces of life

  • Weddings
  • Lifestyle
  • The Day’s Design
  • Nav Social Menu

    • Facebook
    • Instagram
    • Pinterest

Garden rose

1 Recipe… Endless Possibilities (Part 2)

0 · May 15, 2015 ·

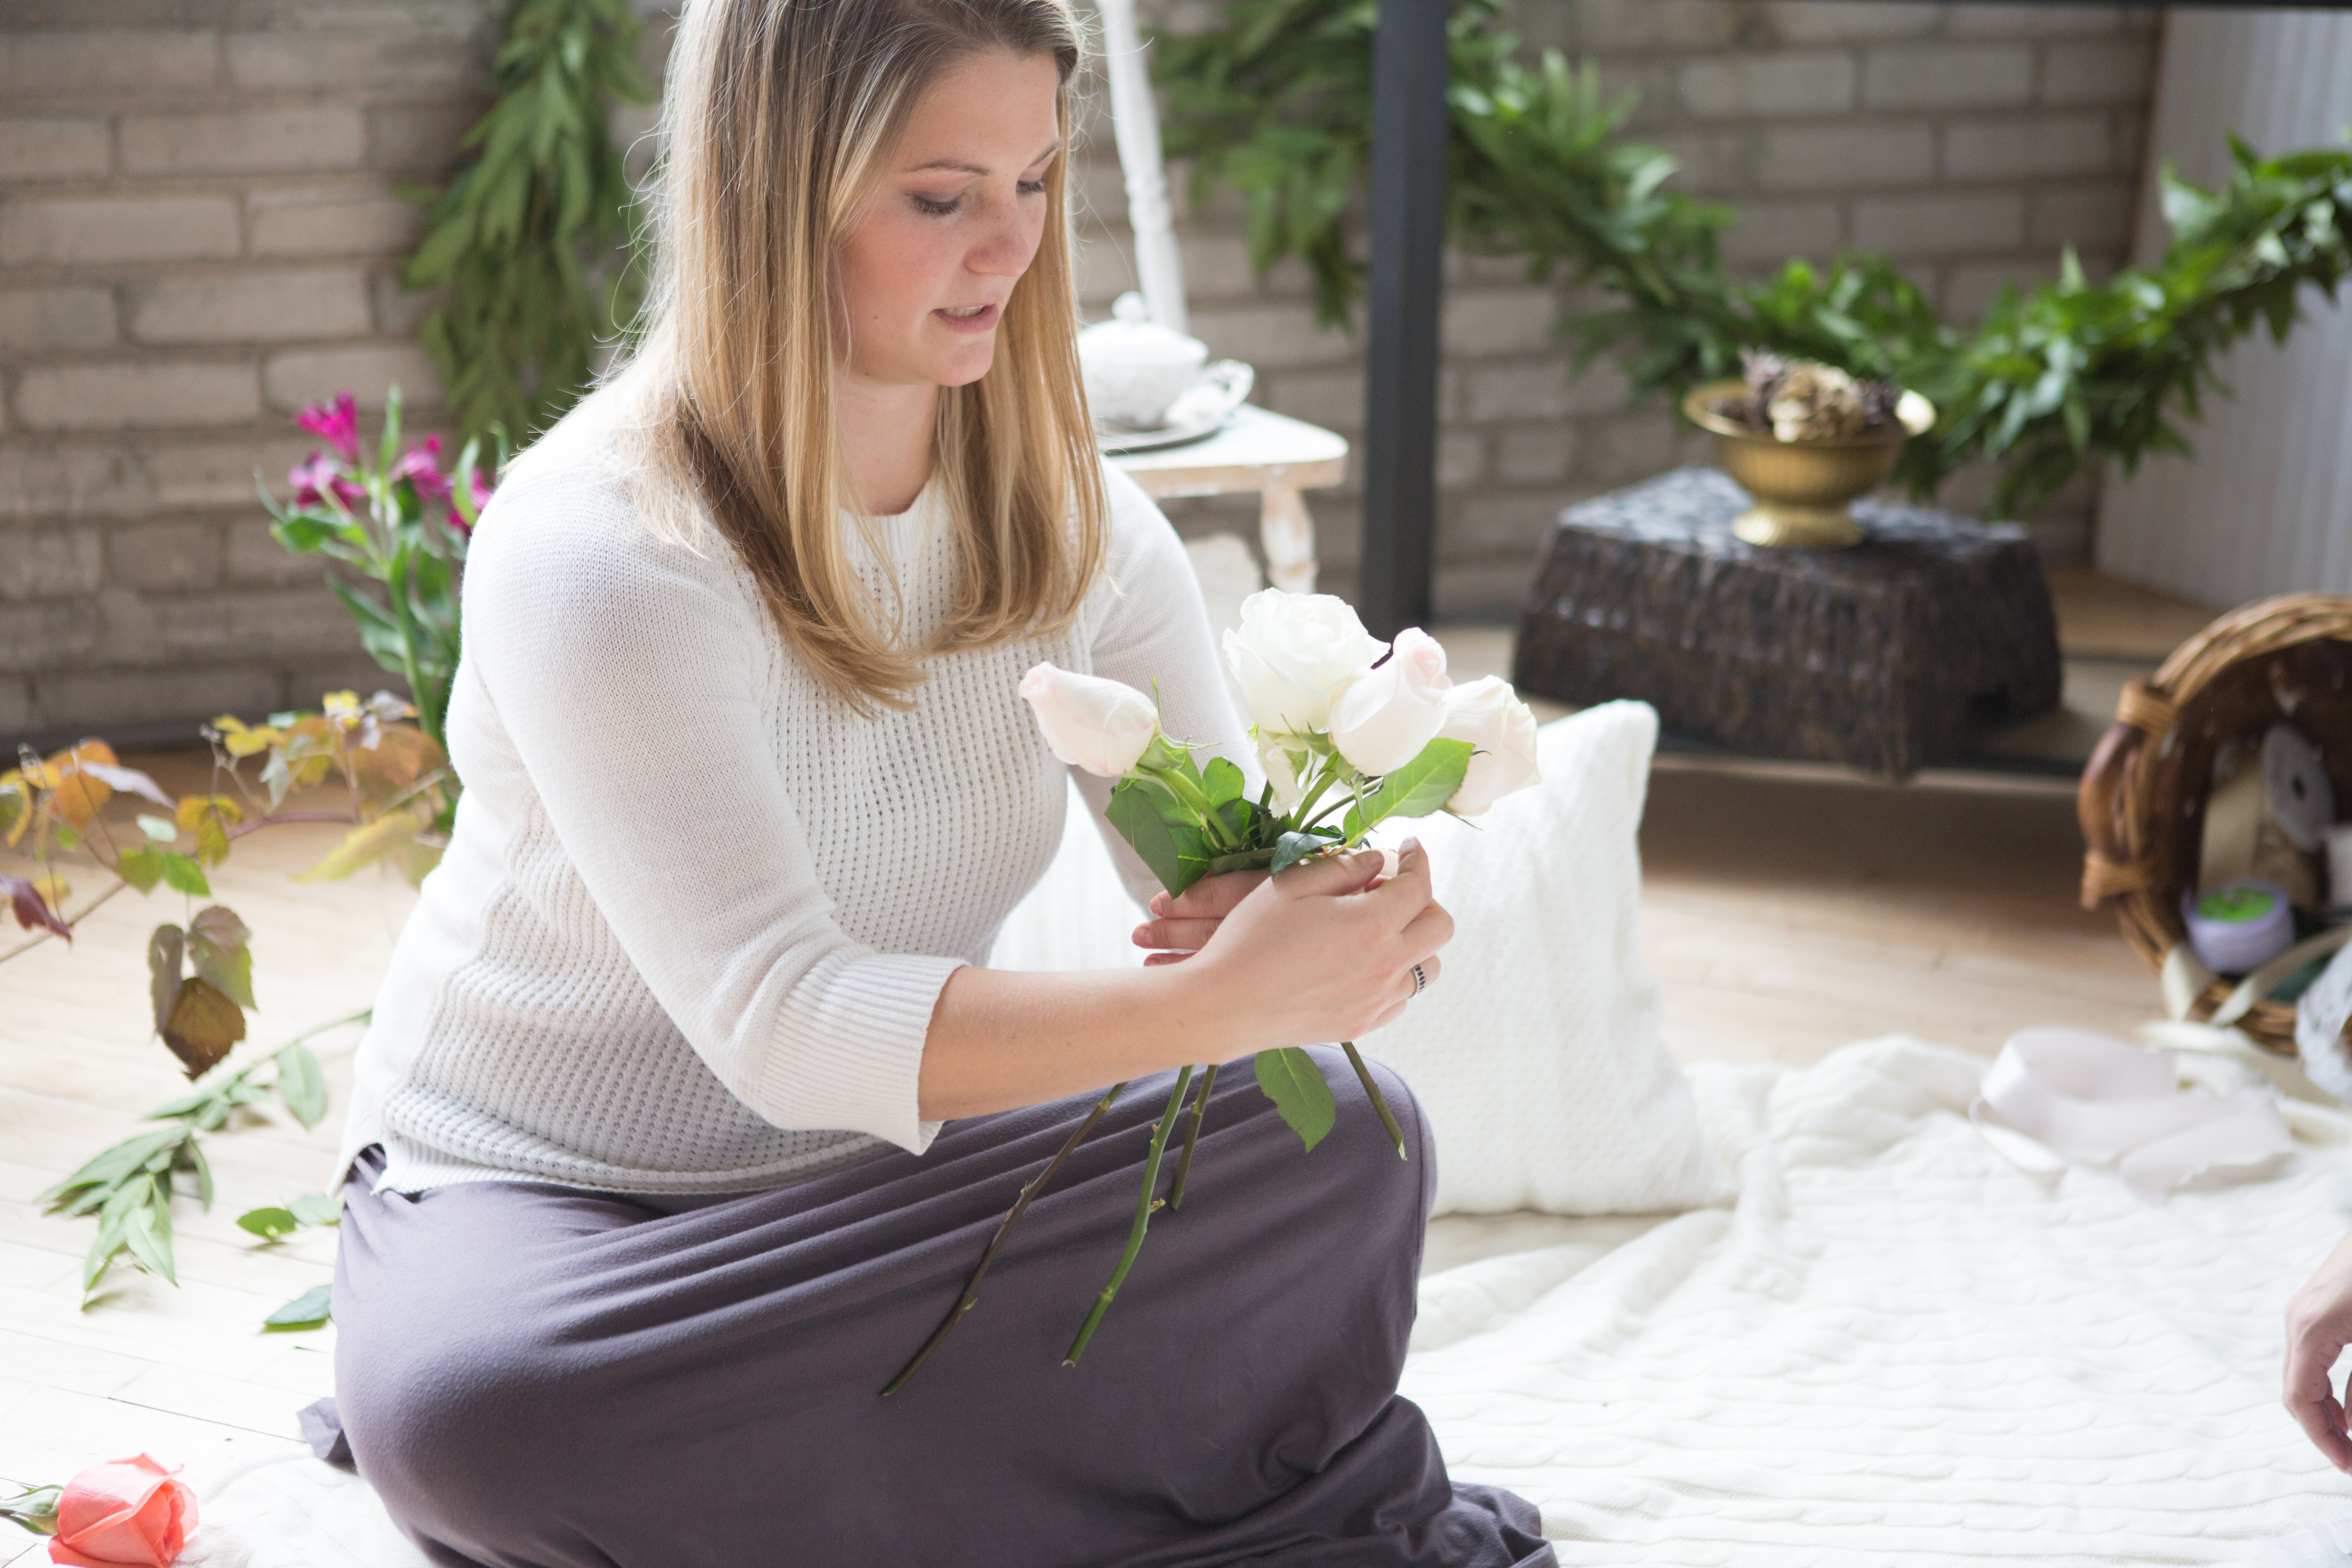
I think today calls for another dose of cheery blooms.  So I’m sharing what I learned from Kaci with Damsel Floral Co about creating a more traditional, or formal style bridal bouquet (here’s the post from last week talking about looser, more asymmetrical bouquet styles).

We stayed true to the original nature of this project, further proving that just because we’re using the same flowers, it does not mean we’re going to yield identical results.  In fact, far from it.  There’s so much to factor into the equation but the major influence is the designer’s eye and personal preference.  This is an art form, you wouldn’t expect 2 painters to paint the exact same painting or two sculptors to sculpt the same statue.  It’s all in the eye of the beholder.  And no two flowers stems are the same.

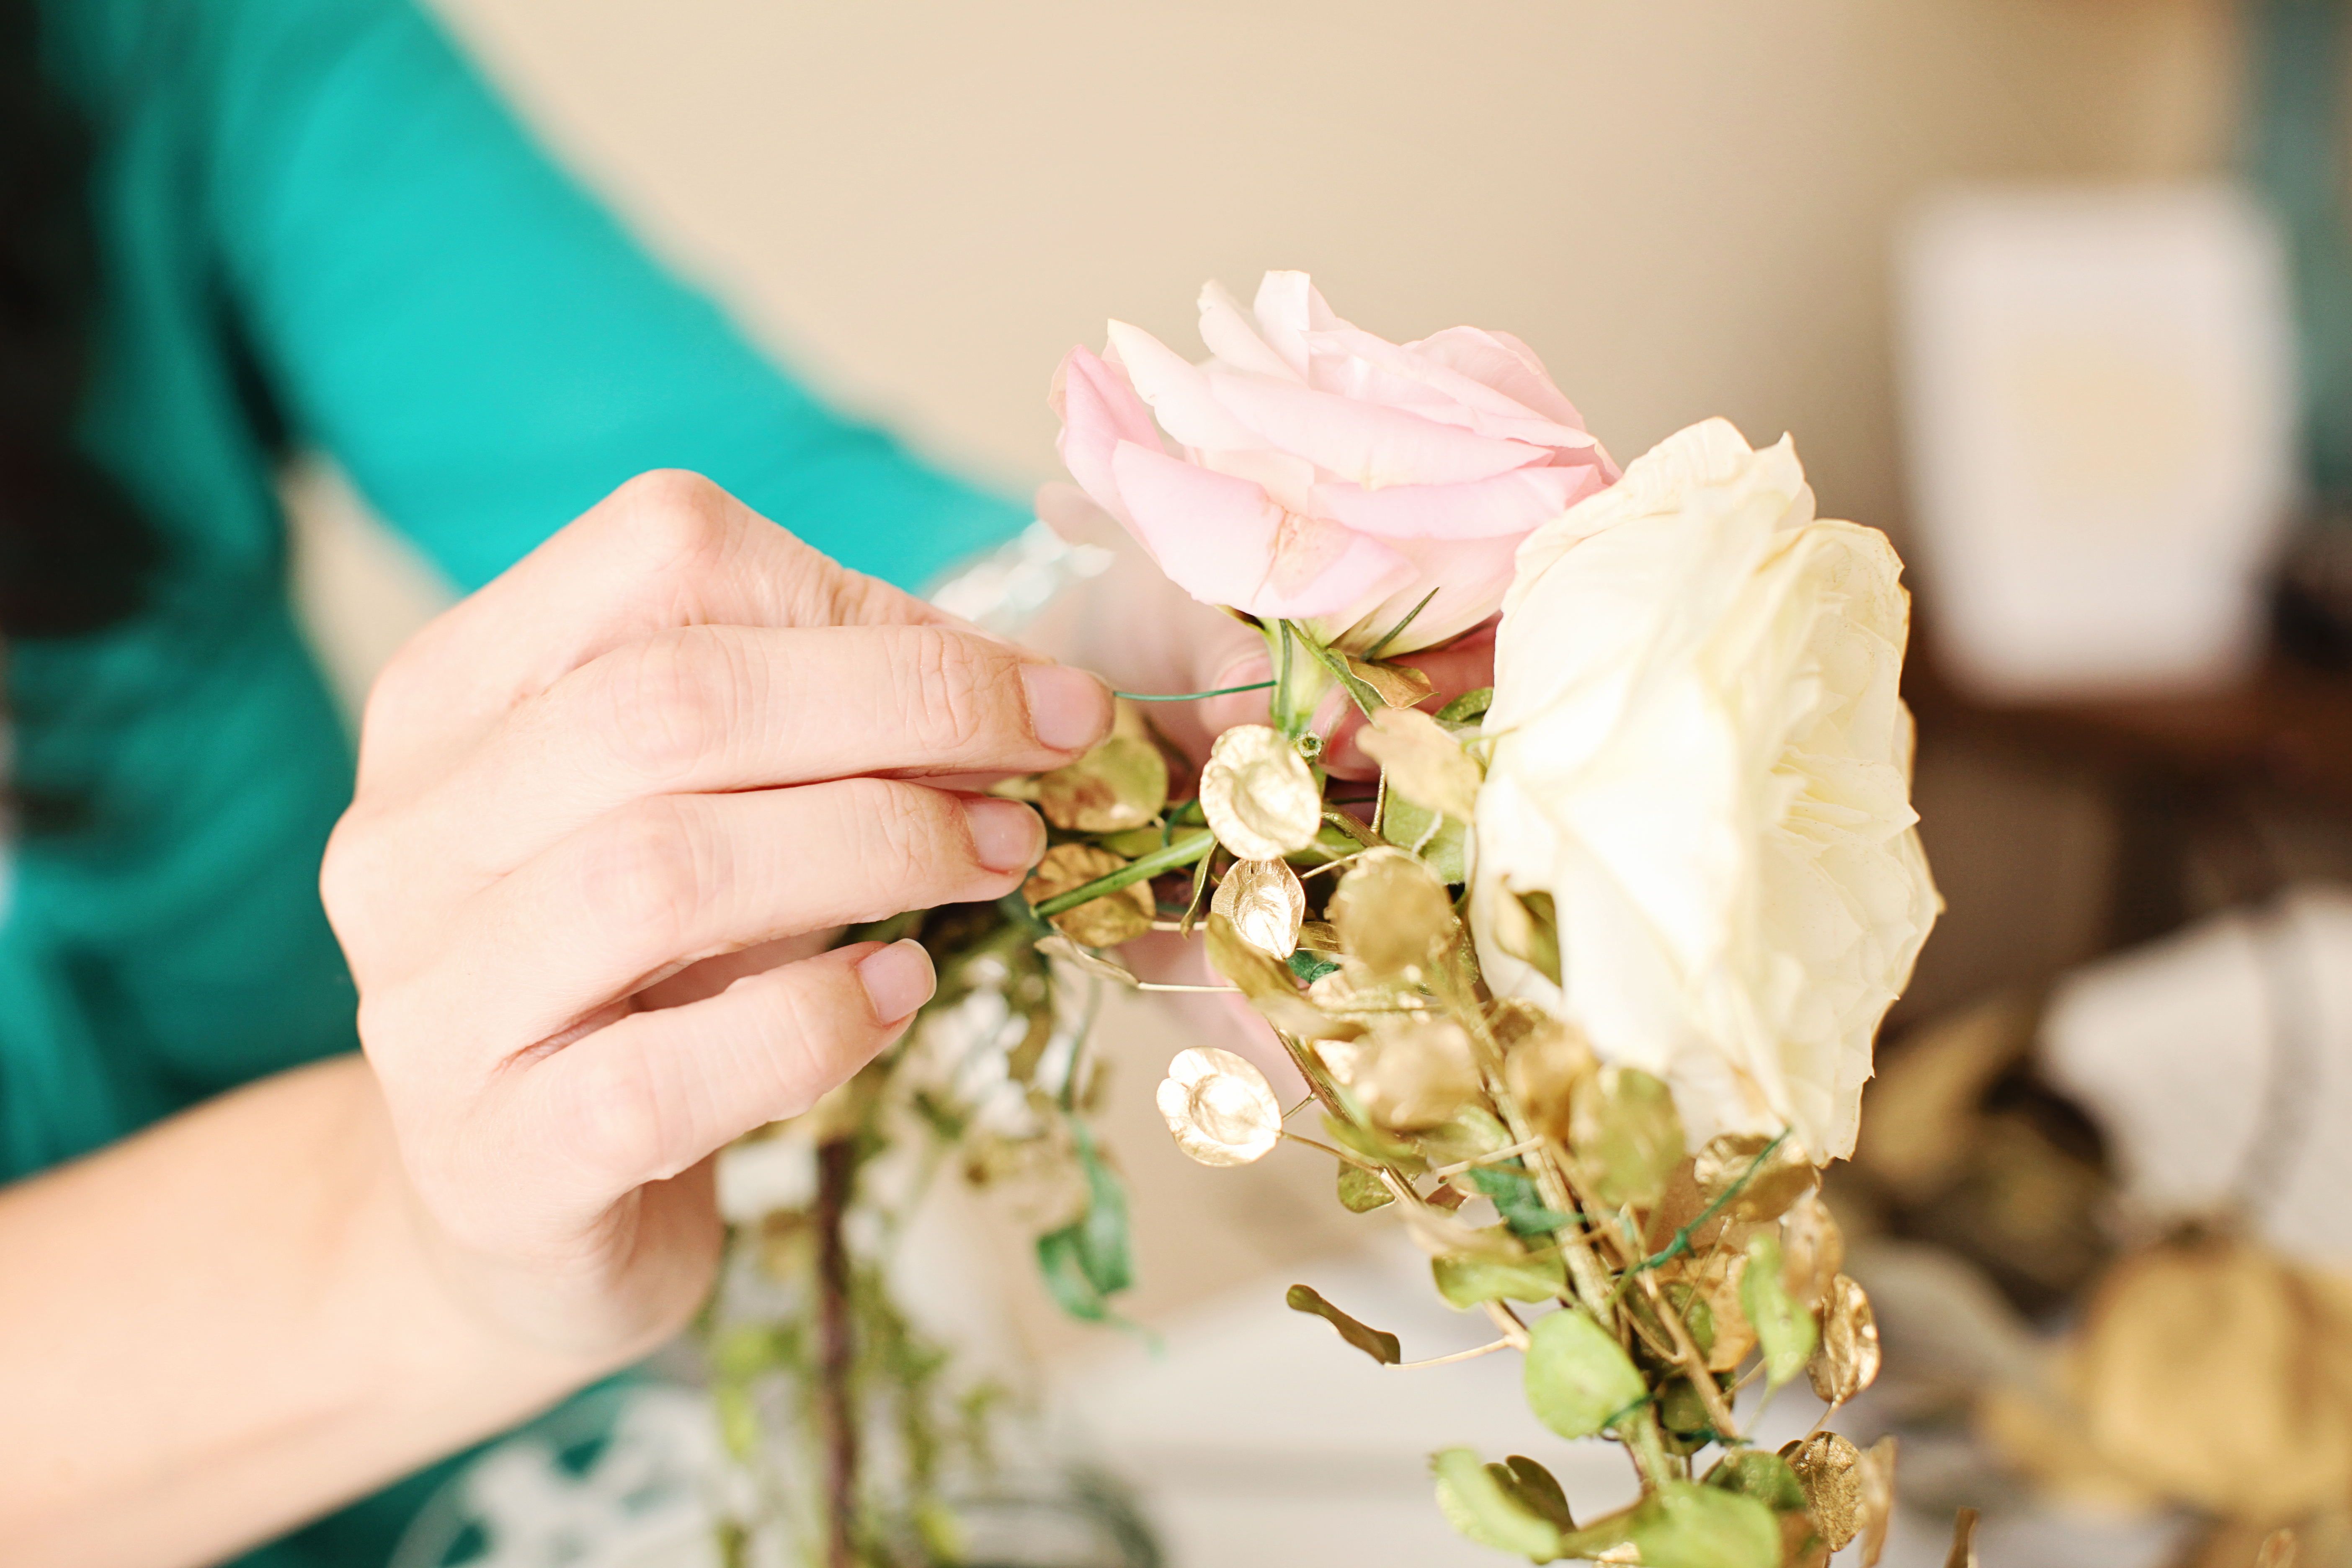
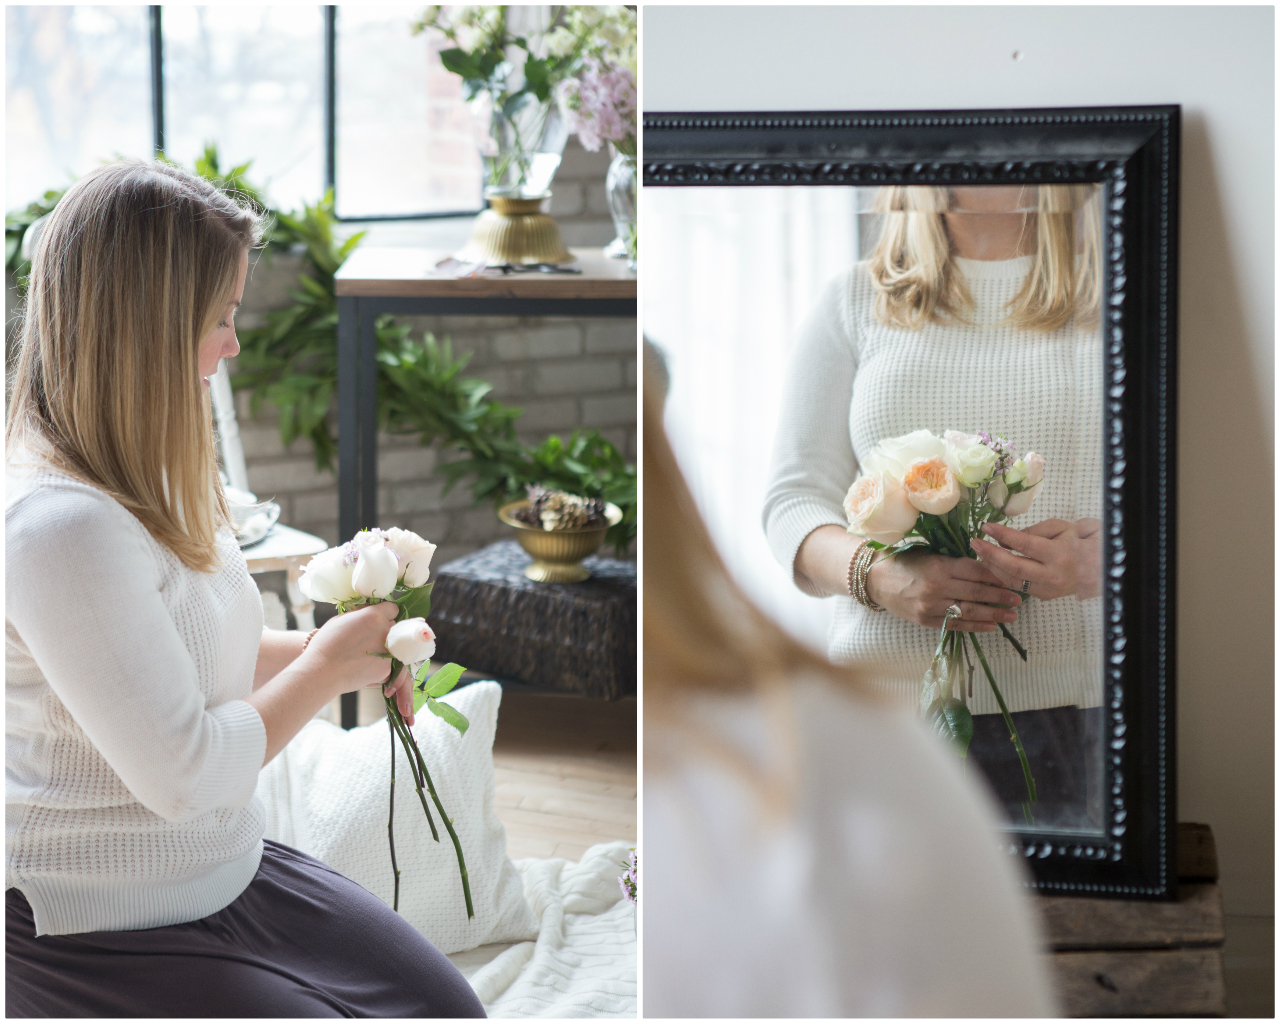
To create a more traditional bridal bouquet, we’ll start from the inside and work our way out.  Pick a cluster of blooms that will be the central focal point.  In a circle pattern, startarranging around that focal point, one blossom at a time.  Keep the stems in a tight and in a spiral pattern.

Bouquet Recipe | Damsel Floral Co | The Day's Design | Hetler Photography

Bouquet Recipe | The Day's Design | Damsel Floral Co | Hetler PhotographyAs you work, startadding a few textural tidbits and accent flowers into the bouquet.  This will soften the overall look and add more visual interest.  Once the bouquet is complete and has reached the right size, perfect it by adding a few more greenery touches and even out any gaps making sure the bouquet is aesthetically pleasing and balanced.

Bouquet Recipe | The Day's Design | Damsel Floral Co | Hetler Photography

Bouquet Recipe | The Day's Design | Damsel Floral Co | Hetler Photography

DIY Bridal Bouquet | The Day's Design | Damsel Floral Co | Hetler Photography

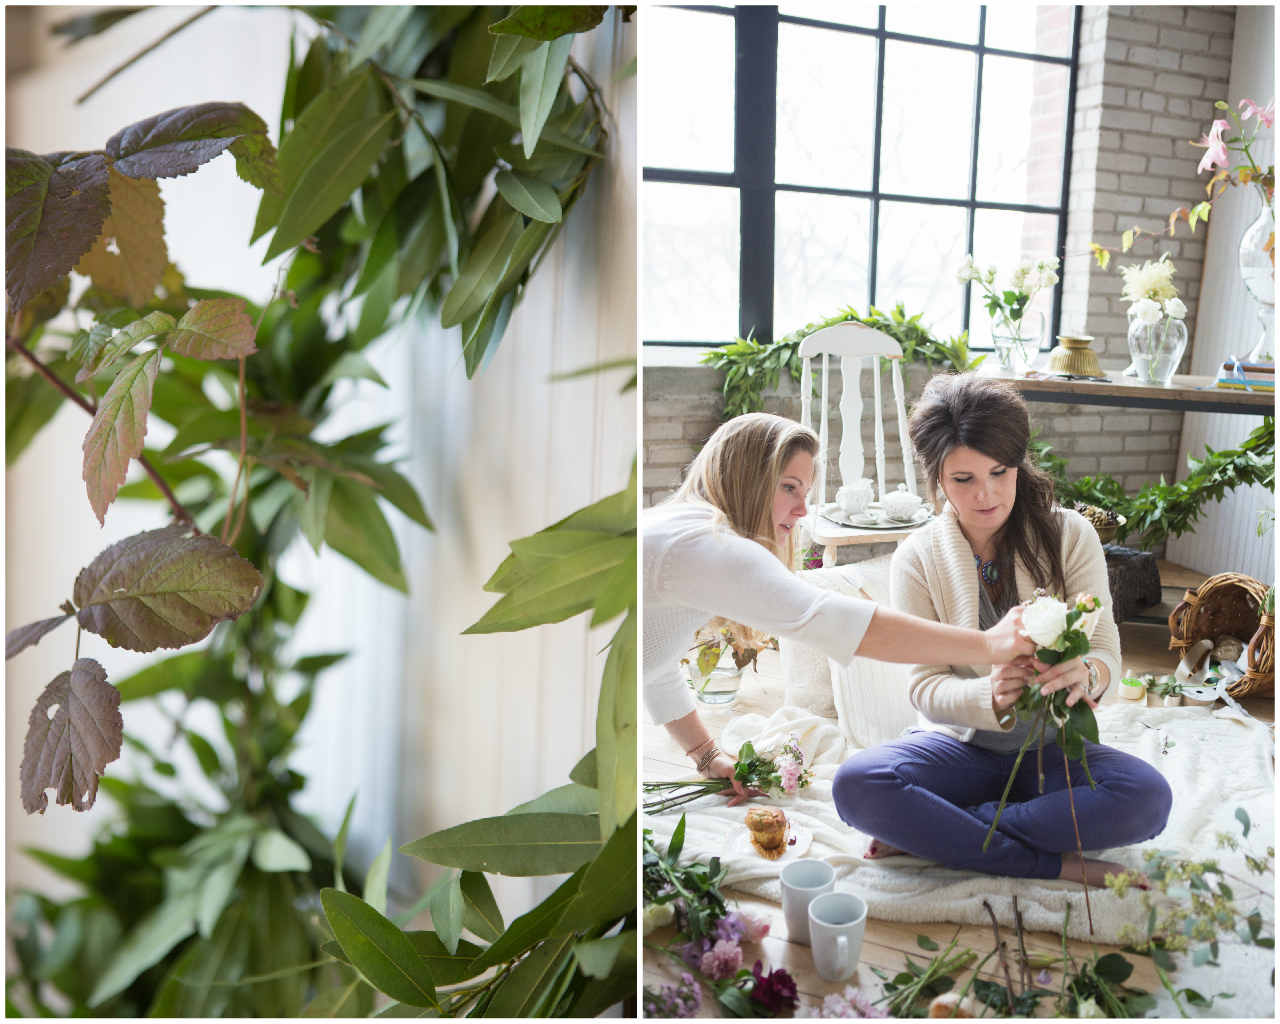
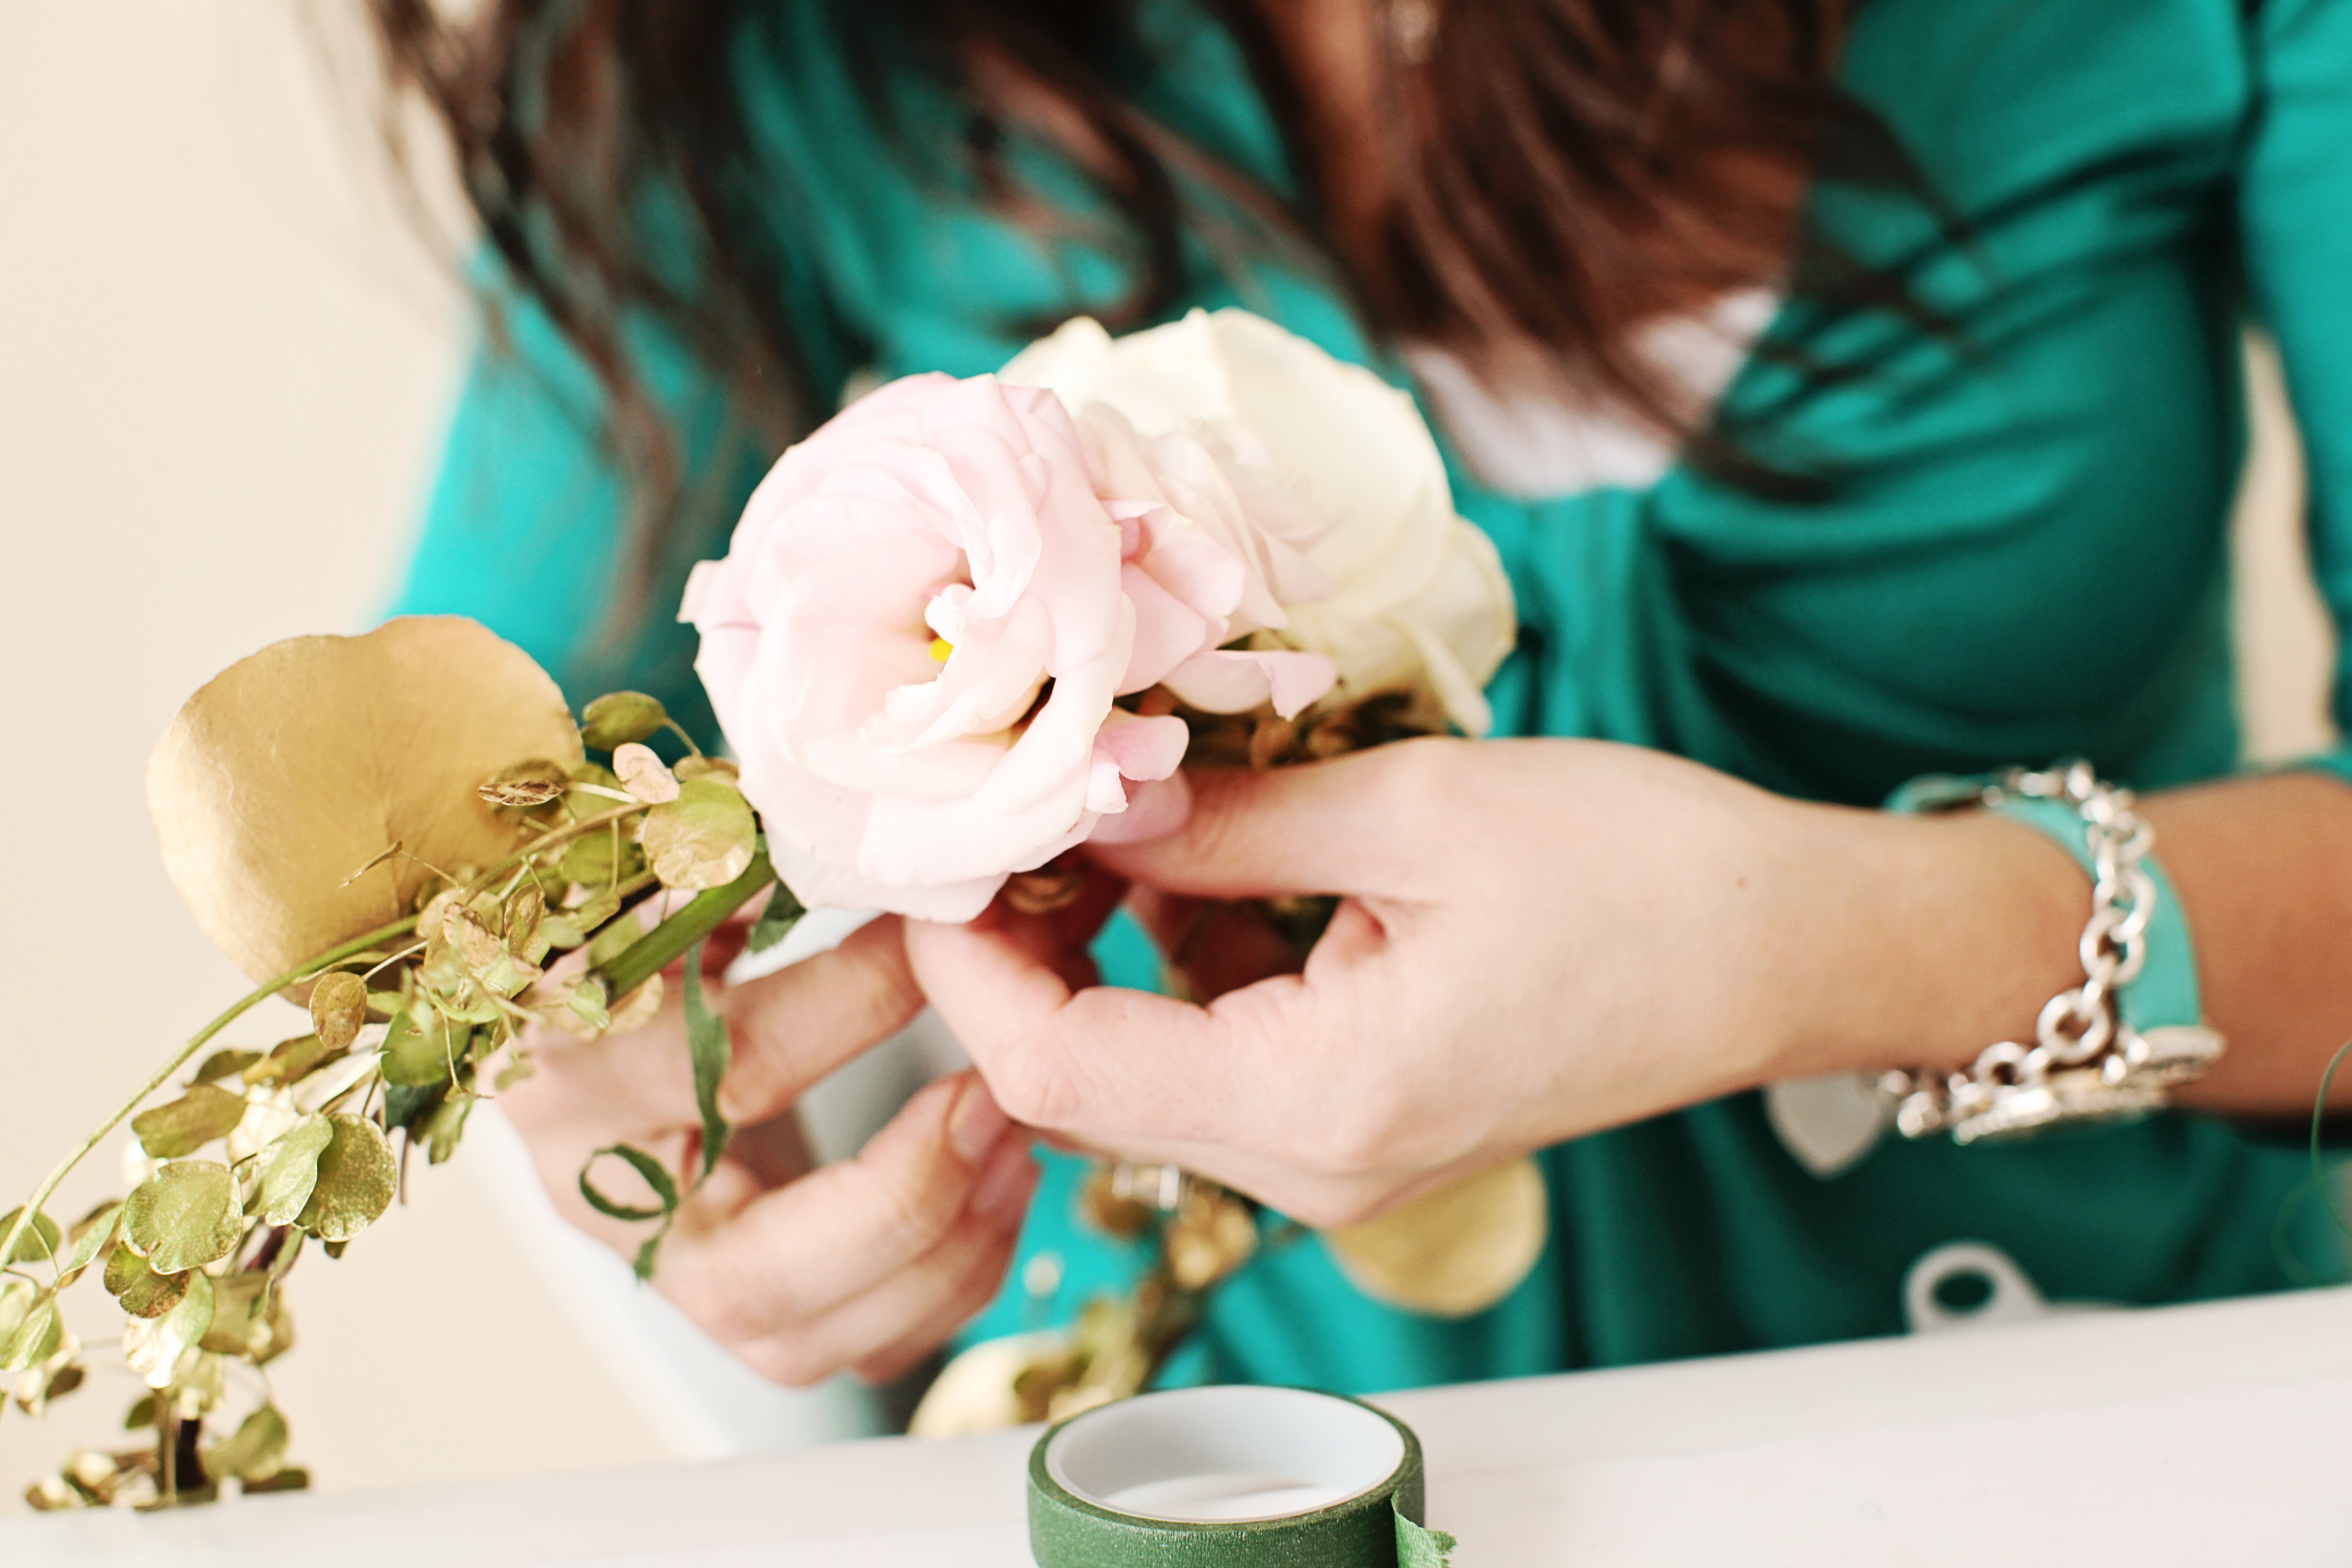
An extra tip:  Pay attention to the natural curves of each flower’s stem.  Blooms with straight stems fit better towards the middle of the bouquets and those with a slight curve or angled flower head make better border flowers.
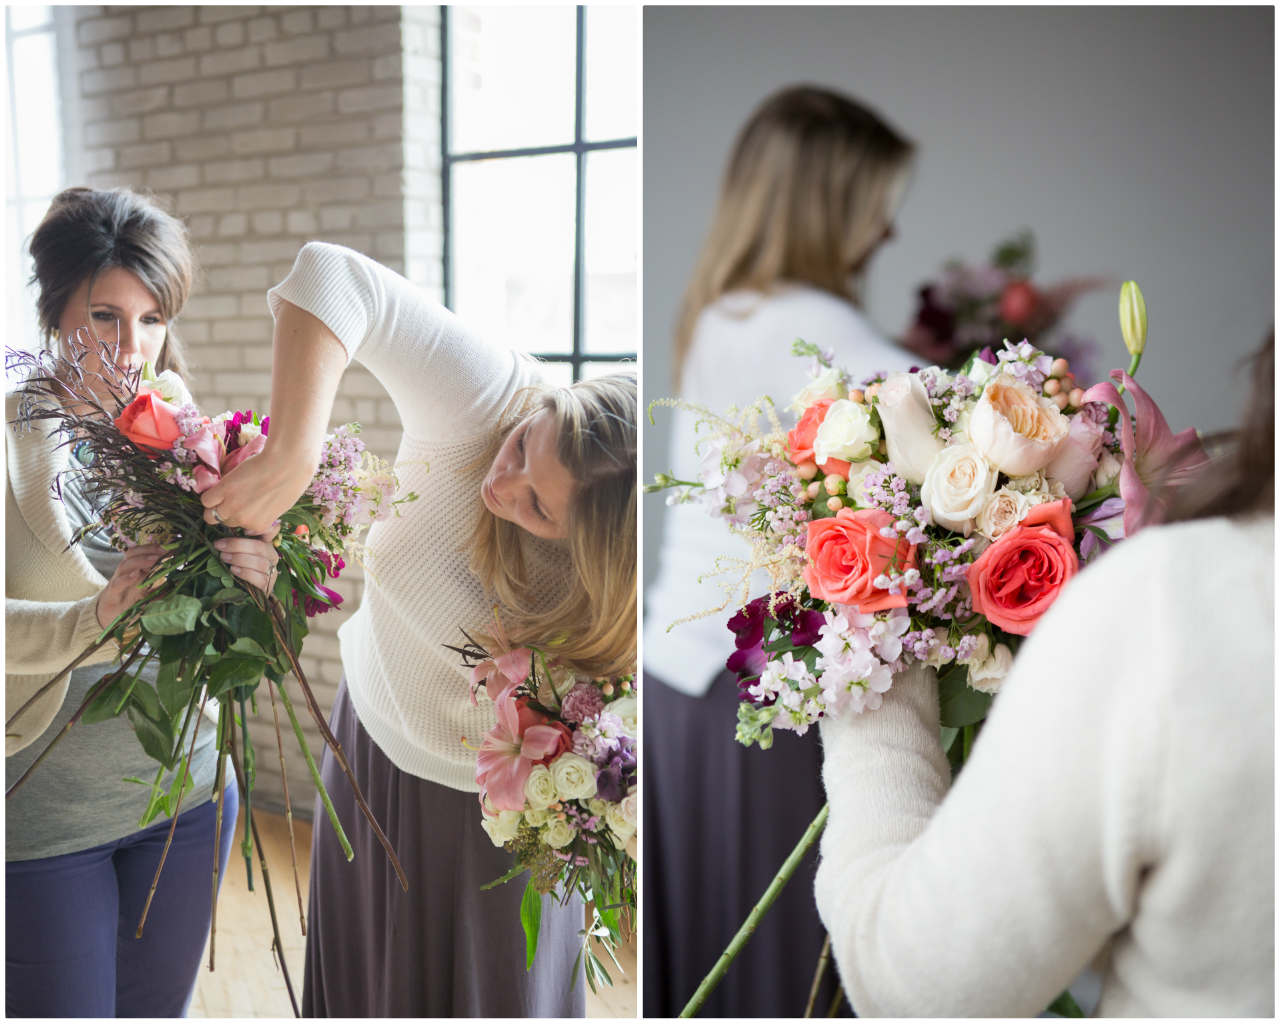
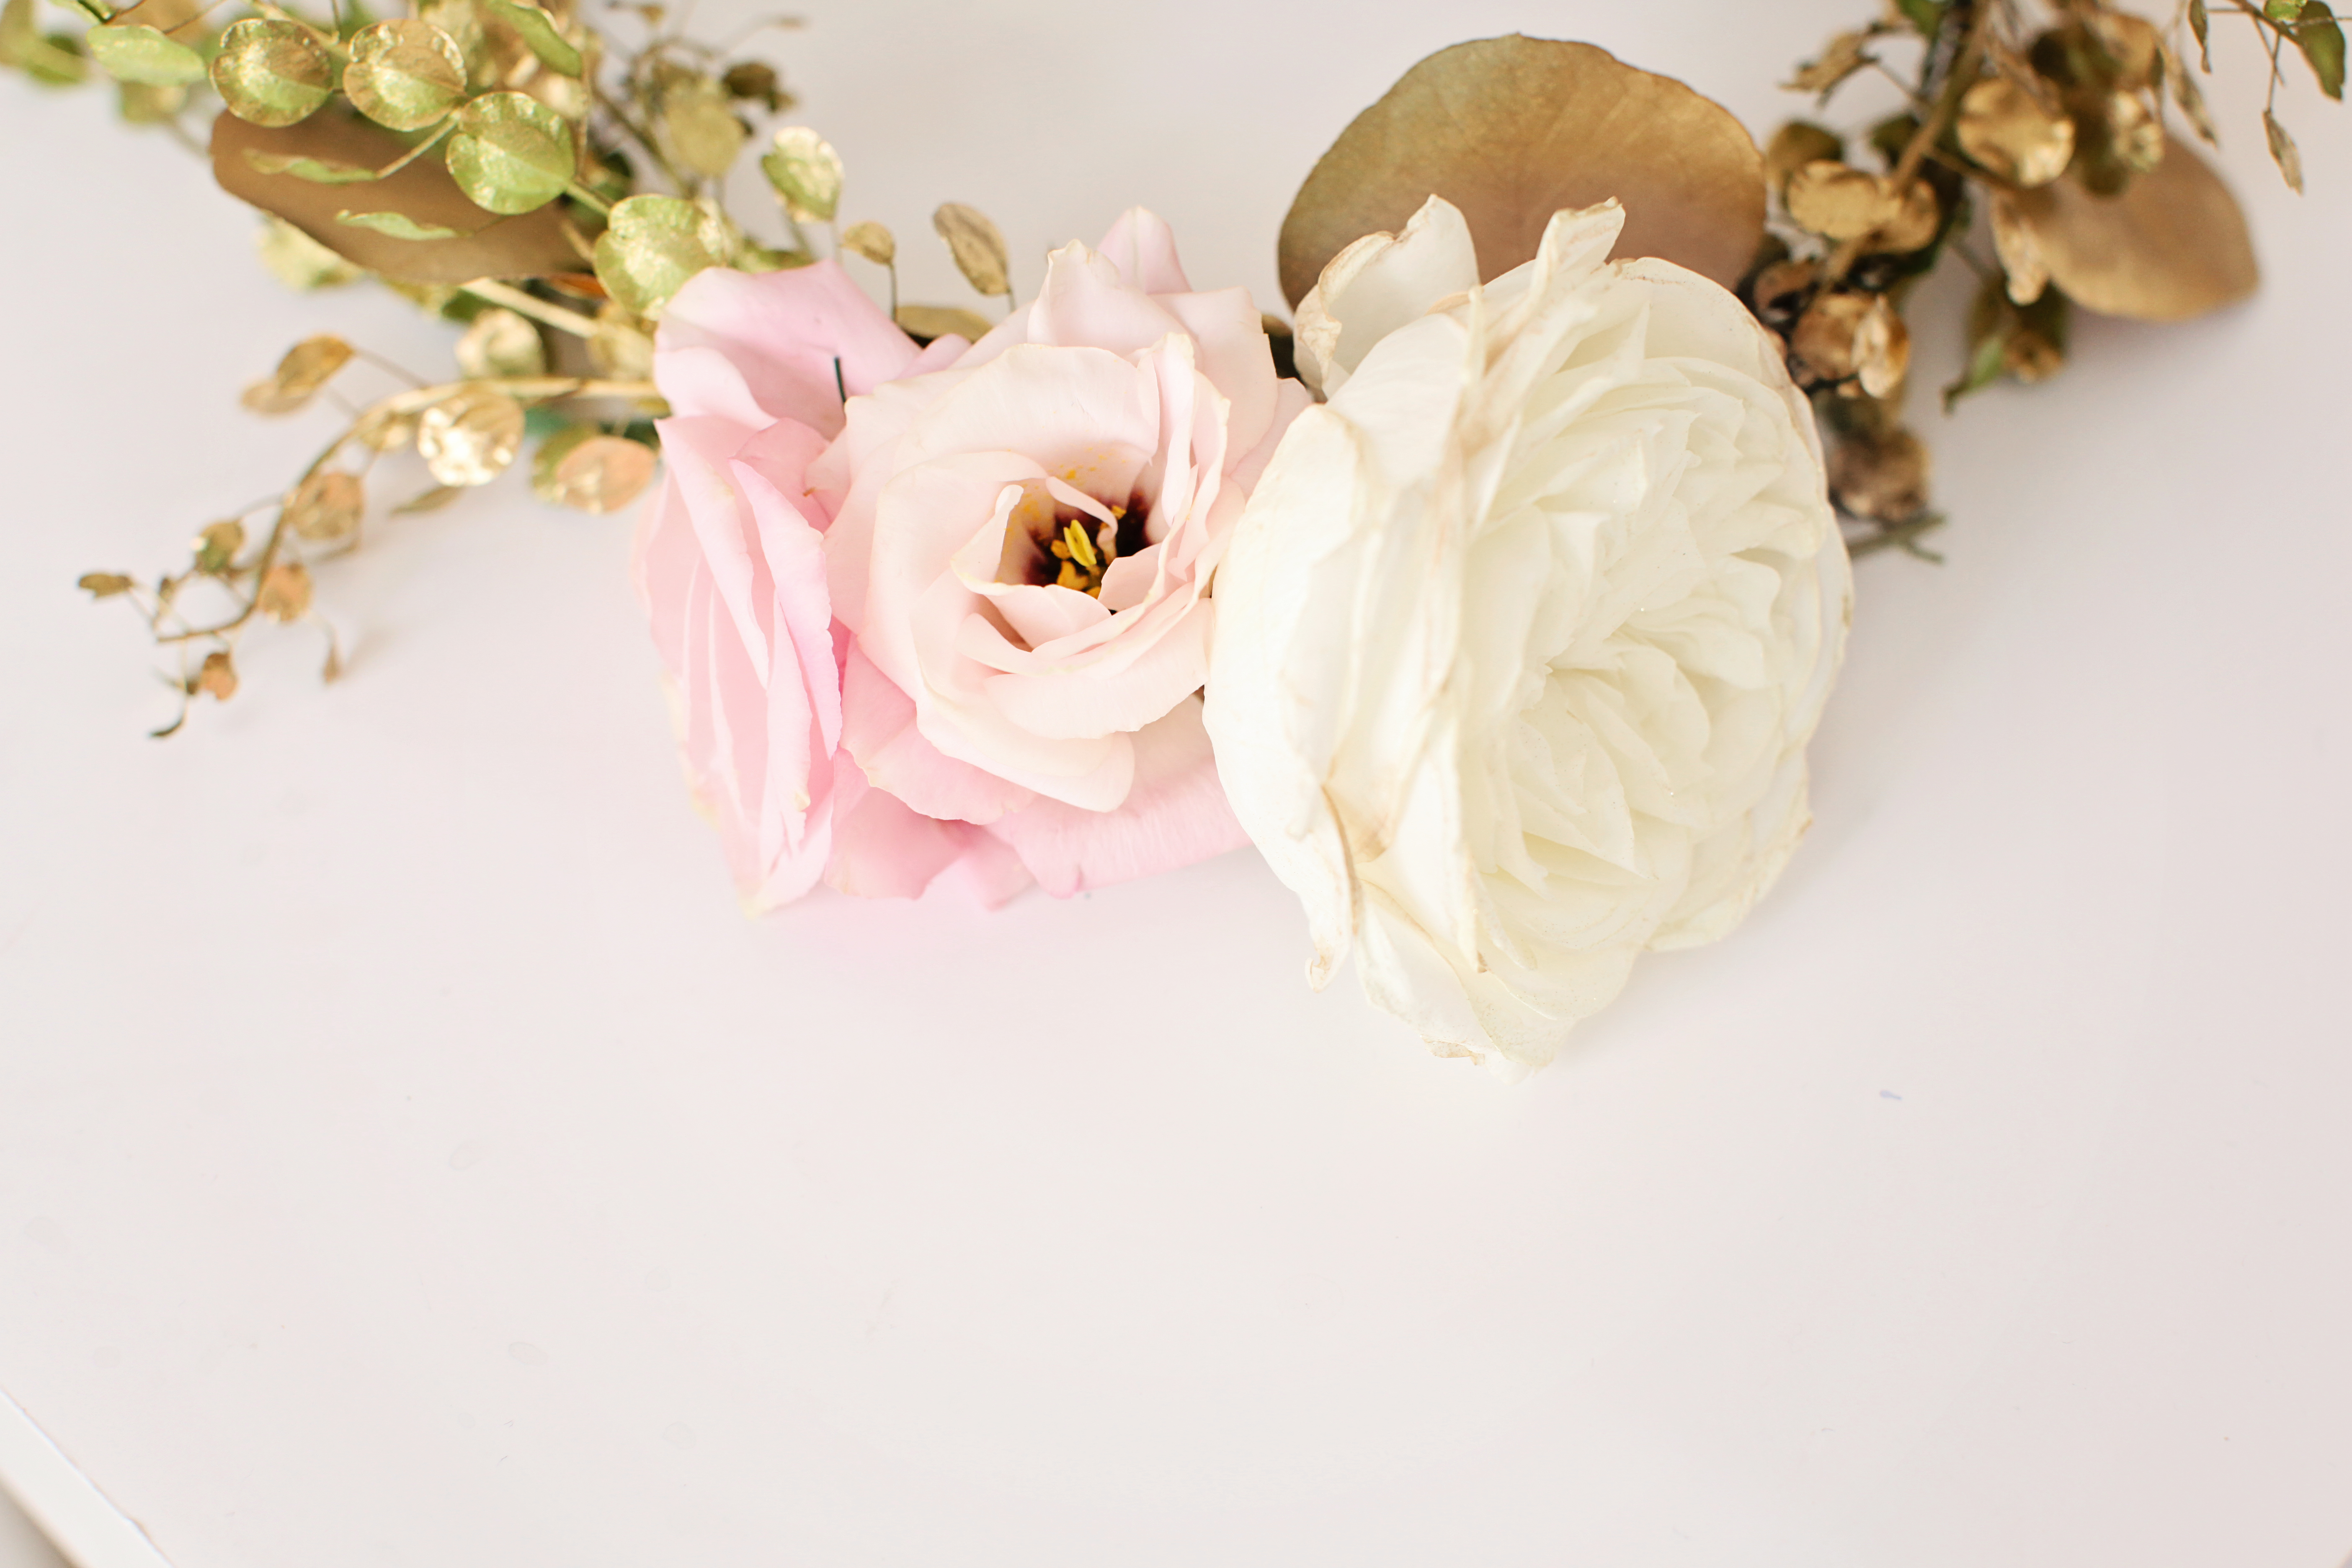
DIY Bouquet Recipe | The Day's Design | Damsel Floral Co | Hetler Photography

Rose Bouquet Recipe | The Day's Design | Damsel Floral Co | Hetler Photography

Bouquet Recipe | The Day's Design | Damsel Floral Co | Hetler Photography

Bouquet Recipe | The Day's Design | Damsel Floral Co | Hetler Photography

Traditional Bridal Bouquet Recipe | The Day's Design | Damsel Floral Co | Hetler Photography

Bouquet Recipe | The Day's Design | Damsel Floral Co | Hetler Photography

DIY Bridal Bouquet | The Day's Design | Damsel Floral Co | Hetler Photography

My final results.Garden Rose and Lily Bouquet | The Day's Design | Damsel Floral Co | The Day's Design | Hetler Photography

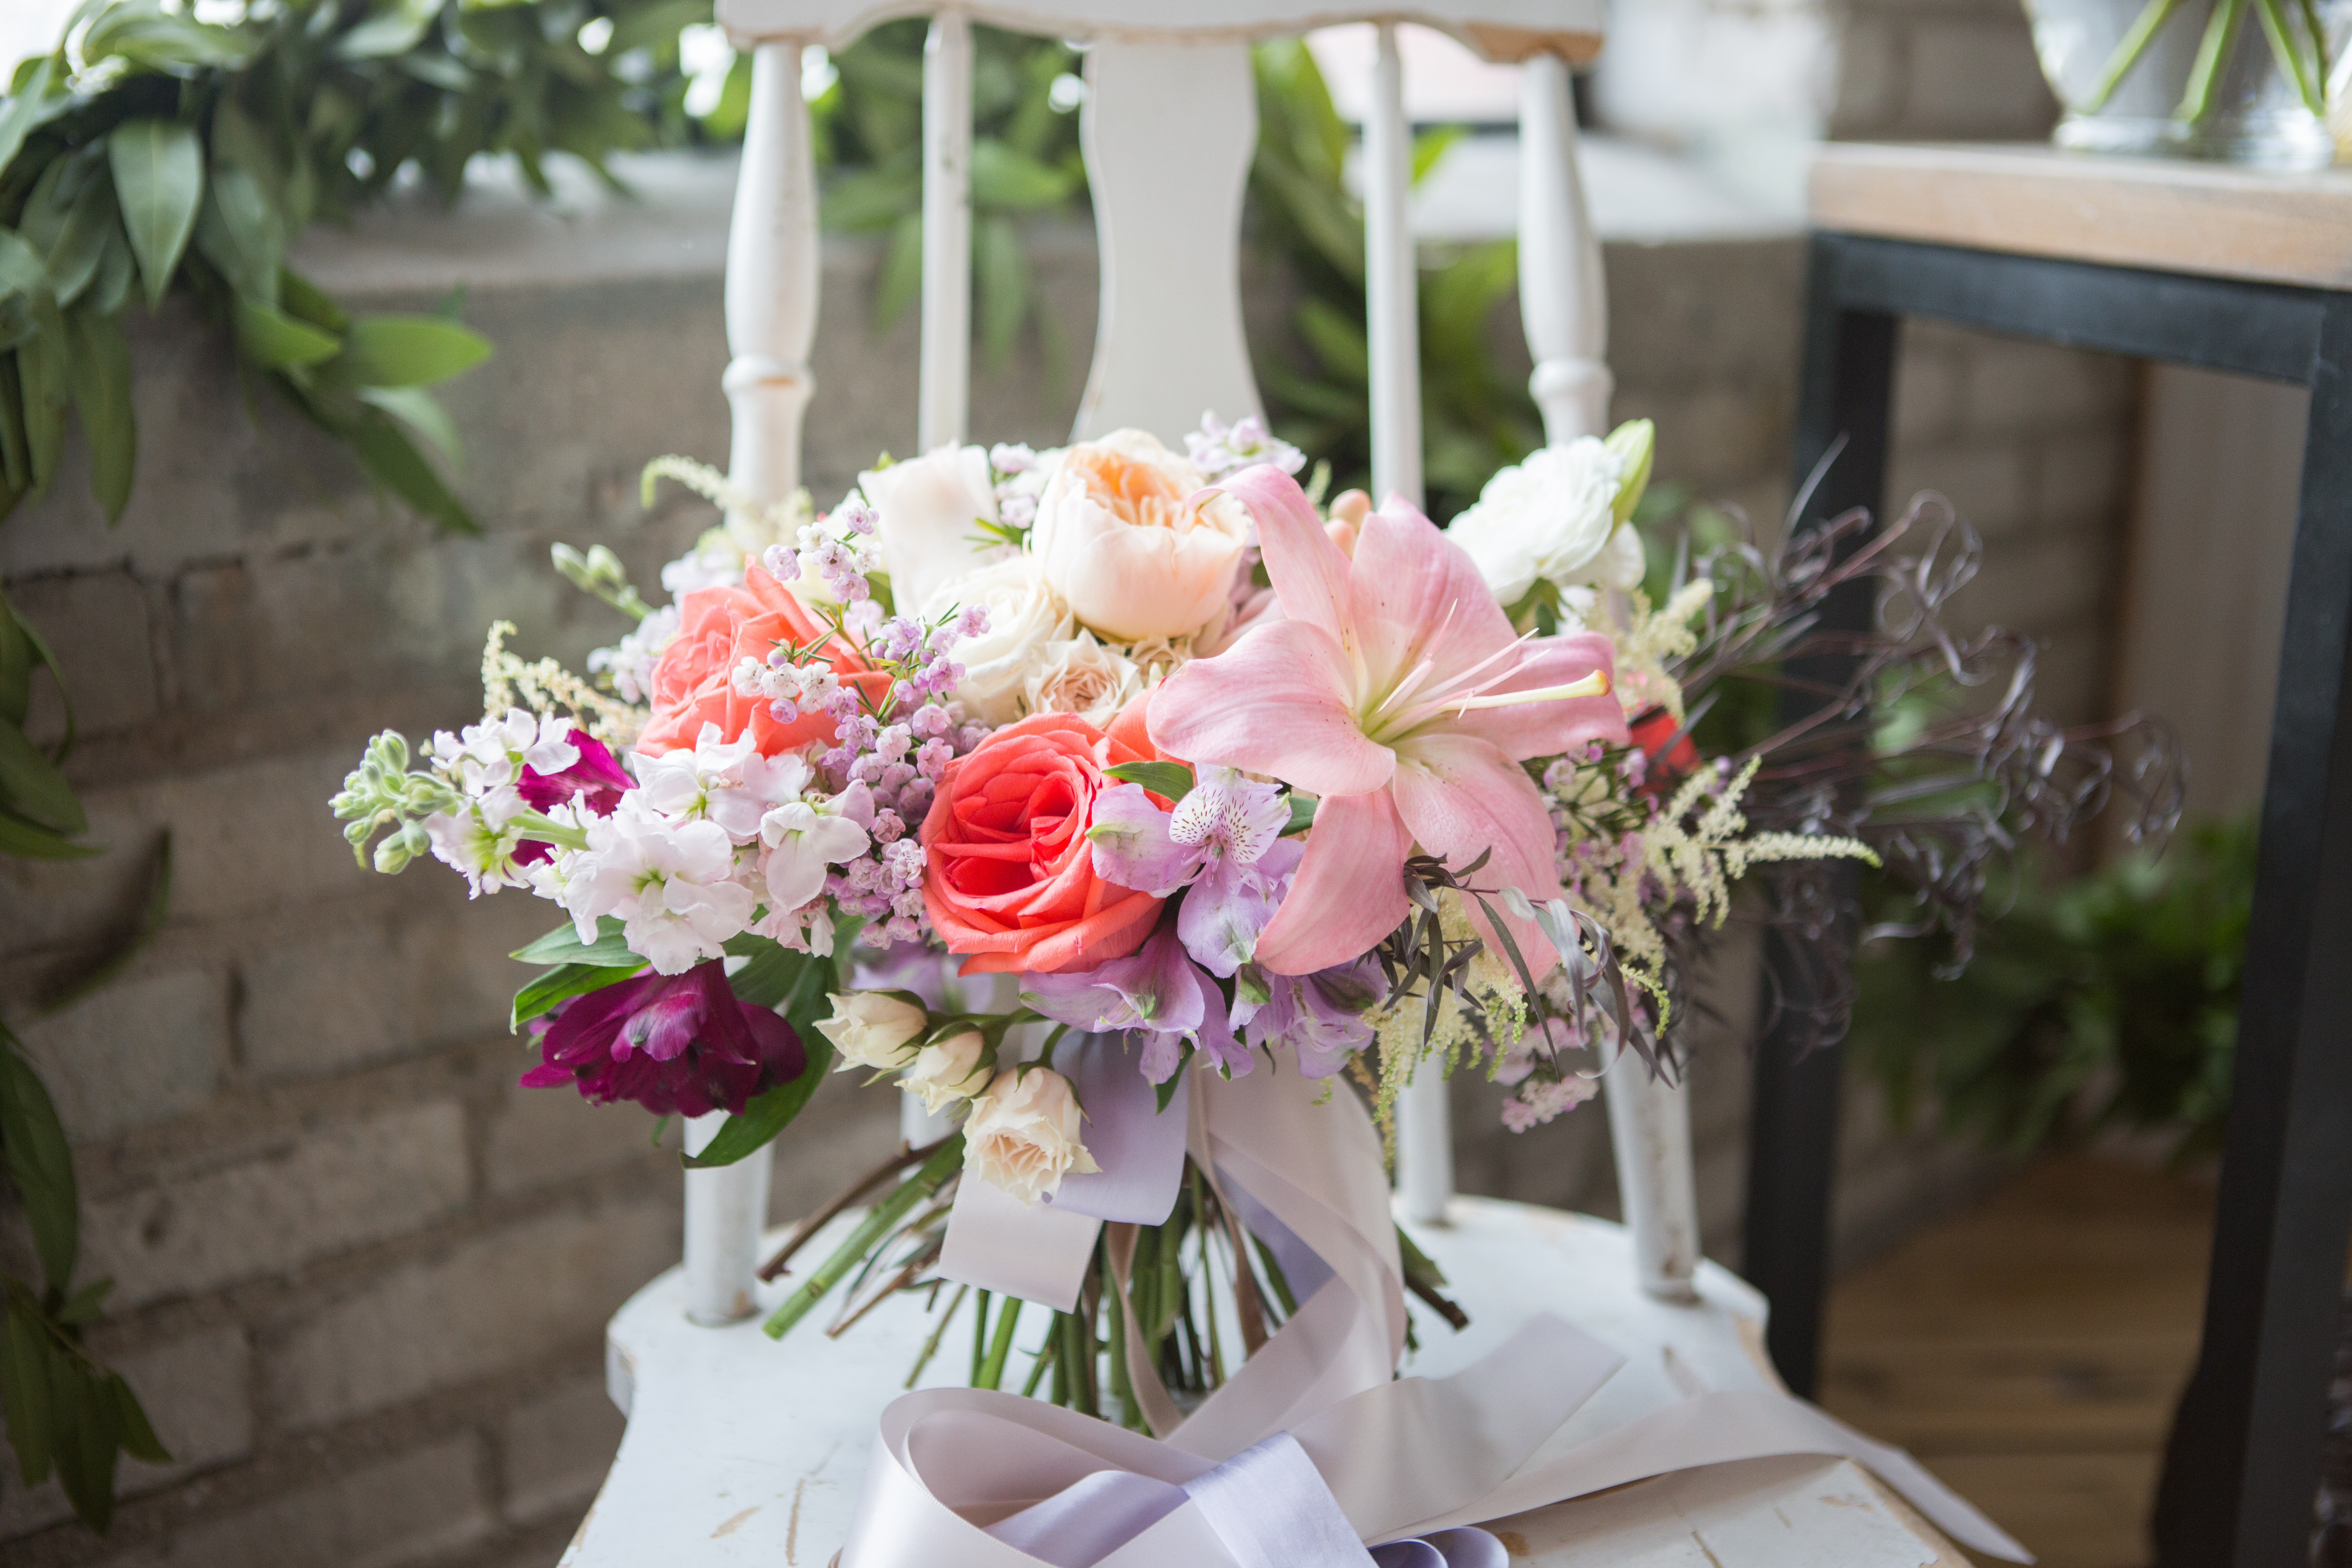
And Kaci’s beautiful bouquet… while I struggled a touch, she whipped this up effortlessly.

Bouquet Recipe | The Day's Design | Damsel Floral Co | Hetler Photography

Bouquet Recipe | The Day's Design | Damsel Floral Co | Hetler Photography

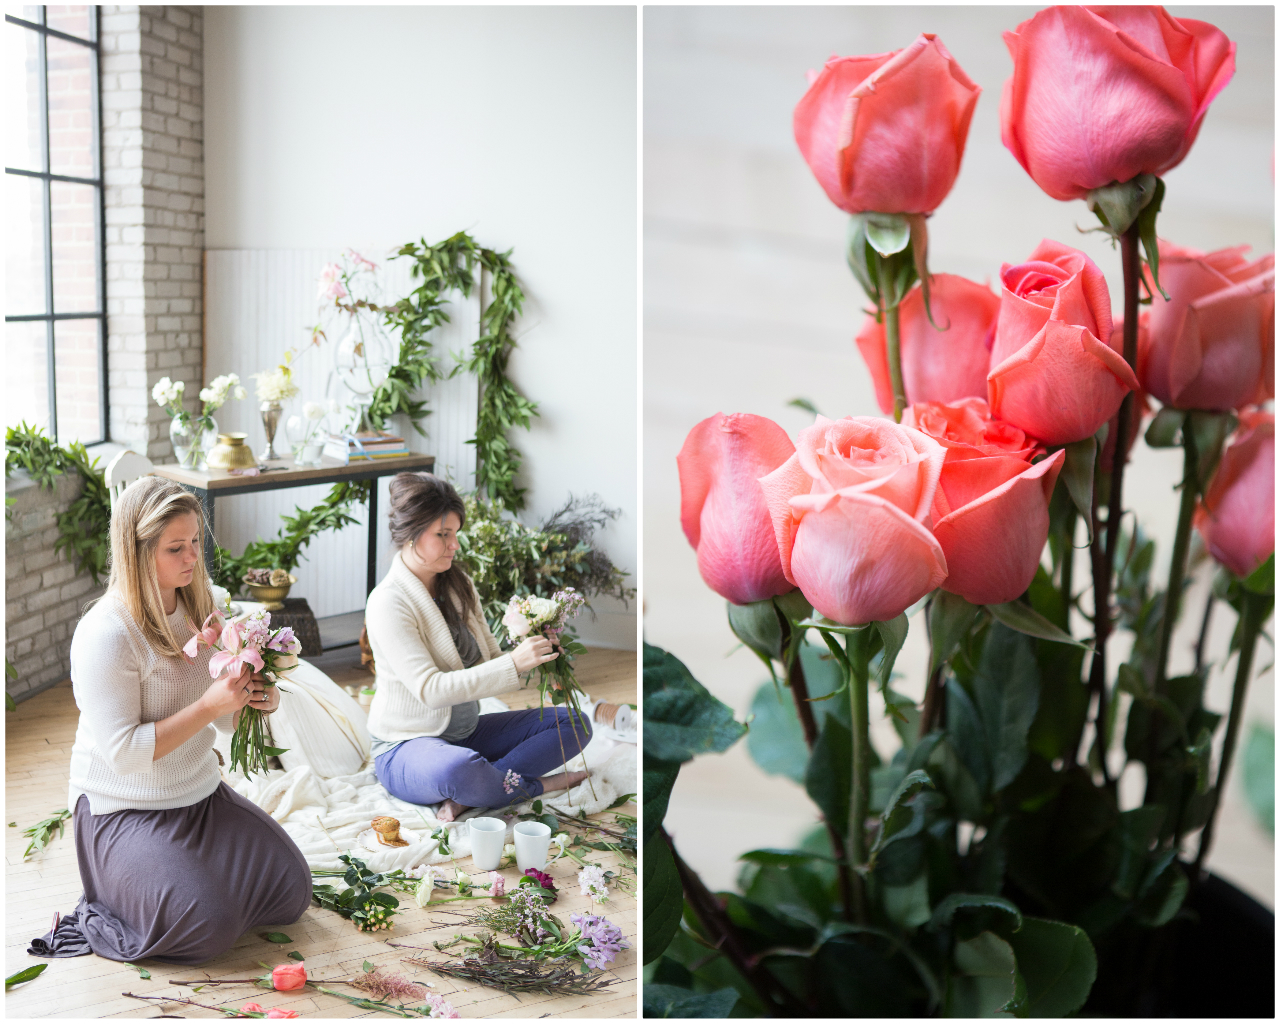
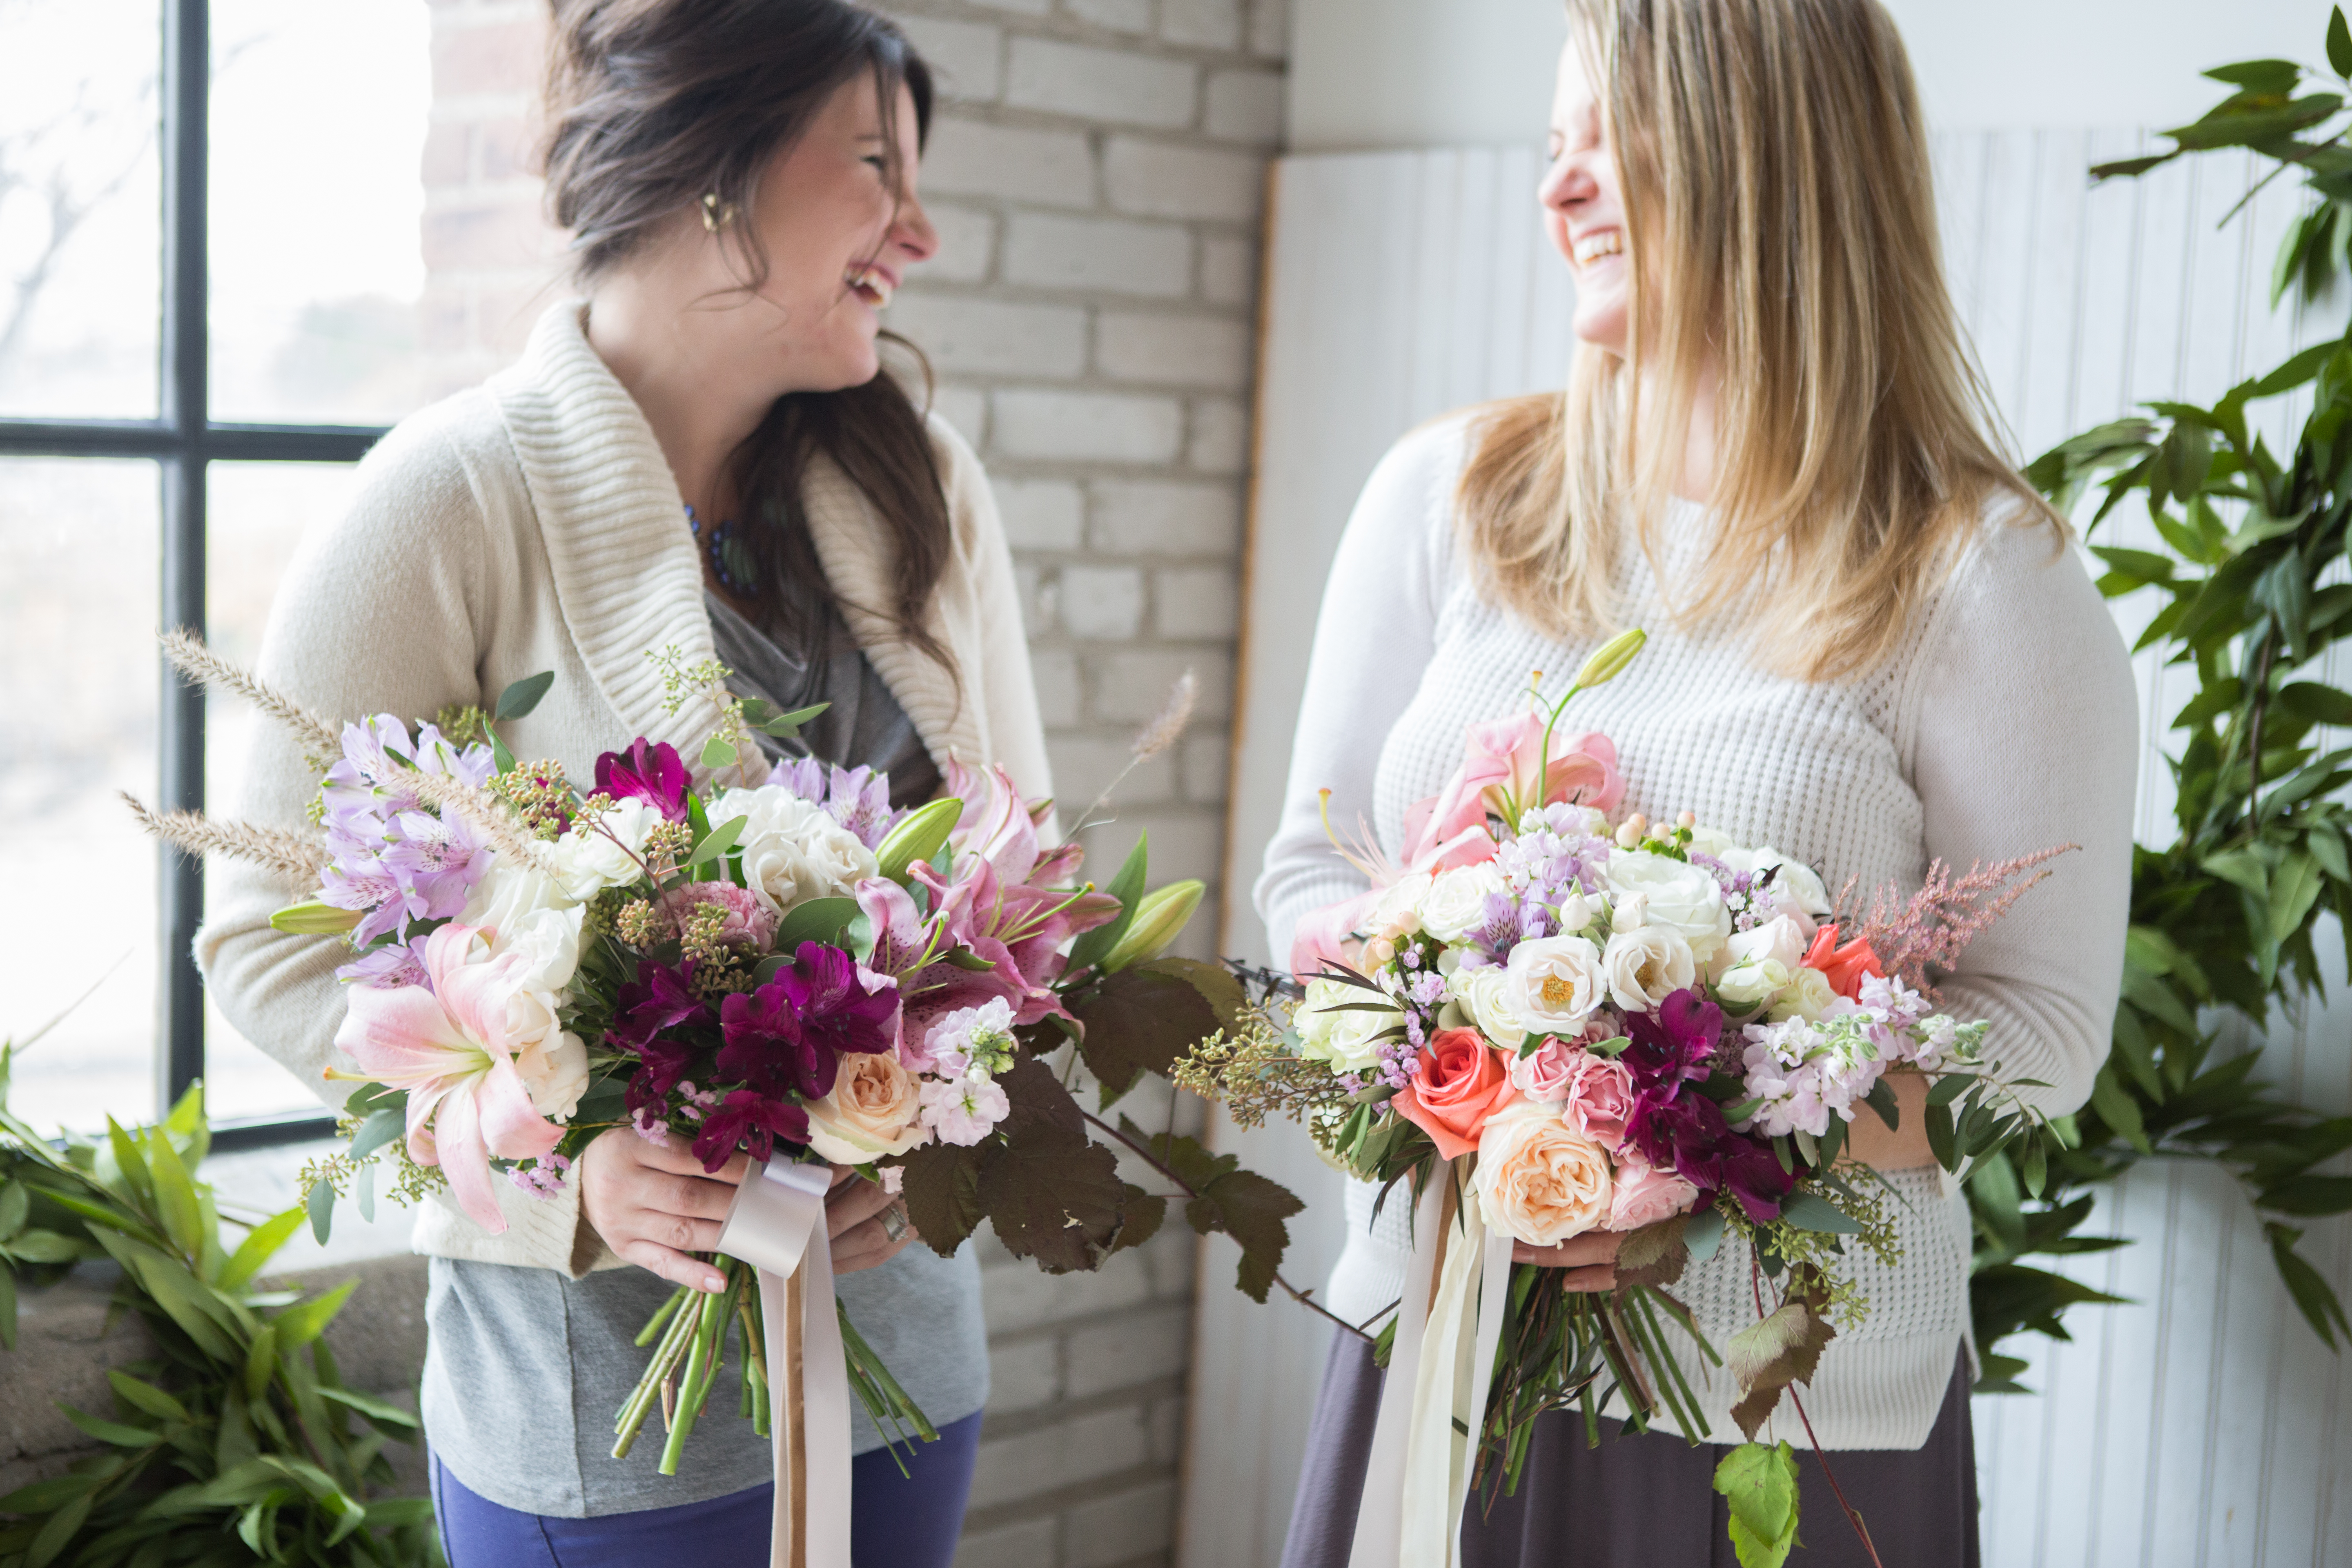
I loved seeing all the completed bouquet (minus one we had to disassemble due to running out of flowers!).  They were all so different even though we had used the same ingredients.

Bouquet Recipe | The Day's Design | Damsel Floral Co | Hetler Photography

DIY Bouquet Recipe | The Day's Design | Damsel Floral Co | Hetler Photography

Bouquet Recipe | The Day's Design | Damsel Floral Co | Hetler Photography

Bouquet Recipe | The Day's Design | Damsel Floral Co | Hetler Photography

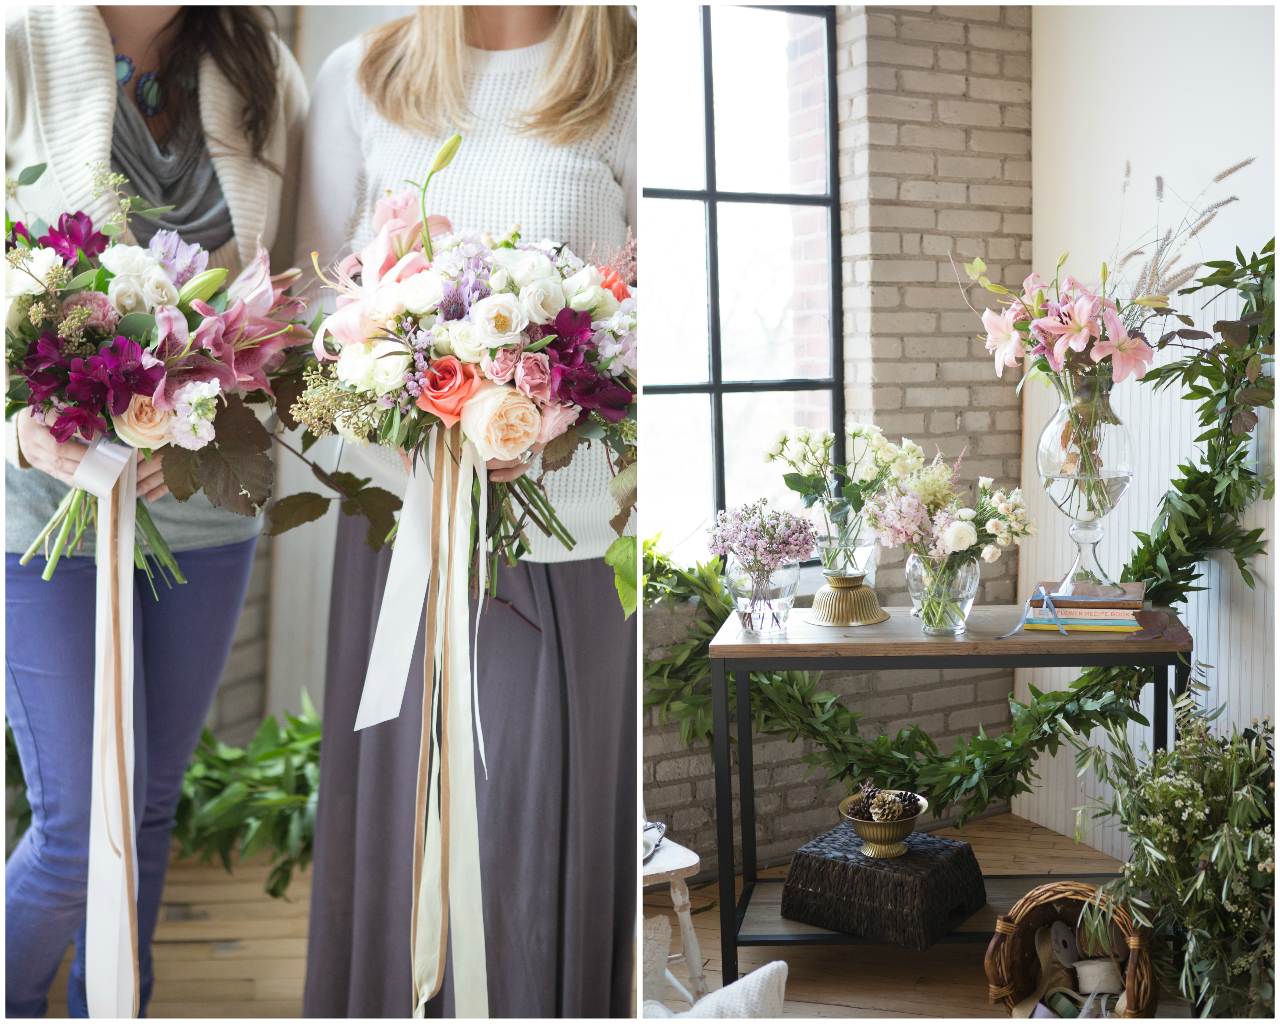
 Photography: Hetler Photography  | Floral Design:  Damsel Floral Co and The Day’s Design

about_signature


Flowers bouquet recipe, bridal bouquet, Damsel Floral Co, diy bouquet, flowers by The Day's Design, Garden rose, hetler photography, lily, the day's design, wedding flowers

DIY Gilded Floral Crown

0 · Apr 1, 2014 ·

Yesterday was the warmest day we’ve seen so far this year and it was as if the whole world simply came bursting back to life.  Neighbors were in the streets, yards were being raked and the snow mounds bordering my lawn shrunk to the point that I can now see the tops of cars passing by my house.  And guess what I found buried underneath some of that snow?  Life!  There, braving the ice and cold, are the little tips of my spring bulbs waiting for their time to bloom.

I’m eagerly awaiting that moment too.  But until then, I thought I’d share a little bit of flowery goodness with you today and how you can create it yourself.  I’m simply loving the floral crown trend right now and this one is especially glam with gilded gold leaves.

So here’s what you need:

Grapevine wire  |  Floral wire  |  Wire cutters  |  Floral tape  |  Flowers*  |  Greens*

*I used one stem of pink lisianthus (which had two flowers) and a cream garden rose.  For greens I used mini coin as my base and filled in with silver dollar eucalyptus – but the options are limitless, use what inspires you!

Floral Crown Supplies | The Day's Design | Ashley Slater Photography

Step 1:  Spray paint your greens.  You can completely coat them or let a little green show.  I like to leave a little nature shining through.

Gold Gilded Floral Crown | The Day's Design | Ashley Slater Photography

Step 2:   Form a circular base with the grapevine wire.  The form should be slightly larger than your head as once the greens are attached the fit will be more snug.

Floral Crown DIY | The Day's Design | Ashley Slater Photography

Step 3:  Once the paint has dried, clip the long stems so only an inch or so remain, along with the leafy, pretty part of the plant.

DIY Gilded Floral Crown | The Day's Design | Ashley Slater Photography

Step 4: Using floral tape, wrap the stem of the greens and attach it to the grapevine wire. Continue to attach stems to the grapevine wire, leaving the other end of the greens free until you have created a full circle of greens.

Gilded Floral Crown tutorial | The Day's Design | Ashley Slater Photography

DIY Gilded Floral Crown | The Day's Design | Ashley Slater Photography

Step 5: Begin filling in the larger leaves, taping them to the grapevine wire.  The larger leaves (eucalyptus) are optional, but I like the extra texture they add.

Gilded Floral Crown Tutorial | The Day's Design | Ashley Slater Photography

Step 6: With the small pieces of floral wire, attach the loose ends of the leaves to the crown so it creates a full and lovely circle.  How tightly you attach the greens is up to you, a looser greens with create a more wild and relaxed look.

At this point you might choose to add an additional layer of gold paint which would help to camouflage any floral tape and wire.

Gilded Floral Crown tutorial | The Day's Design | Ashley Slater Photography

Step 7:  Trim the stems and add flowers.  I chose to place them off to the side, but the options are limitless.  To add them – pierce the base of the bloom with the floral wire and then twist and attach to the crown.

Gilded Floral Crown DIY | The Day's Design | Ashley Slater Photography

Floral Crown DIY | The Day's Deisgn | Ashley Slater Photography

Step 8: Wear your gold crown pretty lady!

Garden Rose Floral Crown | The Day's Design | Ashley Slater Photography

DIY Floral Crown | The Day's Design | Ashley Slater PhotographyDIY Gold Floral Crown | The Day's Design | Ashley Slater Photography

All photos by the fabulous Ashley Slater Photography, thanks love!

about_signature

Projects & Tutorials Ashley Slater Photography, DIY, floral crown, floral crown tutorial, flowers, Garden rose, gilded flower crown, gold crown, gold leaves, pink lisianthus, pretty projects, spray paint, the day's design

Primary Sidebar

Featured Posts

Yellow poppy centerepice for spring wedding flowers

Mauve & Yellow Flowers for the Month of March

5 Flowers for the Month of March

5 Flowers for the Month of February

The Day’s Design’s Valentine’s Flowers

round table with blush and blue decor

Blush & Blue Winter Tabletop

More

As Seen On

EveryLastDetail

BurnettsBoard

Footer

Instagram

Instagram has returned invalid data.

Follow along with our adventures

  • Projects & Tutorials

Copyright © 2026 · Cravings Pro