It occurred to me this morning that I have not left my house all week. The last time I stepped out my front door was on Sunday, heading to church. This cold winter weather has me all cooped up and I start going a little stir crazy. If you’re like me, it’s this time of year that you start looking for pretty projects to work on and ways to add some easy glam to your home.
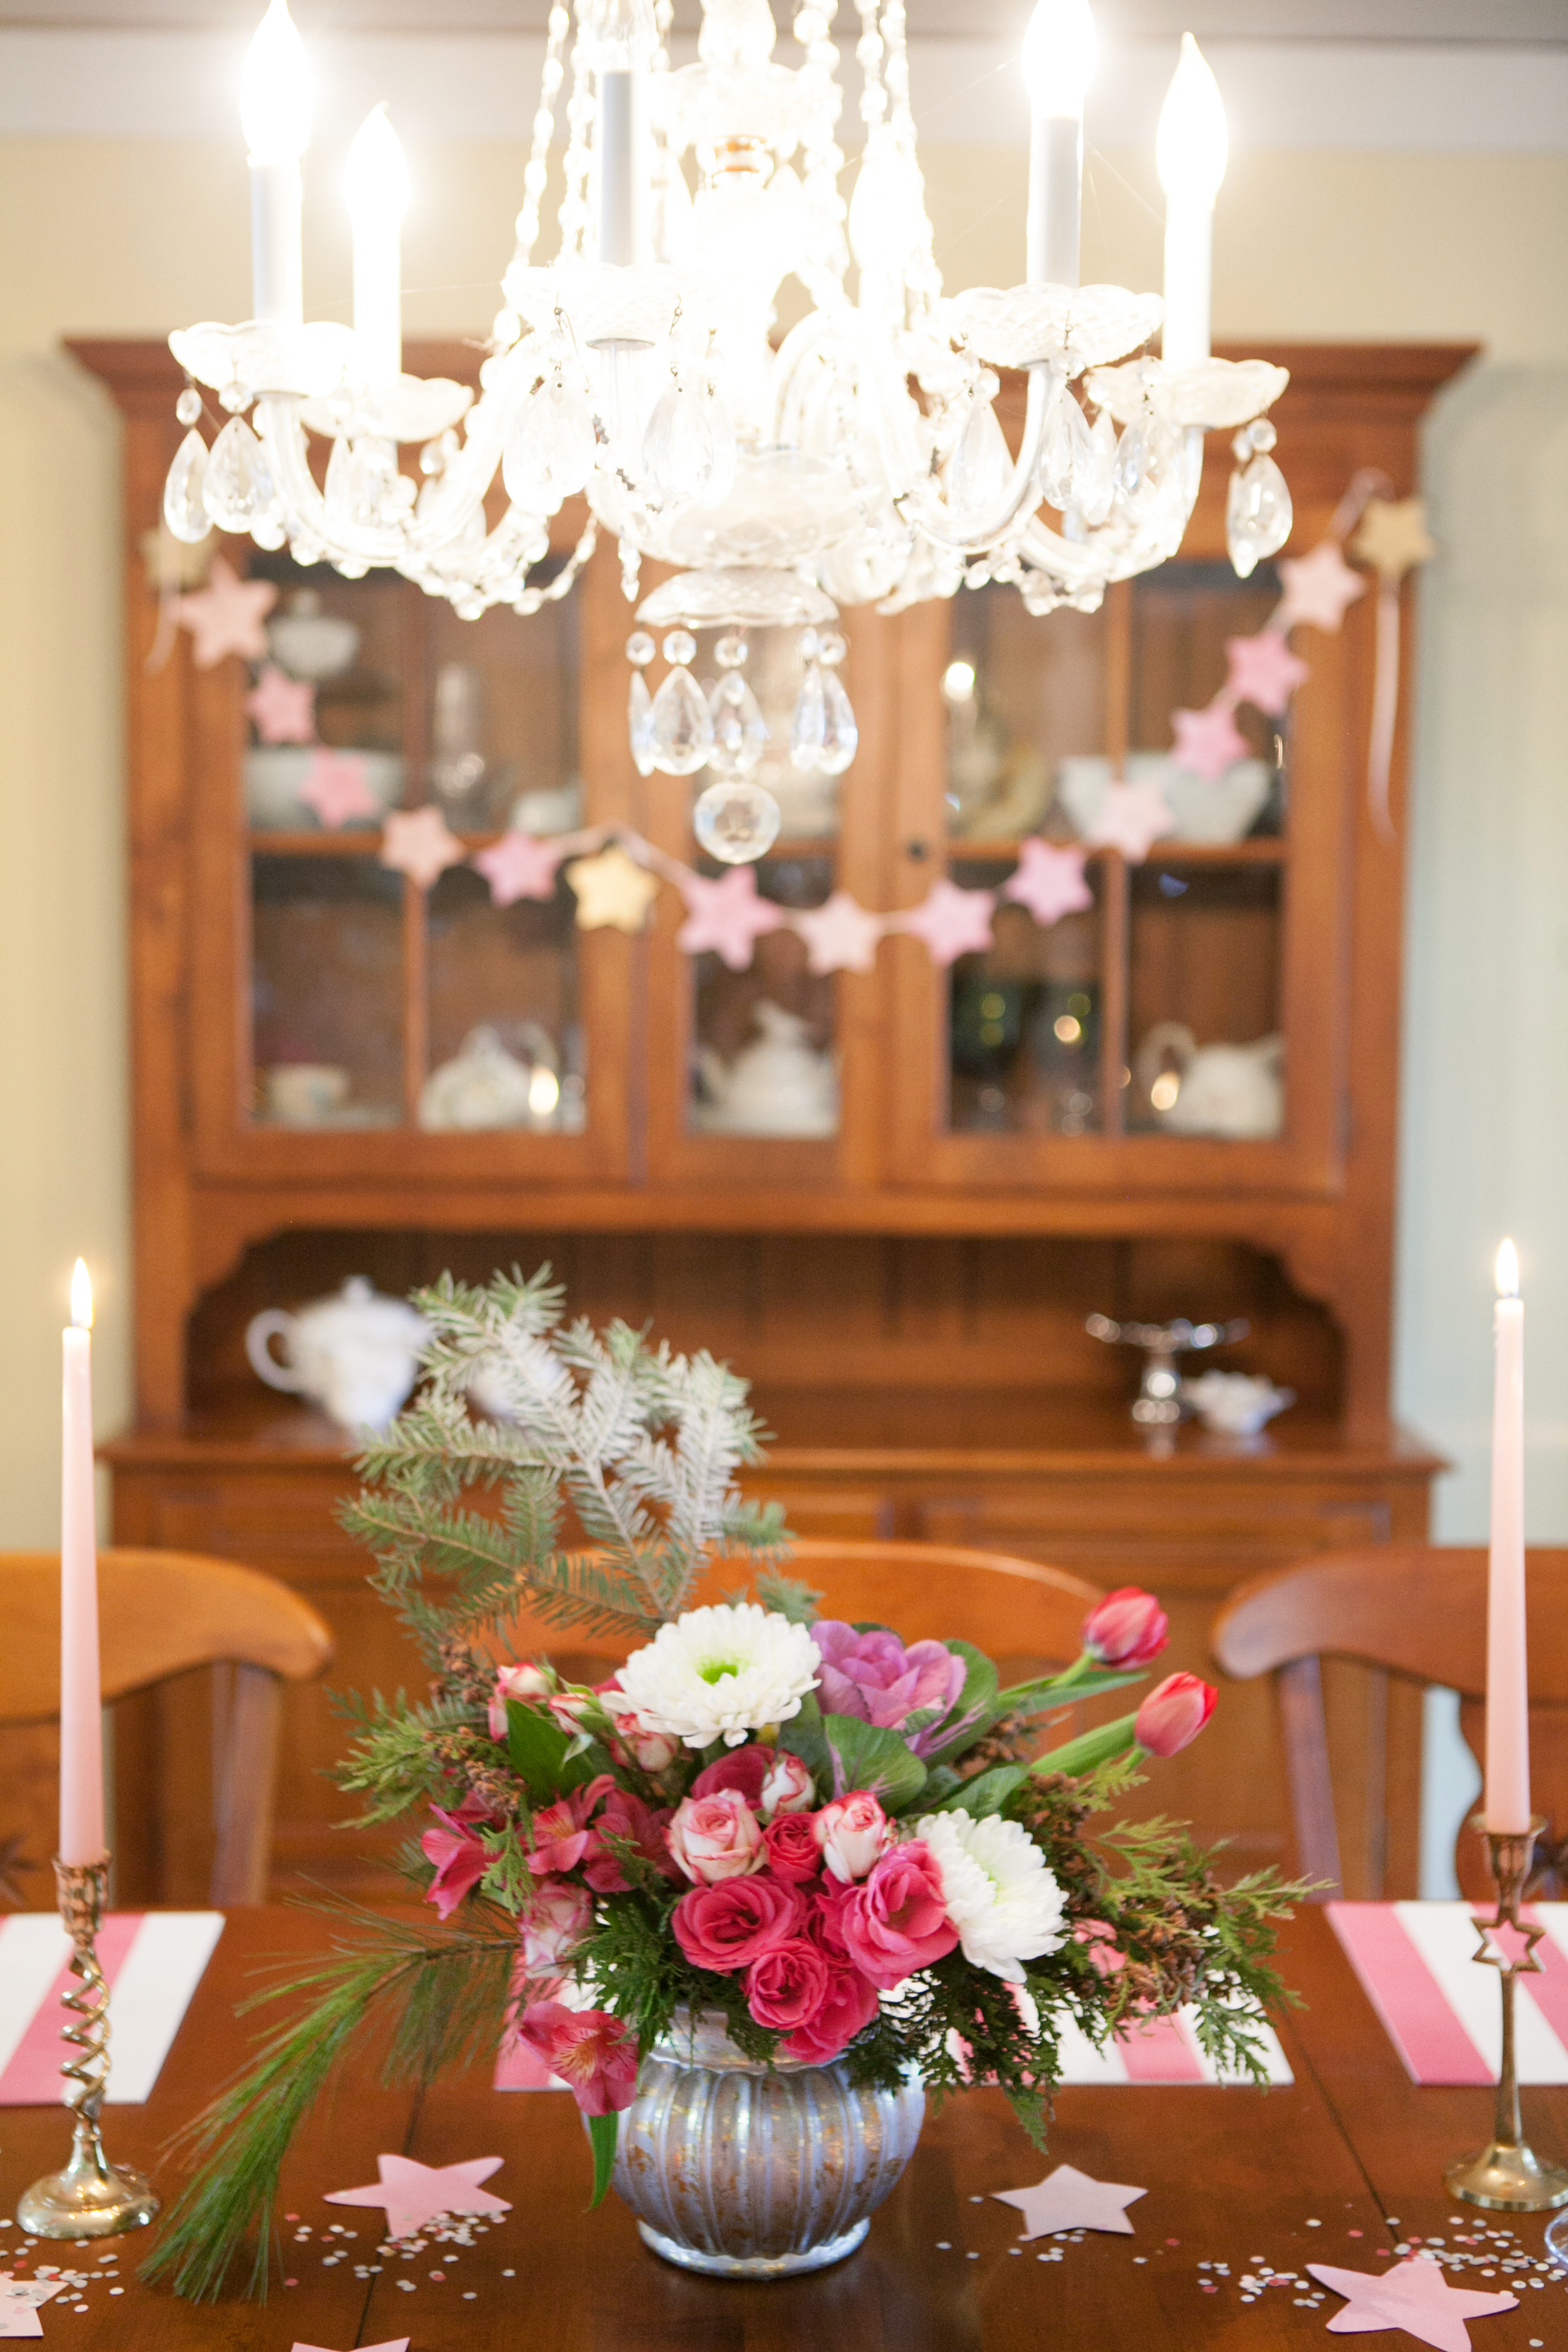
Back in November I created quite a few DIY items for Gretta’s first birthday party (you can see the whole thing here), these fun striped place mats were just one little piece of the celebration.
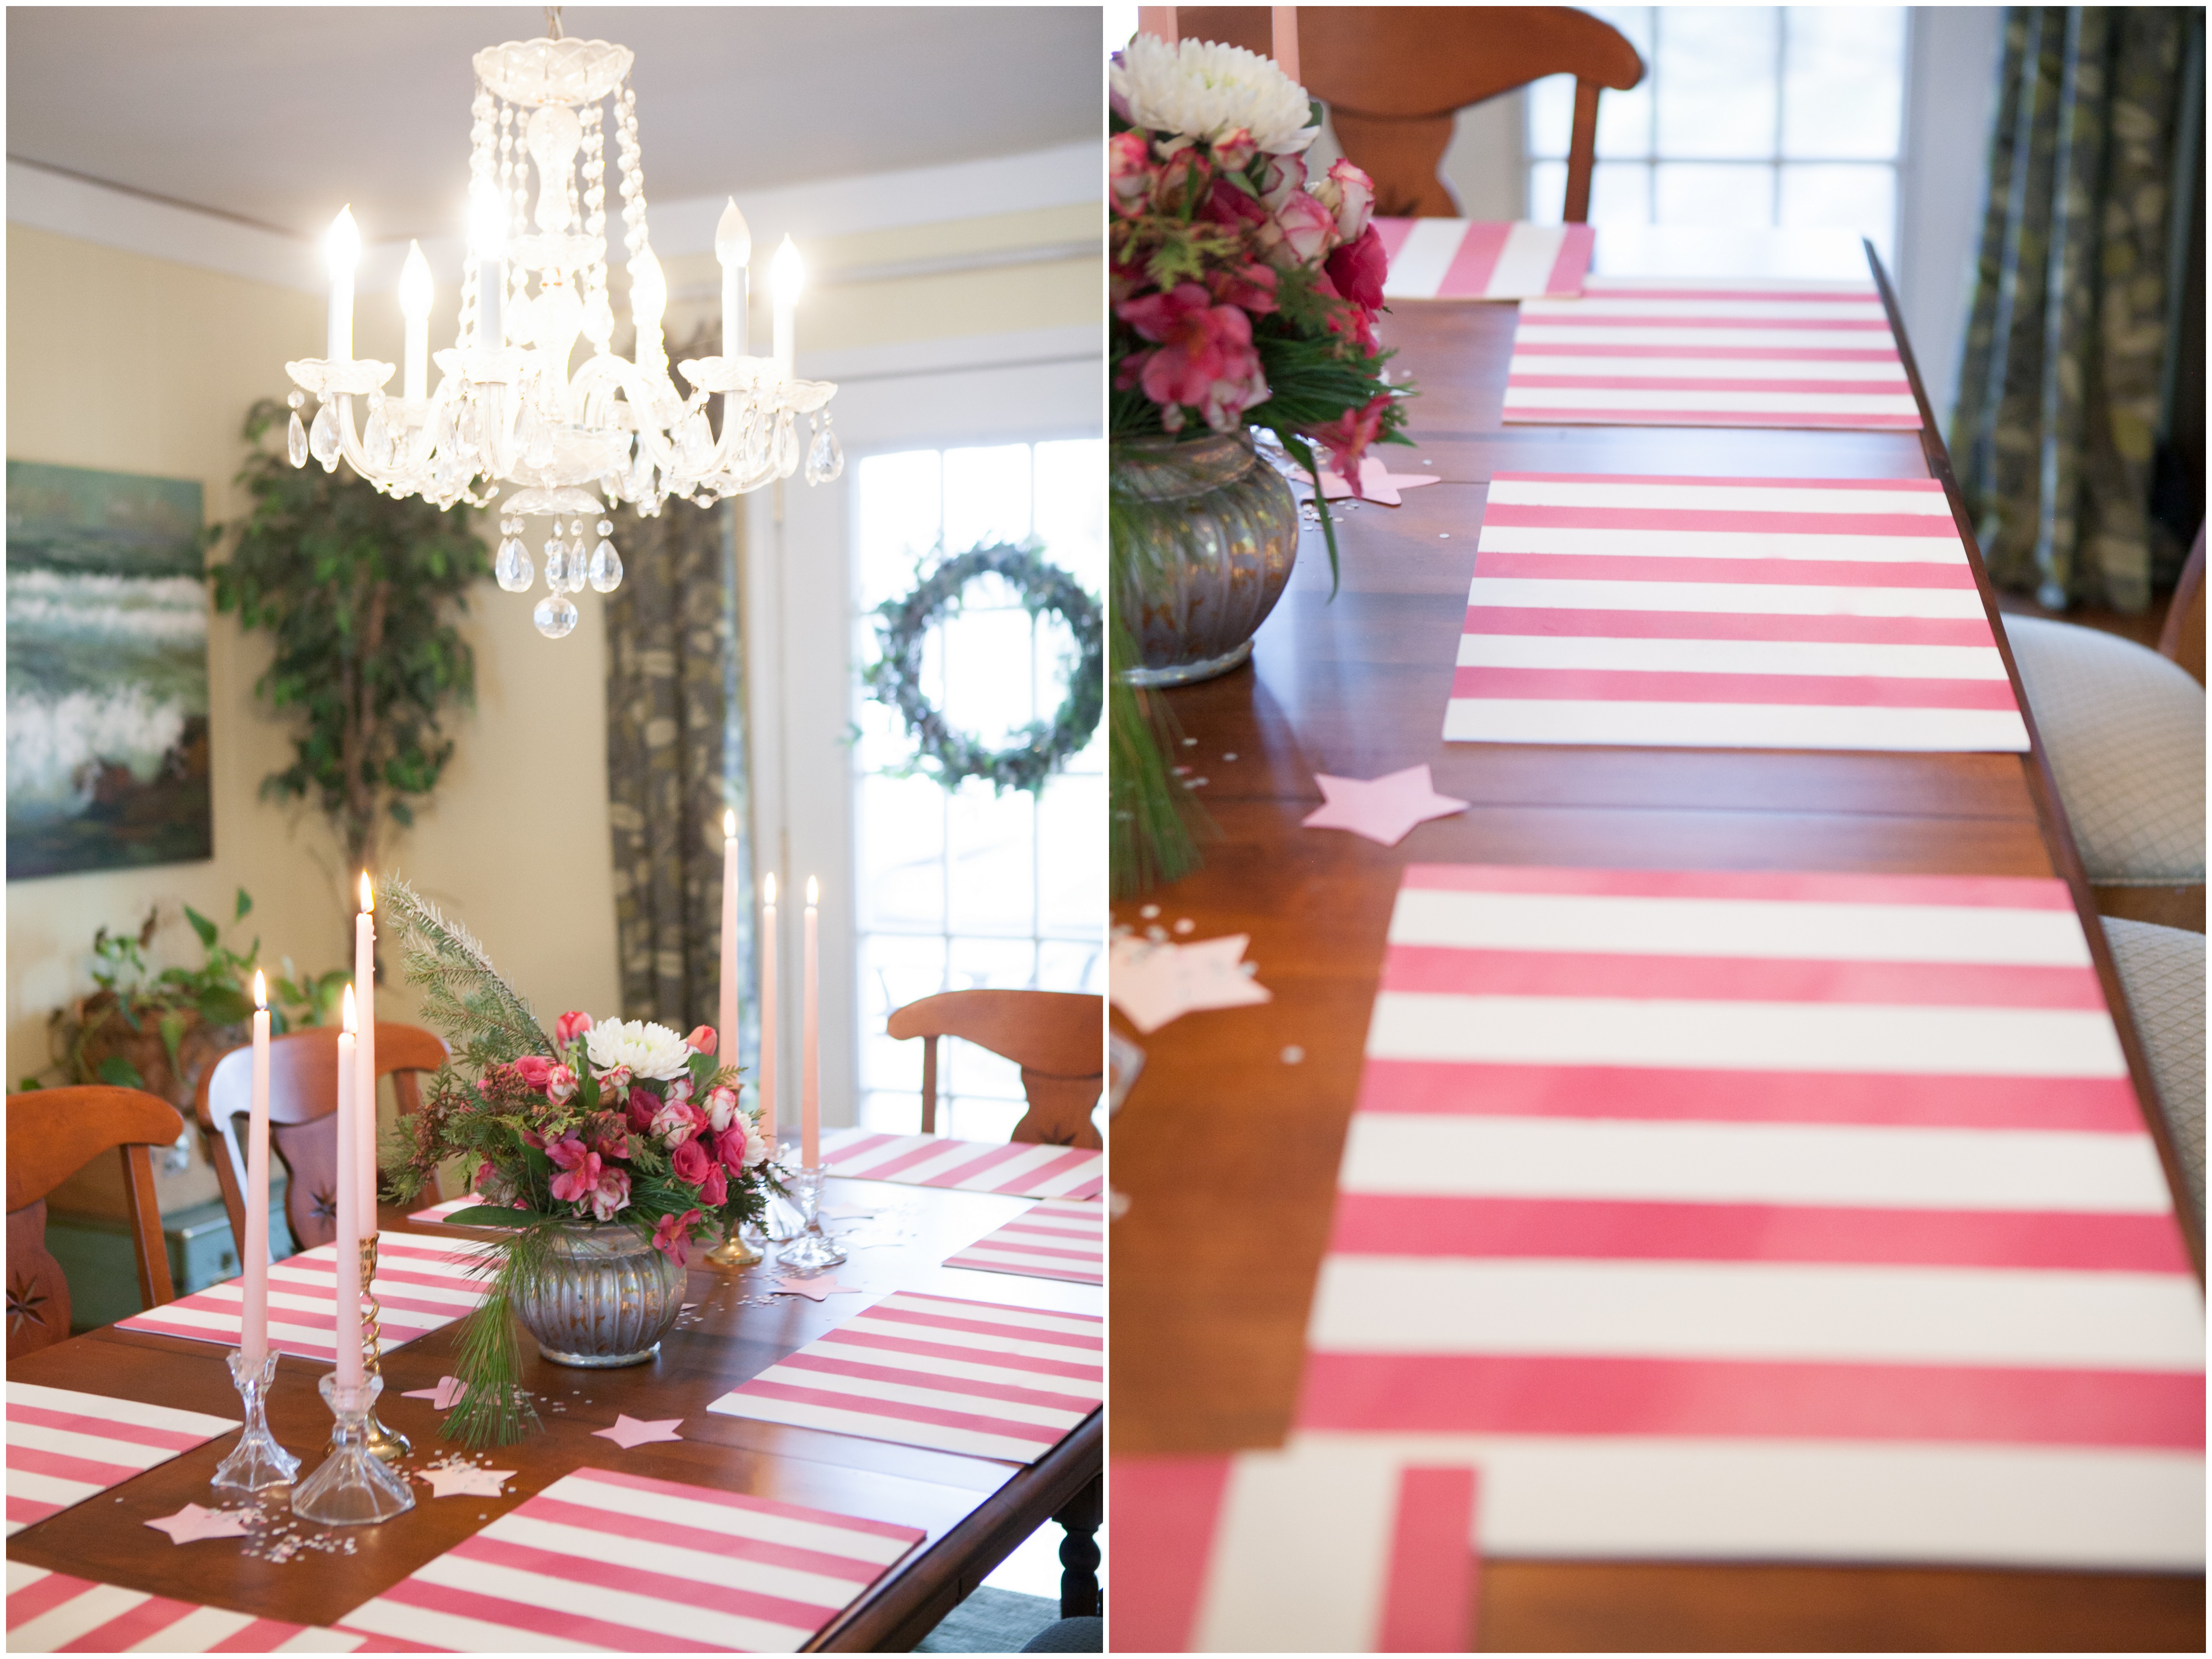
The gorgeous photos above are from Hetler Photography… the DIY portion of this post will be snaps shots capture by yours truly and they’re not pretty, but they get the point across! So here we go:
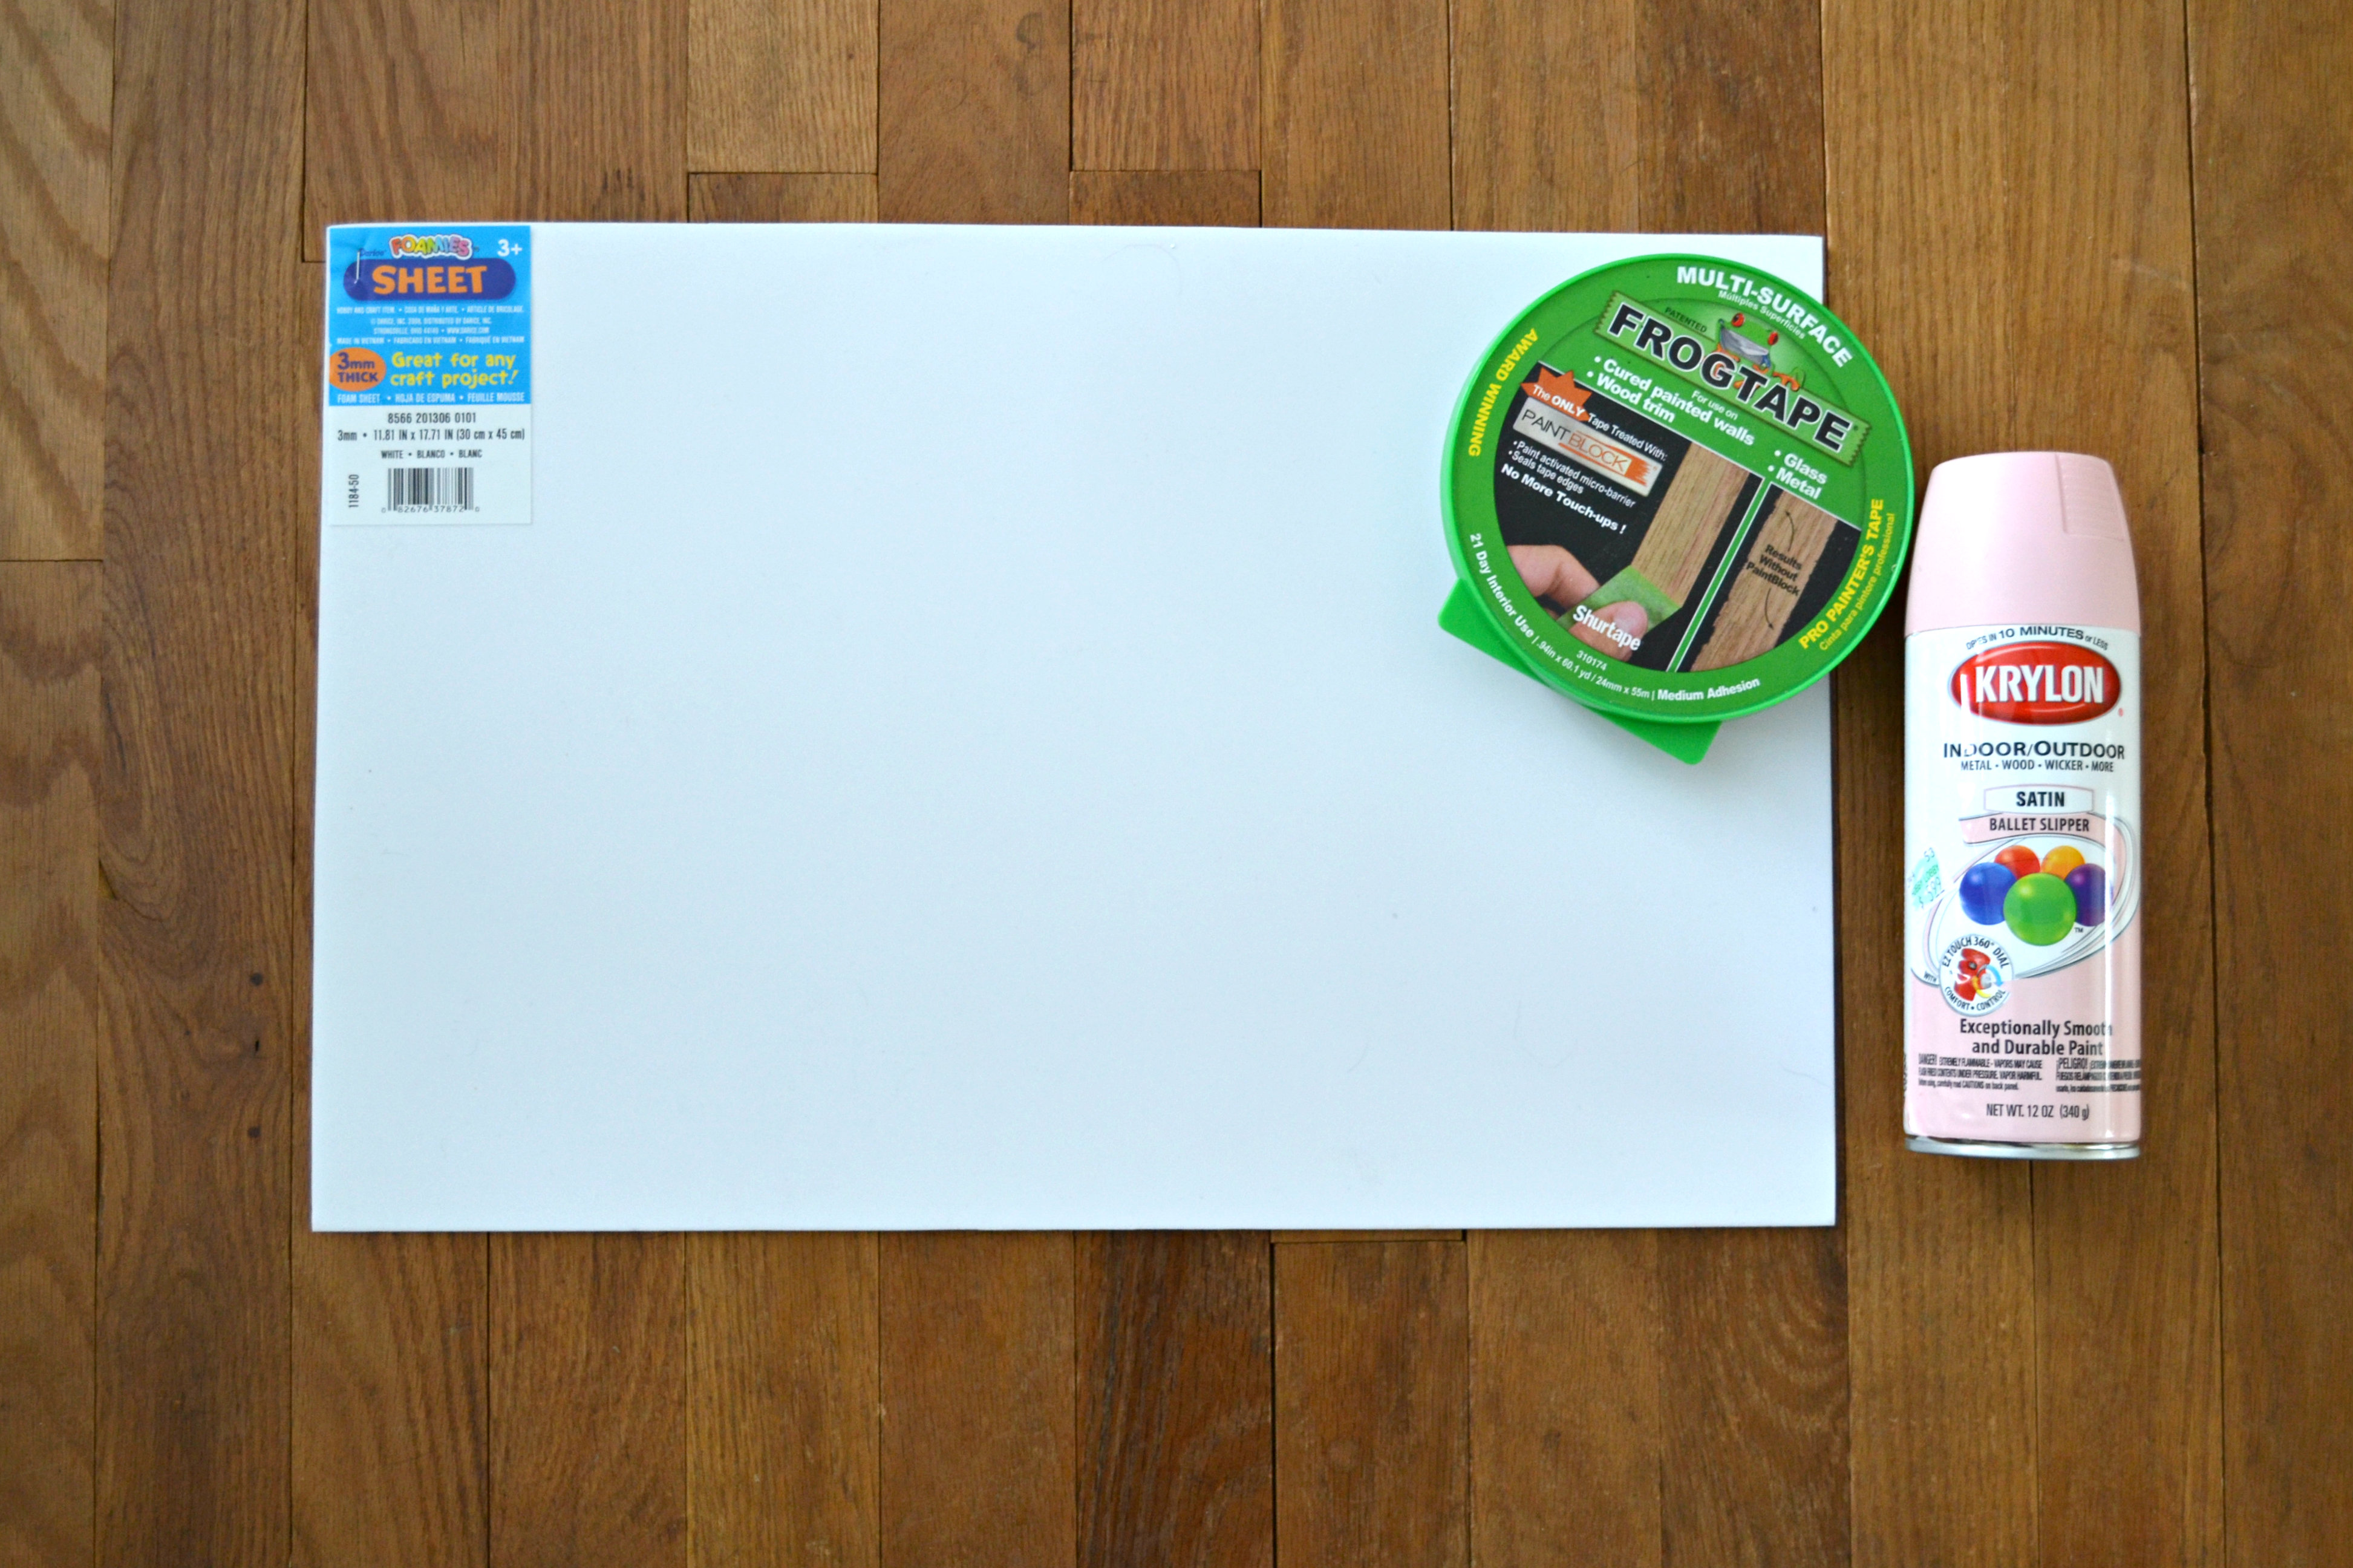
You will need:
- 12 x 18 inch foam sheets
- Painter’s tape
- Spray paint
Step 1:
Add lines of painter’s tape in a vertical direction over the foam. Remember, any area covered with painter’s tape will remain white. For thicker stripes, add use thicker tape or multiple pieces until desired thickness is achieved.
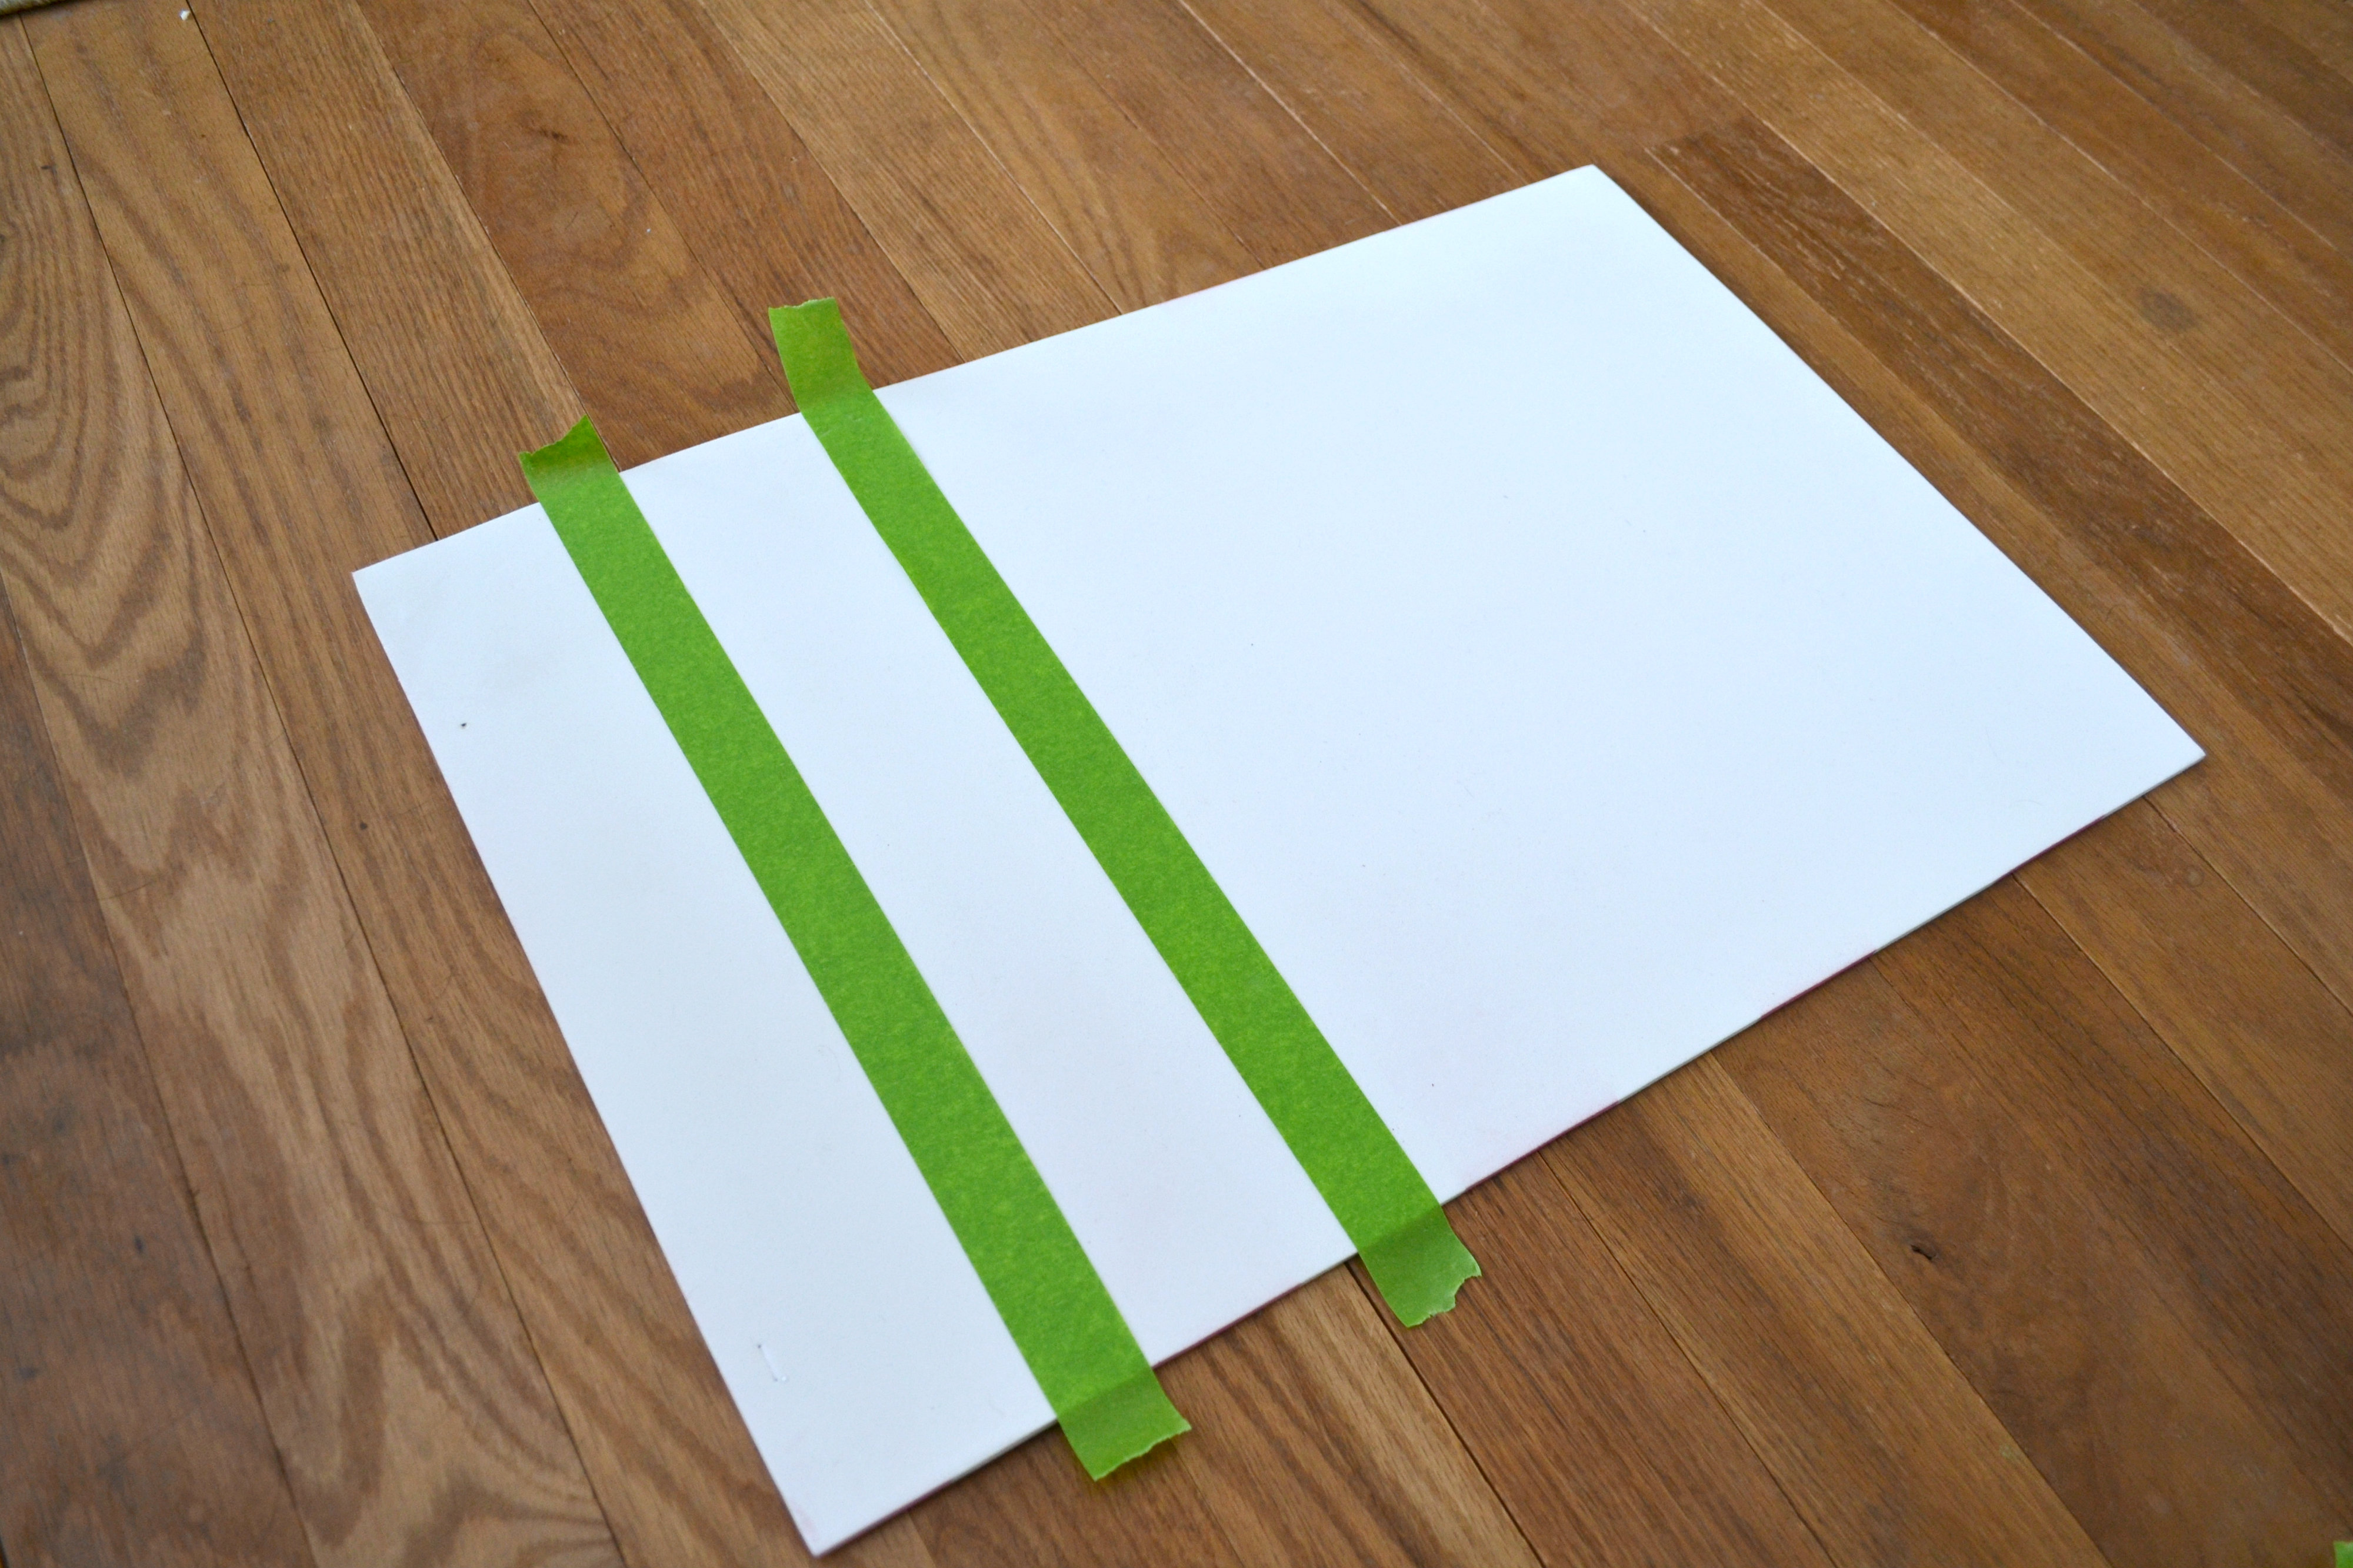
Continue adding tape until you have created your desired number of stripes. Here’s a little tip to make sure spacing stays consistent and lines of tape are straight: find a piece of furniture or object with straight lines and use it as your guide. I like to take advantage of my hardwood floors and use the lines as a guide keeping the stripes the same width as the slats on my floor and also making sure the tape stays alined with the floors on either side of the foam.
Step 2:
Spray paint. Any color works, make it match your house or party decor! No rules there 🙂
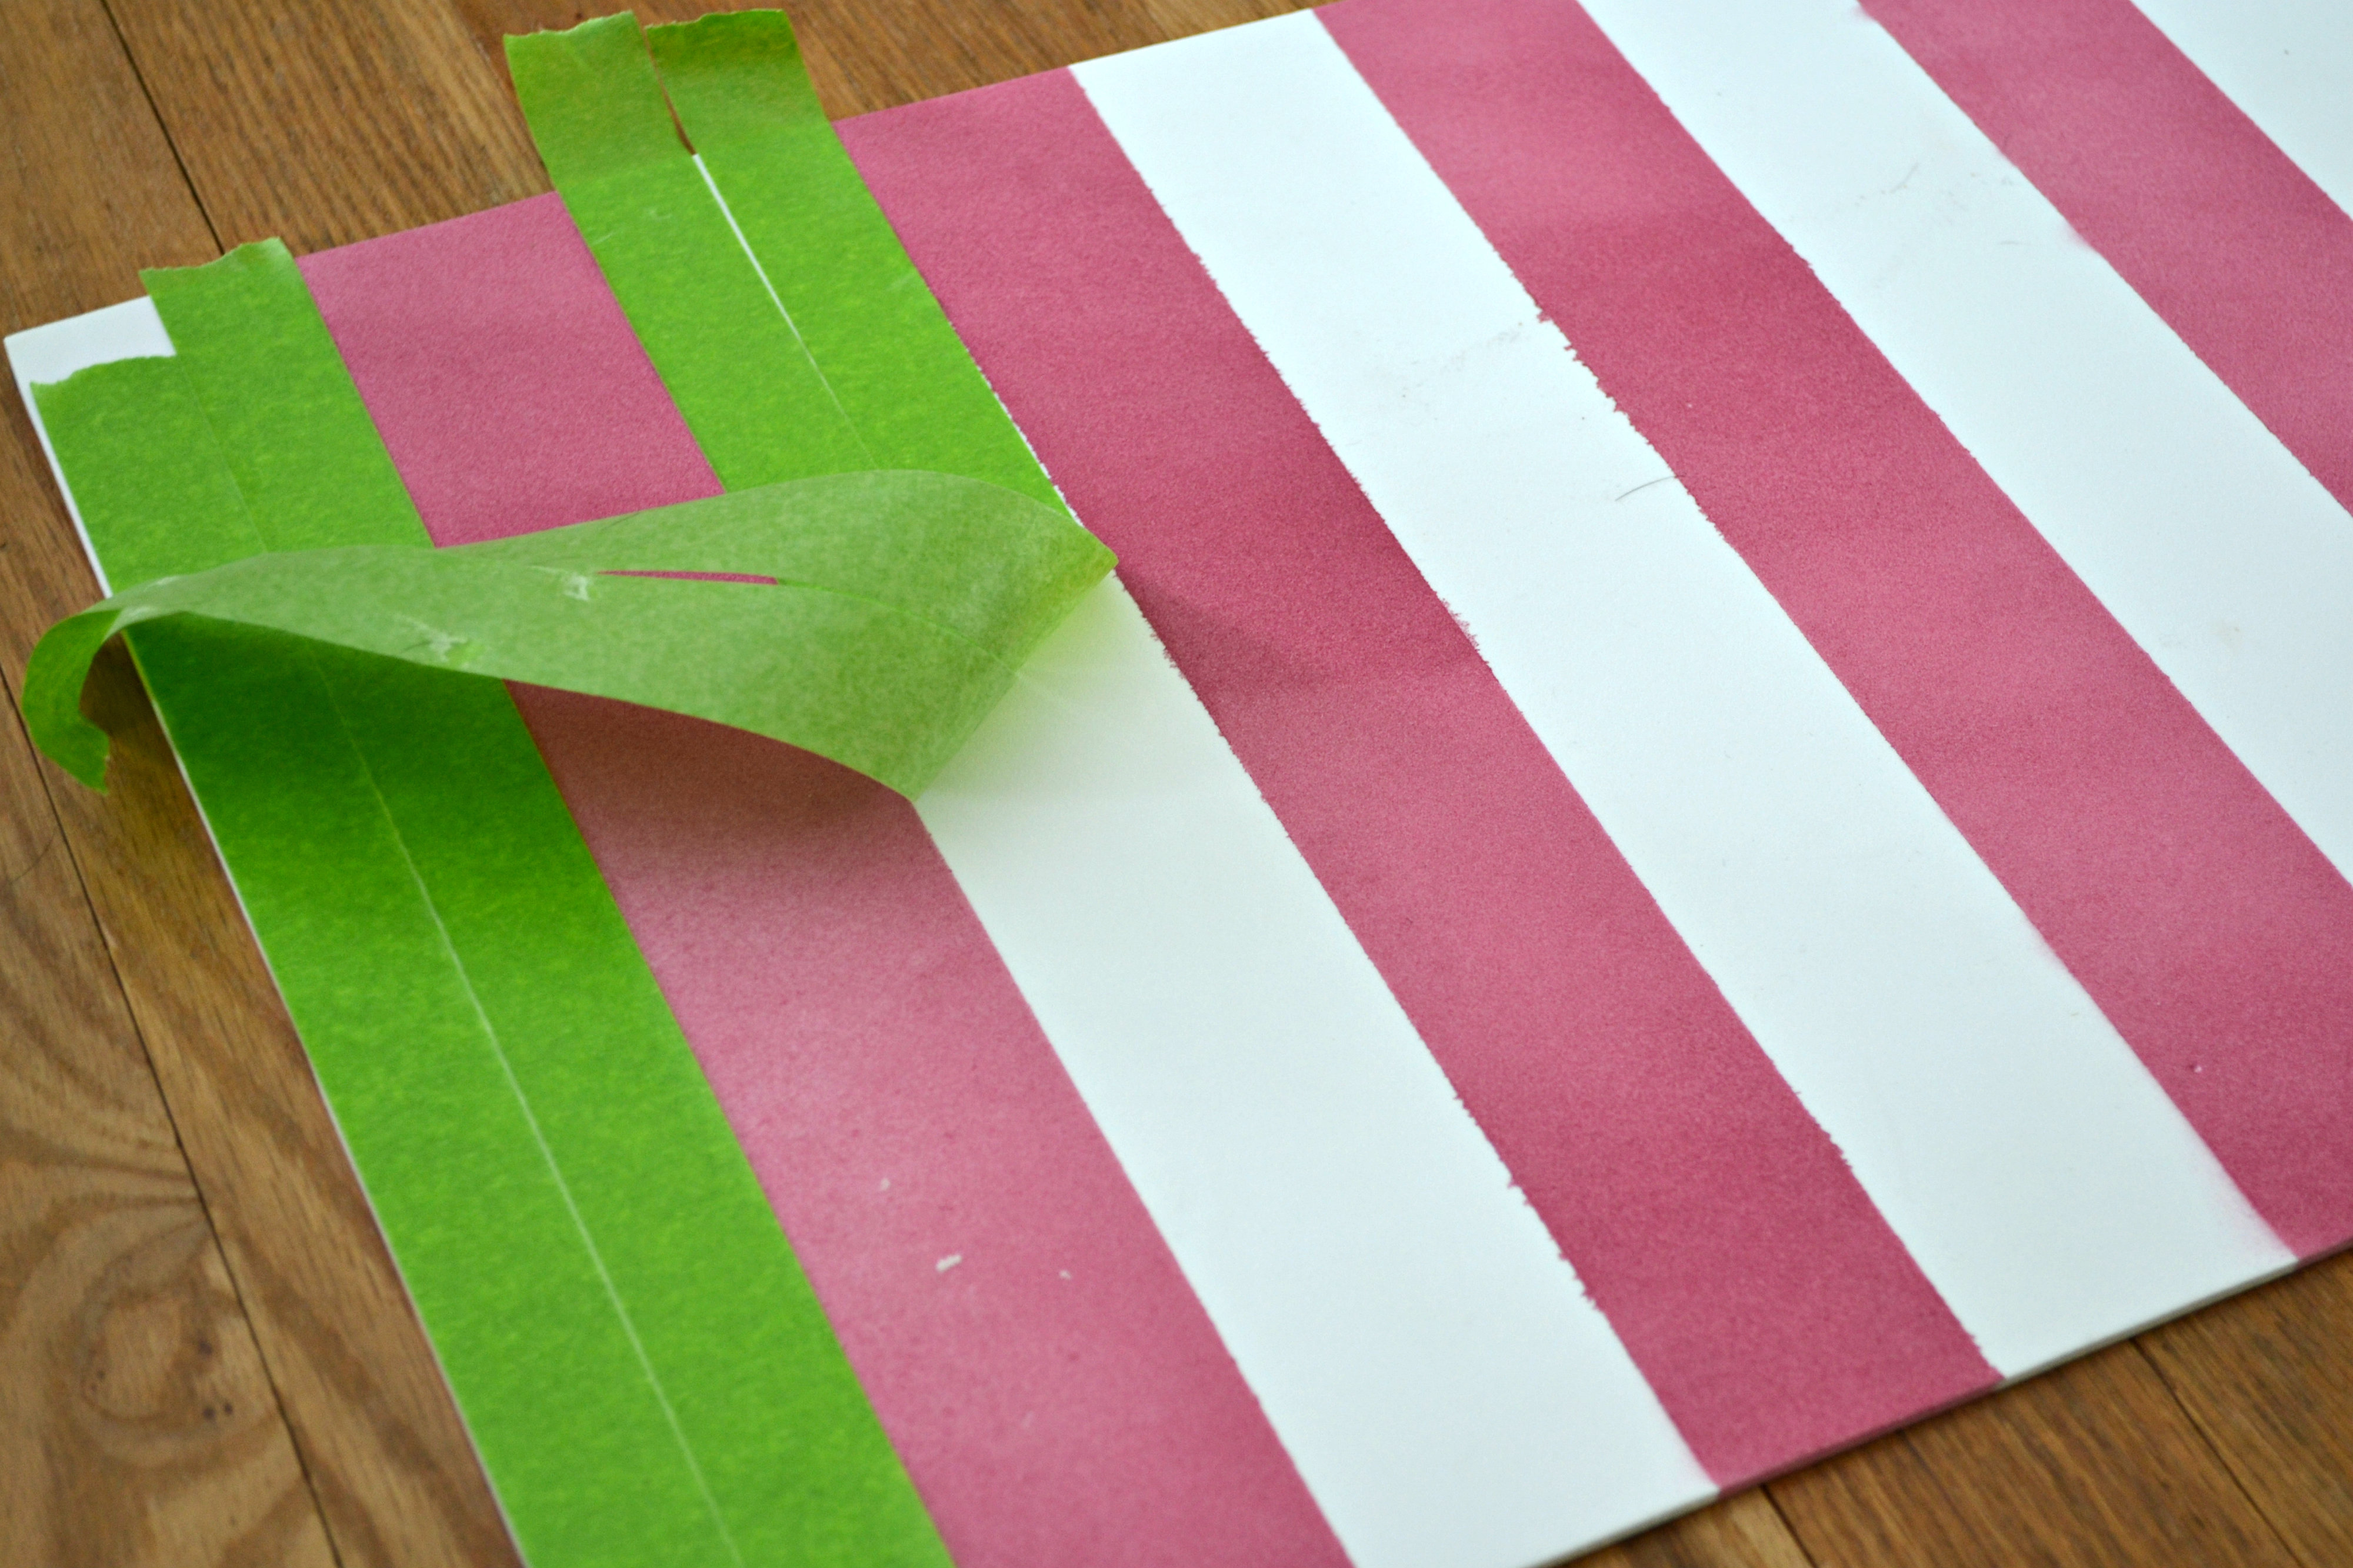
Step 3:
Remove painter’s tape once paint is dry. The paint dries pretty quickly on the foam, it took about a 1/2 hour for me, but could vary depending on the day and drying conditions. The lines might not be perfectly crisp, but that gives them a little character.
And ta-da, instant glam to your table!
A couple of other notes about this project:
- I used 3 mm thick foam, the thinner pieces seemed to flimsy to be place mats in my opinion. I purchased mine at Hobby Lobby but JoAnn Fabrics carries it as well. They were $1.00 each.
- The spray paint color is used is Krylon’s Raspberry
- And I also wish my pictures were are pretty as Kellie’s! Let’s pretend, shall we?
Stay warm friends!
![]()
0
Great article! We will be linking to this great content on our
site. Keep up the great writing.